Penetration Testing Lab Setup:Cloud Computing
This article is all about setting up a Private Cloud on your local machine on ubuntu, docker and VM. But before it is installed and configured, you should know what the cloud is and why it is a very important part of IT organizations.
Table of Content
- Cloud Computing
- Benefits of Cloud Computing
- Types of Cloud Computing
- Cloud Computing Deployment Models
- How cloud computing works
- Installation of Own cloud in Ubuntu
- Installation of OwnCloud using Docker
- Bitnami Owncloud Stack Virtual Machines
Cloud Computing
Cloud computing is the on-demand delivery of compute power, database, storage, applications, and other IT resources via the internet with pay-as-you-go pricing. Whether you are using it to run applications that share photos to millions of mobile users or to support business-critical operations, a cloud services platform provides rapid access to flexible and low-cost IT resources.
In other words, cloud computing means, storing and accessing information and programs over the internet instead of the hard drive of your computer. You can access as many resources as you need, almost instantly, and only pay for what you use.

References: https://aws.amazon.com/what-is-cloud-computing/
Benefits of Cloud Computing
- Cost Saving – Pay for what you use.
- Agile deployment – Easy and fast access a broad range technology (database, storage, compute etc.) on as per the requirement.
- Location Independent –Deploy your application in multiple physical locations around the world with just a click.
- Disaster Recovery – No environmental disruption, no natural calamity effect.
- Elasticity– Instantly scale up or down the amount of resources that actually need.
Types of Cloud Computing
There are three main types of models of cloud computing. Each type of cloud service and deployment method provides you with different levels of control, flexibility, and management.
- Infrastructure as a Service (IaaS) -It is a cloud computing offering in which a vendor provides users access to computing resources such as servers, storage and networking. Organizations use their own platforms and applications within a service provider’s infrastructure.
Example: Linode, Rackspace, Amazon Web Services (AWS), Cisco Metapod, Microsoft Azure, Google Compute Engine (GCE)
- Platform as a service (PaaS)– It is a cloud computing offering that provides users with a cloud environment in which they can develop manage and deliver applications. In addition to storage and other computing resources, users are able to use a suite of prebuilt tools to develop, customize and test their own application also can providers manage security, operating systems, server software and backups.
Example: AWS Elastic Beanstalk, Windows Azure, Force.com, Google App Engine, Apache Stratos.
- Software as a service (SaaS)-It is a cloud computing offering that provides users with access to a vendor’s cloud-based software. Users do not install applications on their local devices. Instead, the applications reside on a remote cloud network accessed through the web or an API. Through the application, users can store and analyse data and collaborate on projects.
Example: Google Apps, Dropbox, Salesforce, Cisco WebEx,
Cloud Computing Deployment Models
- Cloud (Public) – A cloud-based application is fully deployed in the cloud and all parts of the application run in the cloud. Applications in the cloud have either been created in the cloud or have been migrated from an existing infrastructure to take advantage of the benefits of cloud computing.
- Hybrid- A hybrid deployment is a way to connect infrastructure and applications between cloud-based resources and existing resources that are not located in the cloud. The most common method of hybrid deployment is between the cloud and existing on-premises infrastructure to extend, and grow, an organization’s infrastructure into the cloud while connecting cloud resources to the internal system.
- On-premises (Private) – Private Cloud refers to the cloud solution dedicated for use by a single organization. The data centre resources may be located on-premise or operated by a third-party vendor off-site. The computing resources are isolated and delivered via a secure private network, and not shared with other customers.
How cloud computing works
Cloud computing gives you access to servers, storage, databases, and a broad set of application services over the Internet. A cloud services provider owns and maintains the network-connected hardware required for these application services, while you provision and use what you need via a web application.
Hope, now you have a basic understanding of cloud computing. Let’s start the installation of Owncloud in multiple ways.
Installation of Own cloud in Ubuntu
OwnCloud is the market-leading open-source software for cloud-based collaboration platforms. As an alternative to Dropbox, OneDrive and Google Drive, ownCloud offers real data security and privacy for you and your data. Store your files in one central location – protected from unauthorized access. Many features designed for absolute data security help you to work productively and securely.
Before starting the installation, I want to confirm that you should already have Ubuntu in PC or you can install ubuntu. As I already have Ubuntu 18.04 LTS.
Let’s start the journey together with below steps:
Install Apache2
OwnCloud requires a webserver to function. So, we install Apache2 on Ubuntu.
sudo apt install apache2

Install the MariaDB Server
After apache2 installation, run the commands to disable the directory listing and also to Restart the Apache2 services.
MariaDB is the database server. It is an enhanced, drop-in replacement for MySQL. MariaDB is used because it is fast, scalable and robust, with a rich ecosystem of storage engines, plugins and many other tools make it very versatile for a wide variety of use cases.
sudo sed -i "s/Options Indexes FollowSymLinks/Options FollowSymLinks/" /etc/apache2/apache2.conf
sudo systemctl restart apache2.service
sudo apt-get install mariadb-server mariadb-client -y

After installation of MariaDB , restart the service and enable MariaDB service to always start up when the server boots.
sudo systemctl restart mariadb.service
sudo apt-get install software-properties-common -y

Install PHP and its modules
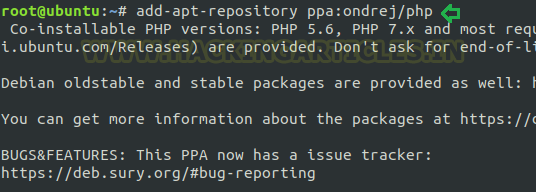
Run the commands to add a third-party repository and upgrade to PHP 7.1
sudo add-apt-repository ppa:ondrej/php
Now, update and upgrade
sudo apt update
Next, we install PHP7.1 and related modules
sudo apt install php7.1 libapache2-mod-php7.1 php7.1-common php7.1-mbstring php7.1-xmlrpc php7.1-soap php7.1-apcu php7.1-smbclient php7.1-ldap php7.1-redis php7.1-gd php7.1-xml php7.1-intl php7.1-json php7.1-imagick php7.1-mysql php7.1-cli php7.1-mcrypt php7.1-ldap php7.1-zip php7.1-curl -y

After installation of PHP 7.1, open FPM PHP default file.
sudo nano /etc/php/7.1/apache2/php.ini

file_uploads = On
allow_url_fopen = On

Create OwnCloud Database
After the installation of all the necessary LAMP packages, we will continue to configure the servers. First, we create the OwnCloud Database. Below are the steps:
- Run the MySQL command to logon to the database server. In the next prompt, type the root password.
- Create a database called Owncloud.
- Create a database user g nisha with the new password e.g 123(you Should put the strong password for security purpose).
- Then, we grant the user full access to the database.
- Finally, save your changes and exit.
Note: In the database, the command should be ended by a sign ; otherwise you will get an error.
sudo mysql -u root -p
CREATE DATABASE owncloud;
CREATE USER 'nisha'@'localhost' IDENTIFIED BY '123';
GRANT ALL ON owncloud.* TO 'nisha'@'localhost' IDENTIFIED BY '123' WITH GRANT OPTION;
FLUSH PRIVILEGES;

Download Latest Owncloud Release
Visit https://owncloud.com/download/ for download and extract OwnCloud Files into the /var/www/html directory.
cd /tmp && wget https://download.owncloud.org/community/owncloud-10.0.8.zip
unzip owncloud-10.0.8.zip

sudo mv owncloud /var/www/html/owncloud/
sudo chown -R www-data:www-data /var/www/html/owncloud/
sudo chmod -R 777 /var/www/html/owncloud/
Then set the correct permissions for OwnCloud to function, change the ownership and mod e.g as we grant (Read Write Execute i.e 777) permission.

Configure Apache2
Configure Apahce2 site configuration file for OwnCloud. This file will control how users access OwnCloud content. Create a new configuration file called owncloud.conf as shown.
sudo nano /etc/apache2/sites-available/owncloud.conf
<VirtualHost *:80>
     ServerAdmin admin@example.com
     DocumentRoot /var/www/html/owncloud/
     ServerName hackingarticles.in
     ServerAlias hackingarticles.in
     Alias /owncloud "/var/www/html/owncloud/"
     <Directory /var/www/html/owncloud/>
        Options +FollowSymlinks
        AllowOverride All
        Require all granted
          <IfModule mod_dav.c>
            Dav off
          </IfModule>
        SetEnv HOME /var/www/html/owncloud
        SetEnv HTTP_HOME /var/www/html/owncloud
     </Directory>
     ErrorLog ${APACHE_LOG_DIR}/error.log
     CustomLog ${APACHE_LOG_DIR}/access.log combined
</VirtualHost>
Then copy and paste the content below into the file and save it. Replace the highlighted in yellow lines with your own domain name and directory root location and then save the file.

Enable the OwnCloud and Rewrite Module
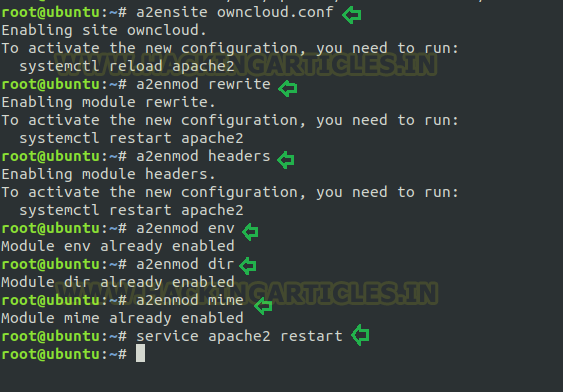
After configuring the VirtualHost above, enable it by running the commands below and at last restart the Apache2 service.
sudo a2ensite owncloud.conf
sudo a2enmod rewrite
sudo a2enmod headers
sudo a2enmod env
sudo a2enmod dir
sudo a2enmod mime
sudo service apache2 restart
Open the browser and put localhost(local IP ) e.g http://localhost/owncloud

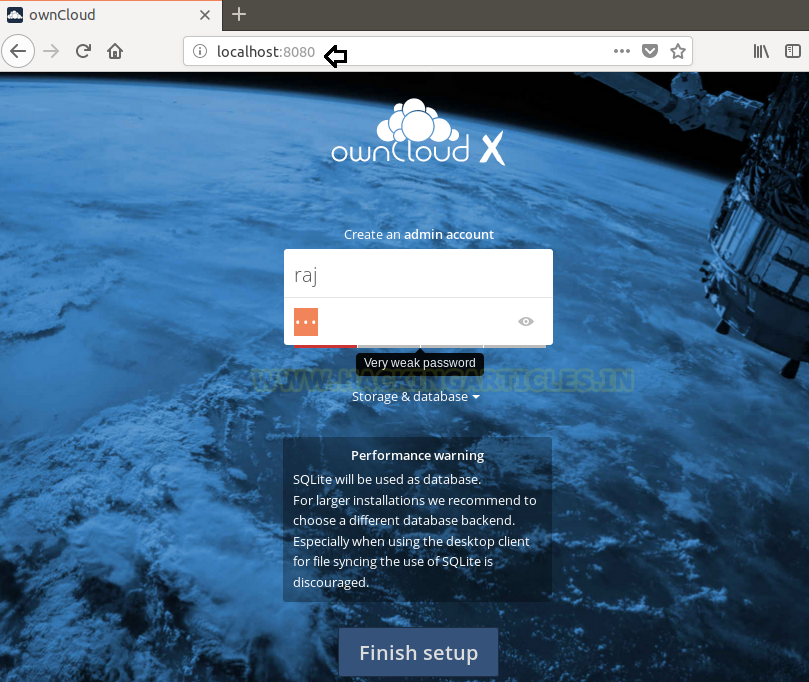
You’ll be prompted to create an admin account and password. Connect to the database using the information you created and then click on finish setup.

Put the admin Credentials and continue.

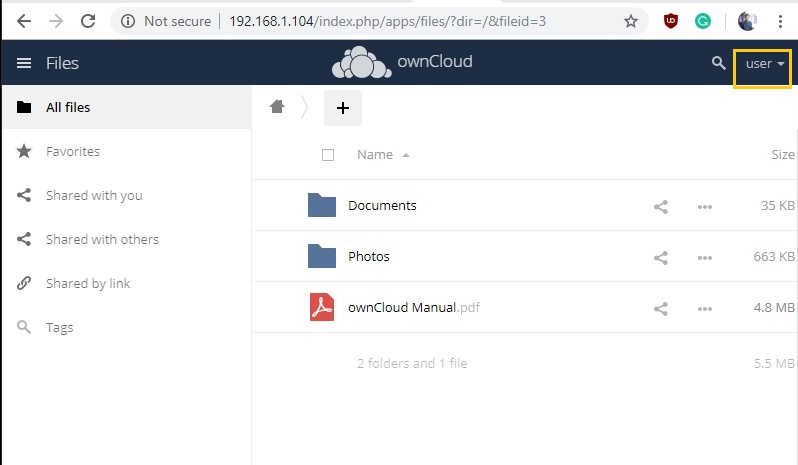
Happy to see the final Picture of OwnCloud, now you can upload and store your data safely on Owncloud.

Installation of OwnCloud using Docker
Docker is a tool designed to make it easier to create, deploy, and run applications by using containers. Containers allow a developer to package up an application with all of the parts it needs, such as libraries and other dependencies, and ship it all out as one package.
Let’s start the installation with the below steps :
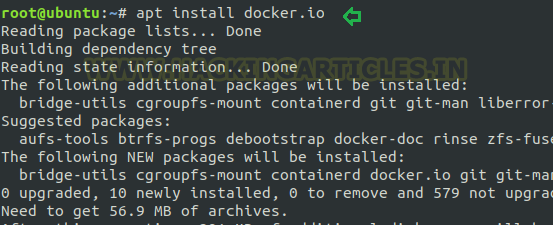
Install Docker
To install docker, simply open the terminal of Linux and type the following command:
apt install docker.io
Once the docker is up and running, you can run or pull any image in your docker. As per the requirement, we are going to search owncloud image. When you run the following command, it will first check your local repository; if the image is not available there then it will pull it from docker hub.
docker search owncloud
Once you find your image, you can pull it into your container and download the Owncloud image.
docker pull owncloud

The docker attaches command permits you to attach to a running container using the container ID or name you can use one instance of shell only though attach command or you can directly run the container with container id. ownCloud is accessible via port 8080 on the host machine. But if you crave to open a new terminal with a new instance of container’s shell, we just need run docker exec.
docker run -d -p 8080:80 owncloud

To log in to the ownCloud UI, open http://localhost:8080 in your browser of choice, where you see the standard ownCloud login screen, as in the image below.
Finally welcome to your owncloud platform to perform your services (upload, safety storage of data etc.)
Bitnami Owncloud Stack Virtual Machines
Bitnami Virtual Machines contain a minimal Linux operating system with ownCloud installed and configured. Using the Bitnami Virtual Machine image requires hypervisor software such as VMware Player or VirtualBox. Both of these hypervisors are available free of charge.
You can download from here
Login with default credential
Username: bitnami
Password: bitnami

It very simple, only just navigate to the web browser and explore VM IP as shown below.
Author: Nisha Sharma is trained in Certified Ethical hacking and Bug Bounty Hunter. Connect with her here
thank you very much nisha. for wonderful article. i really admire your work. your team are awesome. lovr from USA
extact i looking for. thanx for sharing nisha
nice post. nisha can I use your article for my college assignment with your proper reference.
waiting for positive response
Very helpful article. collate all required info at same place. Keep it up,…
I am a developer and I always try to use Owncloud to solve problems (related with Cloud Computing) and with your articles I am going to be able to solve problems that I couln´t before. This articles are just great.
wonderful article. well explained thank you nisha for sharing.
Regards
Sonam
Thxs