Thick Client Pentest Lab Setup: DVTA
Thick client applications are not new and have been around for many years and can be still easily found within a variety of organizations. Thick clients are majorly used across organizations for their internal operations and Just because of the adoption of Hybrid infrastructure architecture, thick-client applications become a better target for attackers.
However, if given to perform a pentest on thick clients, it is not as simple as a web application, but also Thick client testing can be exciting for pentesters because the attack surface of these applications is significant. Thick client application pentesting involves both server-side and local processing.
Simple automated assessment scanning isn’t enough for Thick client application pentesting it requires a lot of patience and a methodical approach also moreover the process often requires specialized tools and custom testing setup.
Architecture
Basically, there are two types of Architecture available
- Two-Tier Architecture
- Three-Tier Architecture
Two-Tier Architecture
In two-tier architecture, client and database interact with each other and it implements a client-to-server communication.
In easy language the application is installed on the client computer and, in the manner to work, will need to communicate with a database server. For example, imagine a Banking application that was installed on the client computer and, in order to retrieve the ‘costumer’ information, it directly communicates with the Bank database server.
Three-Tier Architecture
This is an alternate and well structured Three-tier architecture. In Three-tier architecture the client communicates with an application server. Here the client-server has three components defined in which it turns talks to the database in a way similar to the regular web application. The most common communication is HTTP/HTTPS.
Three-tier architecture has a security advantage because it prevents the end-user from communicating directly with the database server.
Table of Content
- Prerequisites
- Installation and configuration of SQL Server Express 2008
- Installation and configuration of SQL Server Management Studio
- Download and install FileZilla Server
Prerequisites
- VMWare workstation or Virtual box
- Windows 10 as a Database (SQL Server)
- Windows 10 as a Client (DVTA)
- SQL Server Express 2008
- SQL Server Management Studio
- FileZilla FTP server
- Damn Vulnerable Thick Client Application (DVTA) Modified version
Installation and configuration of SQL Server Express 2008
Let’s open up our Virtual machine and create a fresh Windows 10 VM and then the first thing we are going to download is SQL Server Express 2008
You can download SQL Server directly from here: –
https://www.microsoft.com/en-us/download/details.aspx?id=1695

Alright, now we have downloaded the SQL Server Express 2008. Let’s open it up and run it.
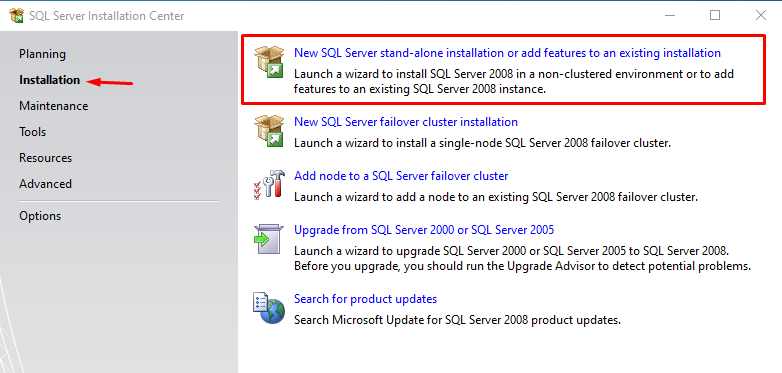
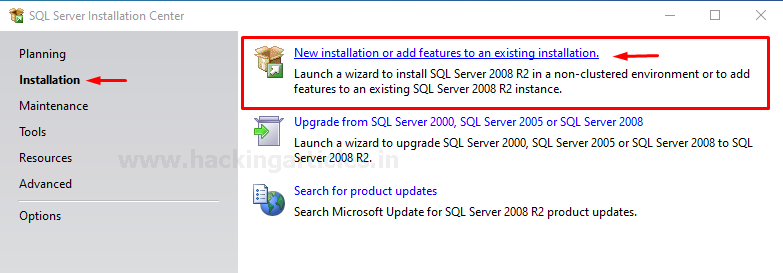
After running it will pop up a SQL Server installation Prompt select New SQL Server stand-alone installation and it will perform some checks to check everything fine for the installation when it completes the check process hit the ok button and move forward as shown below.
Accept the License terms and conditions and move to next and install setup support files.

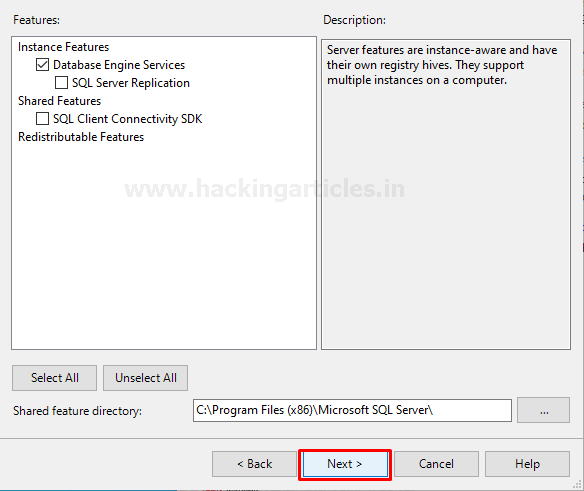
Alright, if you are seeing this prompt that means everything is ok here move to the next and choose Database service Engine then hit next
Now we’re going to create an instance named “SQL Express” as shown below

By selecting Named instance hit next and next until you reach to server configuration as shown below
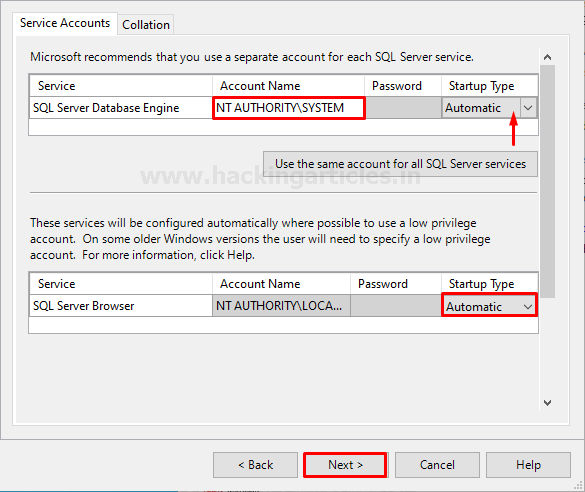
Here, we’re going to use NT Authority\System and make the startup Type Automatic and hit next.
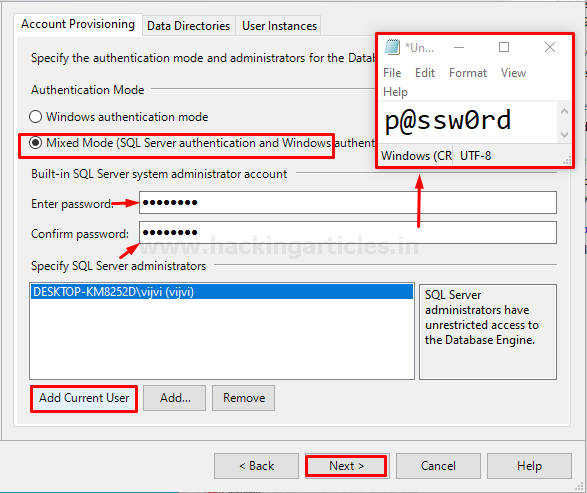
On the next Prompt Authentication, mode is selected to Windows authentication mode select it to “Mixed Mode” so we will have both SQL Server authentication as well as Windows authentication.
Let’s enter the Password so in this case, we’re going to use this “p@ssw0rd” as the password because this is what is used by DVTA application and Add current user who is going to be SQL server administrator then hit next as shown below
Hit next and next button until it reaches to Ready to install page further then install the server by hitting the install button. Yeah, it will take some to install so by leaving it on the installation process go get served you with some snacks… I know these processes are quite boring but to get hands-on and learn attack vectors or techniques we need to set up the lab first.
When the installation completes it will show you a prompt like shown below

As you can see, we have successfully installed SQL server 2008.
Installation and configuration of SQL Server Management Studio
You can download SQL Server Management Studio directly by following this link
https://www.microsoft.com/en-us/download/details.aspx?id=22985
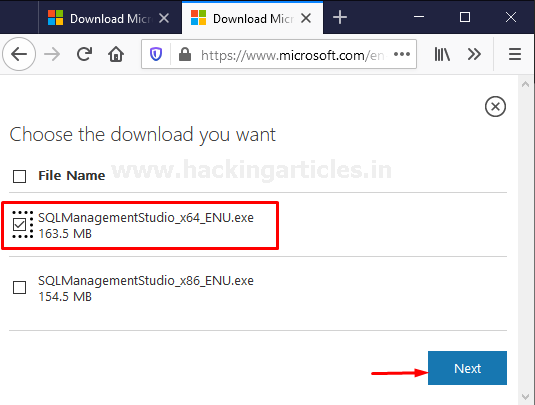
Select the suitable package as per your environment and download the management studio.
Alright, when the download is complete open up the installation file and run the setup.
Once again we will see a prompt window like the previous SQL Server 2008 setup select the new installation
Accept the License Terms and on the features, page select All Features and move to next step

Further then hit the next and next button then it will perform error checks after that move to the next step without doing any changes and install the management studio. After, successfully installing the management studio it will needs to restart.

Now we’re done with the installation of SQL Server and SQL Server management studio but there are few more things need to do before moving to the installation of the next software
We’re good to go with SQL Server Management studio. Let’s open up the SQL Server management studio and by searching it in the start menu.
It may take some time just because of opening it for the first time. After that, it will open up a prompt something like shown below…. There are two options in the Authentication tab you can go with the windows authentication or else you can go with the SQL Server authentication. In my case I’m going to choose windows authentication because it doesn’t need to enter any credentials it will authenticate based on the windows session.

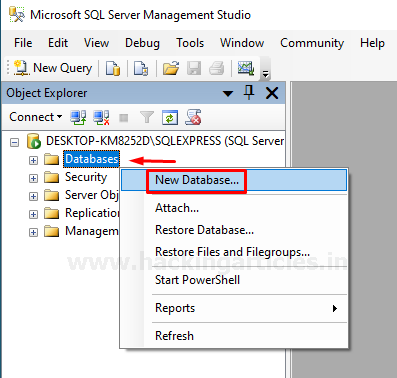
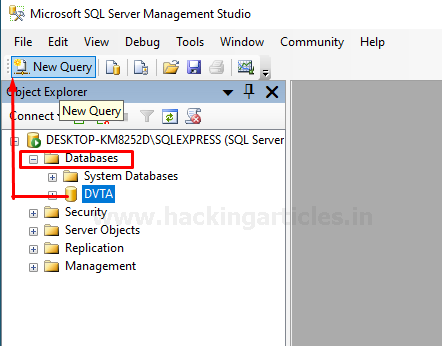
Hit the connect button to access the database that we have installed earlier. Great, we’ve successfully connected with the database. As you can see there are some databases and when you expand Databases there are a couple of system databases but there are not user-defined databases yet. So, Let’s give a right-click to databases to create a new database
Give a suitable name to the database in my case I’m defining the database by the name of DVTA and click ok

Once again when you expand the Database section you can notice that there is a Database created named DVTA. Again, when you expand the DVTA database you can see Tables when you expand it there is a system table there are not any user-defined tables are available.
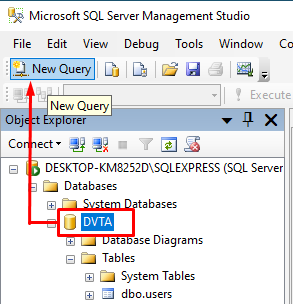
Now, we will have to create some tables and insert some data into it for the DVTA application. To create a new Table click on DVTA and select new Query as shown below.
Let’s create some tables, The first table we’re going to create is called users. To create a new table, we need to create a query as shown below
CREATE TABLE "users" (
    "id" INT IDENTITY(0,1) NOT NULL,
    "username" VARCHAR(100) NOT NULL,
    "password" VARCHAR(100) NOT NULL,
    "email" VARCHAR(100) NULL DEFAULT NULL,
    "isadmin" INT NULL DEFAULT '0',
    PRIMARY KEY ("id")
)
After creating the Query don’t forget to execute it.

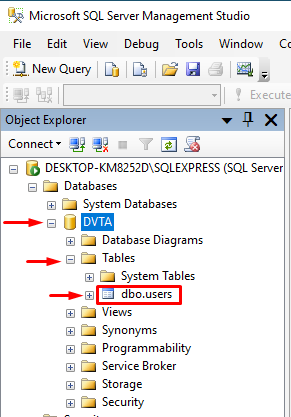
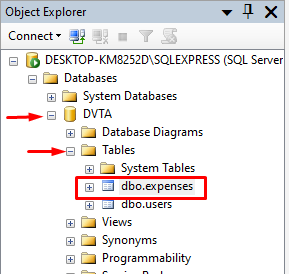
Now, once again when you expand the Tables section under DVTA where a table is created called dbo.users
select the top 1000 rows of dbo.users

There you can see the top five-column named
- Id
- Username
- Password
- Isadmin

But these tables are still empty. So let’s insert some data into that table. Once again select DVTA and create a New Query.
In order to fill some data in dbo.user table we need to create another query as to where we define the id, username, password, email, and role
INSERT INTO dbo.users (username, password, email, isadmin)
VALUES
('admin','admin123','info@ignitetechnologies.in',1),
('vijay','vijay','vijay991133@gmail.com',0),
('raj','raj','info@ignitetechnologies.in',0);
And don’t forget to execute it as shown below

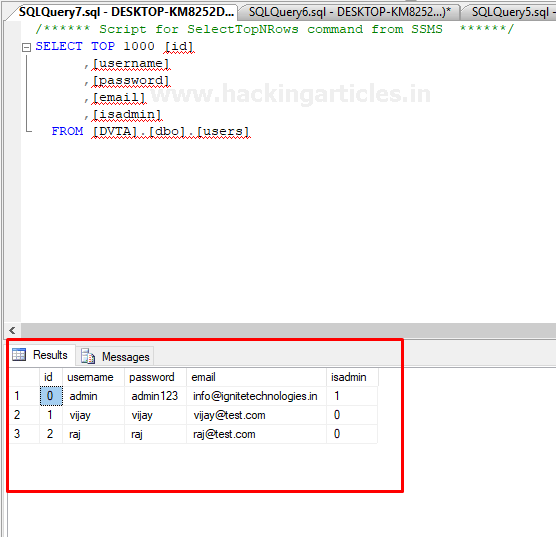
Again select the dbo.users table and open the top 1000 rows

And there you go, if you notice there are three records now
- Admin
- Vijay
- Raj
Each have their own credentials. Admin have administrator privileges and the rest of the two users are standard users.
Let’s create another table called expenses. Select the DVTA database and create a new Query

Use the following Query to create the expenses table
CREATE TABLE "expenses" (
    "id" INT IDENTITY(0,1) NOT NULL,
    "email" VARCHAR(100) NOT NULL,
    "item" VARCHAR(100) NOT NULL,
    "price" VARCHAR(100) NOT NULL,
    "date" VARCHAR(100) NOT NULL,
    "time" VARCHAR(100) NULL DEFAULT NULL,
    PRIMARY KEY ("id")
)
After creating the query execute it.

Now we’ve successfully created two different Tables for the DVTA application
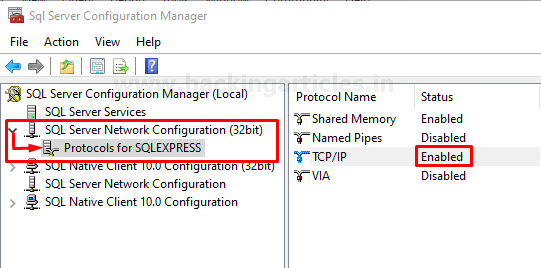
Now there is one more last step left then we can move to the installation of FileZilla Server. Open up the “SQL Server Configuration Manager” by searching it on the start menu. Expand the “SQL Server Network Configuration” and click on Protocols for SQLEXPRESS and enable the TCP/IP protocol as shown below.
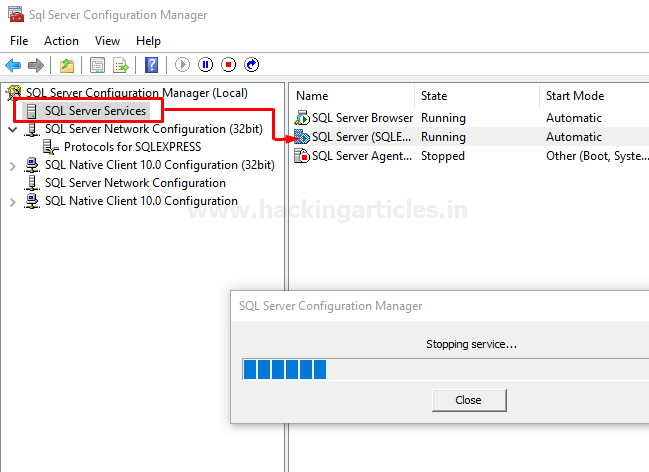
Now it requires a restart. To restart this service, click on SQL Server Services and give a right-click on SQL SERVER EXPRESS and restart it.
Great, now we’re done with SQL Server Setup. Download and install FileZilla Server. You can directly download the FileZilla server by the below link
https://filezilla-project.org/download.php?type=server
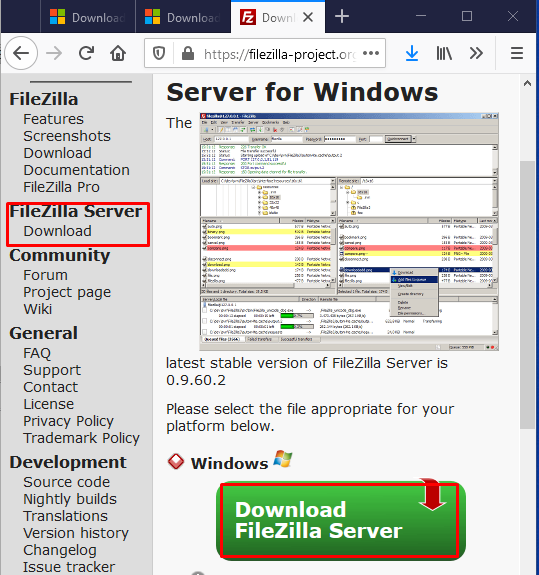
Once that is downloaded give a double click to the installation package and install the FileZilla server. Accept the License terms and hit next and next and install without making any changes.
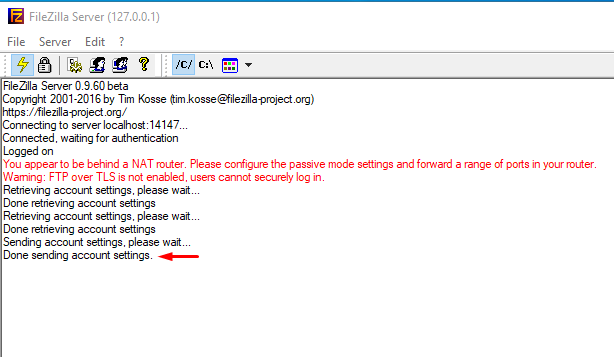
Once this is done The FileZilla Server should be automatically started. Now, we need to do a bit of configuration here
Let’s enter Filezilla as the Password and then click connect

Click on Edit and select users. Now we’re going to create a new FTP user account by clicking ADD button. The username is dvta and then click ok
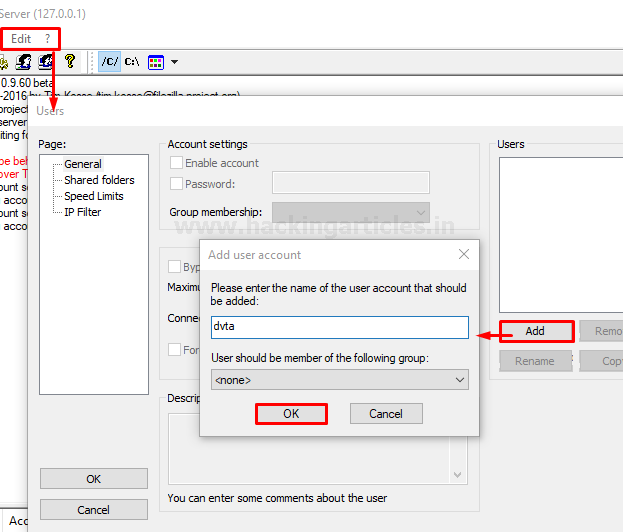
Now, click on the Password This is the same password that we have previously used on the SQL Server that is p@ssw0rd because this is already setup in the DVTA client so, we need to give this same account configuring FileZilla server that’s why I’m choosing this password here along with the user name dvta.

Now one more last step is left to complete the server setup. Navigate to Shared folders and click on the add button and choose a directory that is going to be used by the FileZilla server to place the uploaded files. Further, then give it read and write permissions and finally click ok.

As you can see we have successfully completed the setup of the FileZilla server.
Now we do have FTP Server Setup as well.
Let’s end up here In the next part, we will discuss how to DVTA application to connect to this server.
Author – Vijay is a Certified Ethical Hacker, Technical writer and Penetration Tester at Hacking Articles. Technology and Gadget freak. Contact Here