SMTP Pentest Lab Setup in Ubuntu (Port 25)
Wonder, how your email travels from one device to another? Today in this article, we’ll analyze how an SMTP server is responsible for setting up a connection between two different users in order to share an email over the desired network.
Table of Content
- Understanding the SMTP Protocol
- Introduction to Rain Loop
- Adding a Hostname and Domain name
- Postfix installation
- Configuring Postfix
- Installation of Dovecot
- Setting the lab for Dovecot
- Installation of Rain Loop
Understanding the SMTP Protocol
Simple Mail Transfer Protocol abbreviated as “SMTP” – an application layer TCP/IP protocol, which run over port 25 in order to allow the applications to transfer an email to and through networks by following up a method called “inventory and forward”.
This protocol closely works with something called as Mail Transfer Agent (MTA) in order to send your communication emails to the correct computer and inbox.
SMTP sets out and guides, how your email travels to another device from the MTA of your device to the MTA of others. Using the above-mentioned “store and forward” function, the message will travel from your device to its destination in steps. At each step, the Simple Mail Transfer Protocol will do its job.
Let’s check out the other different protocols that the client applications use in order to retrieve messages.
- POP3 which stands for “Post Office Protocol 3”- is an Internet standard application layer protocol used by the local email clients to access emails from a remote server over a TCP/IP connection. It runs over port 110 to capture the emails.
- IMAP termed as “Internet Mail Access Protocol” which is also an Internet standard protocol used by email clients to retrieve email messages from a mail server via a TCP/IP connection. It uses port 143 to receive emails.
Introduction to Rain Loop
Rain loop is a simple PHP scripted, web-based email client application, that allows the users to access their emails from a single web interface from all their external mailboxes. This is a perfect way to get all of your external mails like Google, Yahoo, and other SMTP inboxes on your own server.
Let’s check out how we can set up an “SMTP mail server” over our “Ubuntu 18.4” machine.
Adding Hostname and Domain Name
Initially, we need to fix our hostname. Simply open the host file with “root privilege” to add up a hostname and domain name using the following command:
sudo nano /etc/hosts
Now add the domain name to the host file and save it.

To modify the default hostname, just open the hostname file with the root privileges again. Now rewrite and save the default hostname as “ignite”, which we have listed in the host file earlier.

Now check the hostname and domain by typing the following command and in order to be sure with the changes you had made.
hostname
hostname -f

Postfix Installation
Postfix is Ubuntu’s default “Mail Transfer Agent” (MTA). This resides in the central repository of Ubuntu, such that it could get all the security updates. Over this section, we’ll learn how to use a safe link to install and configure postfix and set it up as an SMTP server.
apt-get install postfix

For the Postfix configuration, you will be popped up with a dialog box, where you must select the “Internet Site” as a general type of mail configuration as shown in the below image.

Enter the domain name as (mail.ignite.lab), which we have saved as a machine mail name within the host file, and further hit the OK tab.

Configuring Postfix
Postfix was already using the “Maildir” format. It is thus set with the home mailbox = Maildir/ parameter in /etc/postfix/main.cf. Open main.cf file and make the following changes in it and further save that.
sudo nano /etc/postfix/main.cf
Add subnet IP my networks = 127.0.0.0/8 192.168.1.0/24
Enter inet_protocols = ipv4
Add new line home_mailbox = Maildir/

After making changes to the configuration file, simply restart the postfix service by:
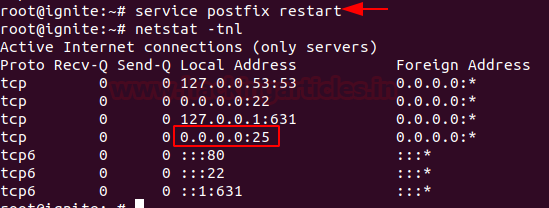
service postfix restart
Now type the following command to view the list of the open ports to listen for incoming connections. You can observe the STATE of port 25 from the below image.
netstat -tnl
Installation of Dovecot
Dovecot is a “Mail Delivery Service”, written mainly with some security sections in mind. This delivery service majorly supports the following mailbox formats i.e. mbox or Maildir.
Therefore in this section, you’ll learn “how to set up an IMAP or a POP3 server”. Run the following command to move further in the league.
apt-get install dovecot-imapd dovecot-pop3d

Dovecot configuration setting
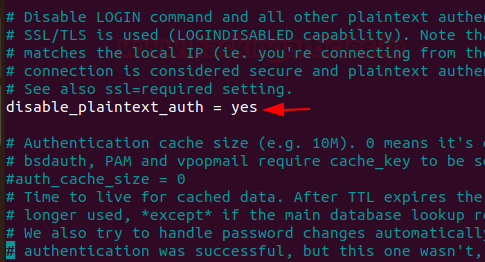
Open “10-auth.conf” file through given below path and make the following changes in it as shown in the given image then save it.
sudo nano /etc/dovecot/conf.d/10-auth.conf
disable_plaintest_auth = yes
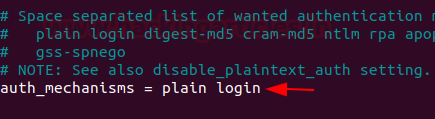
Change auth mechanisms = plain login
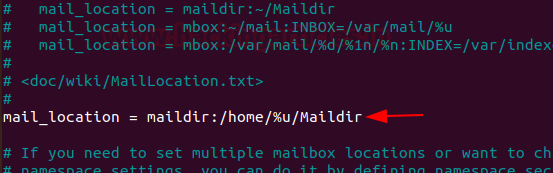
Open the 10-mail.conf file with-
sudo nano /etc/dovecot/conf.d/10-mail.conf
Now make the following changes in this as shown in the given image and then save it.
mail_location = maildir:/home/%u/Maildir
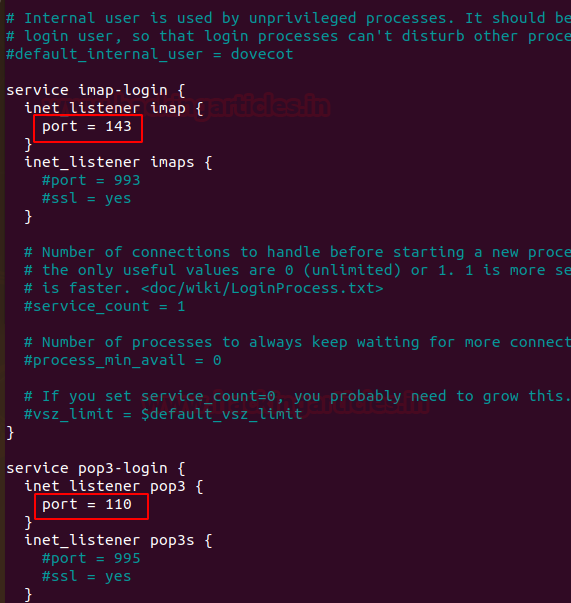
Further, open the 10-master.conf file through the given path and make the amendments:
sudo nano /etc/dovecot/conf.d/10-master.conf
port = 143
port = 110
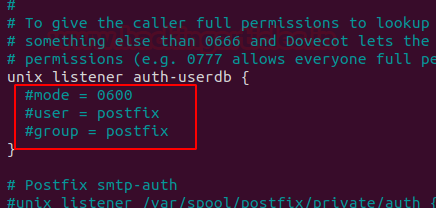
Time to give permissions for unix_listener auth-user DB with:
Mode = 0600
User = postfix
Group = postfix
We’re are almost there, just restart the dovecot service by running up the following command-
service dovecot restart
Scan the running service by using netstat –tnl, to check the available ports to listen to the incoming connections
From the below image, you can observe the STATE LISTEN for the ports 110 and 143.

Installing Rain Loop
As everything is now at its position. Its time to install Rain Loop. Without the need for a database, Rain Loop comes with decent performance, easy installation and update and support for IMAP and SMTP protocols (SSL, STARTTLS), sieve scripts support, Facebook, Google, Twitter, and Dropbox integration and much more.
Let’s start!!
Run the following command in Ubuntu to install Rain Loop.
sudo apt install apache2 php php-curl php-json php-iconv php-xml php-dom php-mysql php-pdo libapache2-mod-php

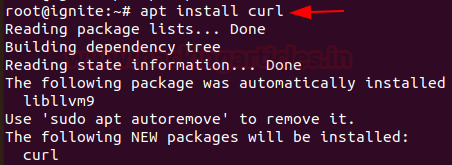
Let’s install Curl, which could help us in our future progress.
apt install curl
Now in the var/www/html folder, simply run the following command-
curl -s http://repository.rainloop.net/installer.php | sudo php

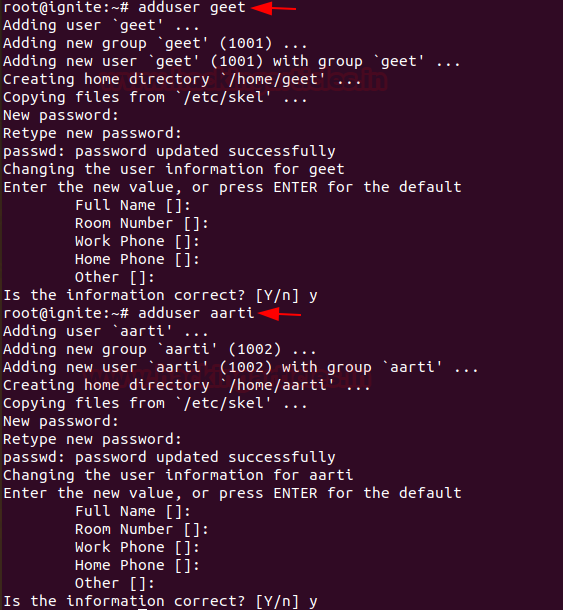
As we’ve installed the Rain Loop server, let’s not try to create some new users. From the below image you can see that I’ve created two users as:
adduser geet
adduser aarti
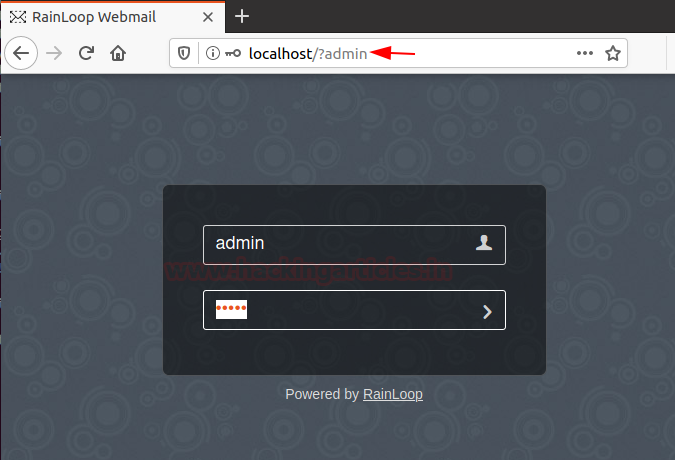
Now simply surf localhost/?admin in your browser and set up the admin account there.
http://localhost/?admin
From the below image, you can see that as we surf the above URL, we’re redirected to the default Rain loop’s admin portal.Default credentials for admin:
Username: admin
Password: 12345
In the dashboard, select the Domains section over in the left-hand panel.

Now click on the Add Domain option provided.
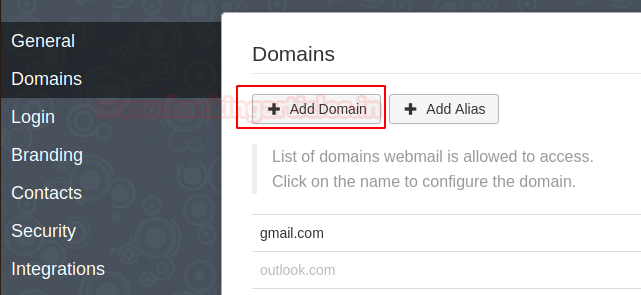
Navigate to the Domains menu, hit on Add Domain, and enter your domain name settings and do the modifications as shown in the below image.

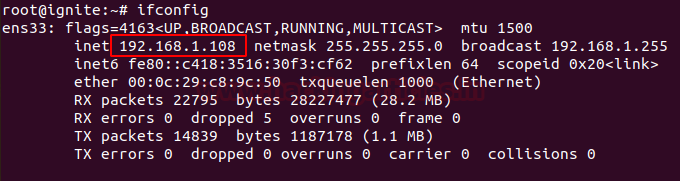
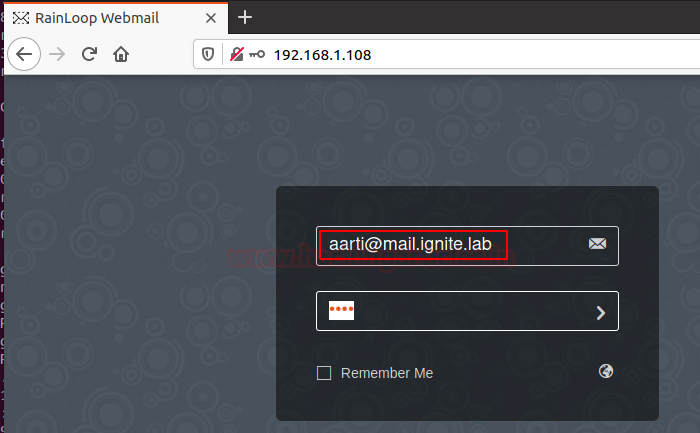
Now, we are all set to send the email. Fire up “ifconfig” in the terminal to check the IP address.
I’ve now browsed the ubuntu’s IP and logged in inside RainLoop as “geet@mail.ignite.lab : 123”. As soon as I hit enter, I got landed into the account, where I can send any mail to any user in the domain, as of like the other mail agents.
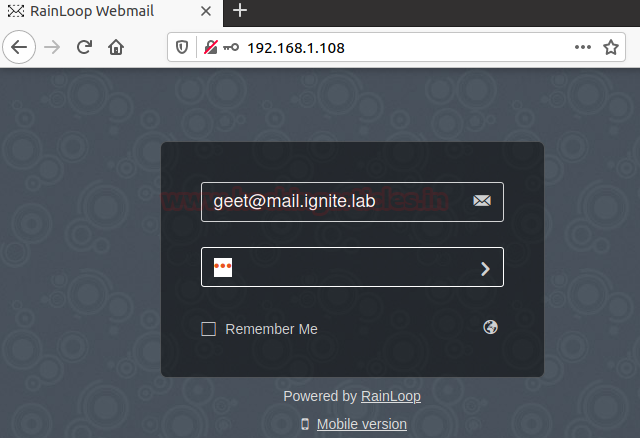
From the below image, you can observe that the user geet is trying to send a mail to the user aarti of the same domain.

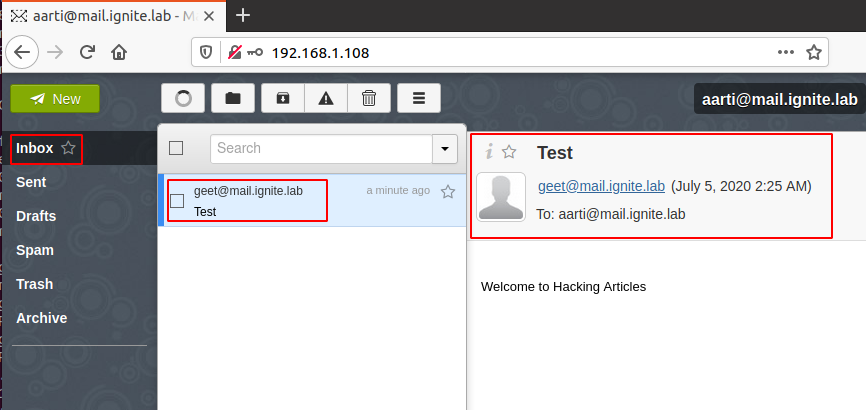
Now, as the user aarti logs in into her account to verify whether she had received the email from the user geet or not.
Great!! From the below image, you can see that the user Aarti has successfully got the mail from the user Geet.
Author: Geet Madan is a Certified Ethical Hacker, Researcher and Technical Writer at Hacking Articles on Information Security. Contact here
Hi, thank you for this beautiful article!
I have one question: in “Configuring Postfix” what if my subnet IP is like 192.168.0.0 ? Should I write in this way?
Cheers