Penetration Testing Lab Setup: WordPress
In this post, we will demonstrate how to set up a vulnerable WordPress CMS for penetration testing on Ubuntu 20.04, using Docker and XAMPP on Windows.
Table of Content
- WordPress Setup on Ubuntu 20.04
- Install WordPress using Docker
- Install WordPress on the Windows Platform
WordPress Setup on Ubuntu 20.04
In order to configure WordPress on your Ubuntu platform, there are some prerequisites required for CMS installation.
Prerequisites for WordPress
- Apache
- Database (MySQL/MariaDB)
- PHP
Install Apache
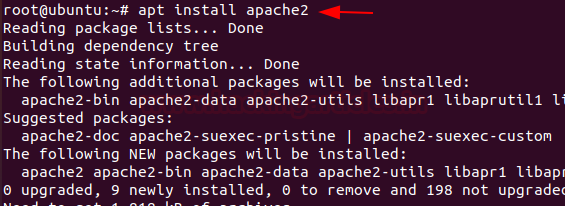
Let’s start the HTTP service with the help of Apache using a privileged account (as root), execute the following command in the terminal.
apt install apache2
Install MySQL
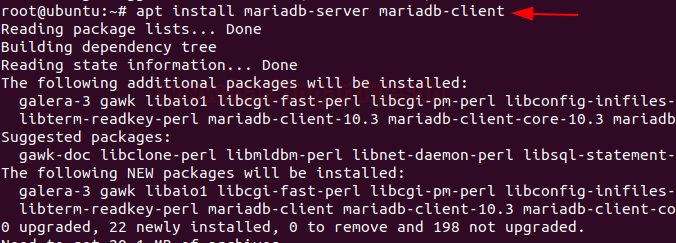
To run WordPress, you will also need a database server. The database server is where WordPress content is saved. So, we are going to choose MariaDB-server as the required database for WordPress and execute the following command
apt install mariadb-server mariadb-client
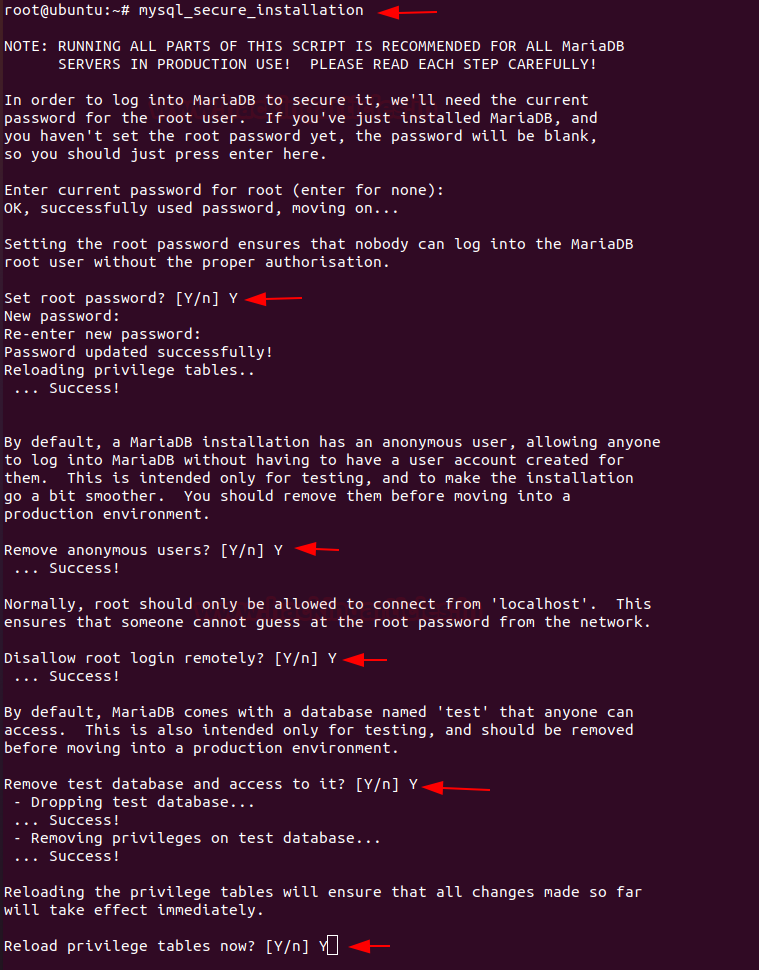
Next, execute the following commands to protect remote root login for the database server.
mysql_secure_installation
Then respond to questions asked after the command has been executed.
- Enter current password for root (enter for none): press Enter
- Set root password? [Y/n]: Y
- New password: Enter password
- Re-enter new password: Repeat password
- Remove anonymous users? [Y/n]: Y
- Disallow root login remotely? [Y/n]: Y
- Remove the test database and access to it? [Y/n]: Y
- Reload privilege tables now? [Y/n]: Y
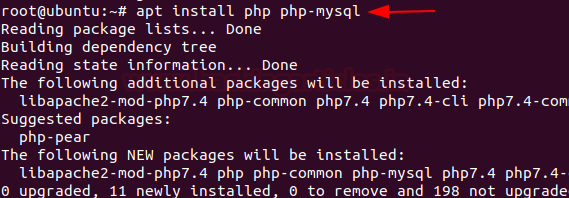
Install php
And at last, install the PHP MySQL and run the following command to install this application.
apt install php php-mysql
Create a Database for WordPress
To access MySQL, enter the following command, which will create a database for WordPress.
mysql -u root -p
CREATE DATABASE wordpress;
CREATE USER 'wp_user'@'localhost' IDENTIFIED BY 'password';
GRANT ALL ON wordpress.* TO 'wp_user'@'localhost' IDENTIFIED BY 'password';
FLUSH PRIVILEGES;
exit

WordPress Installation & Configuration
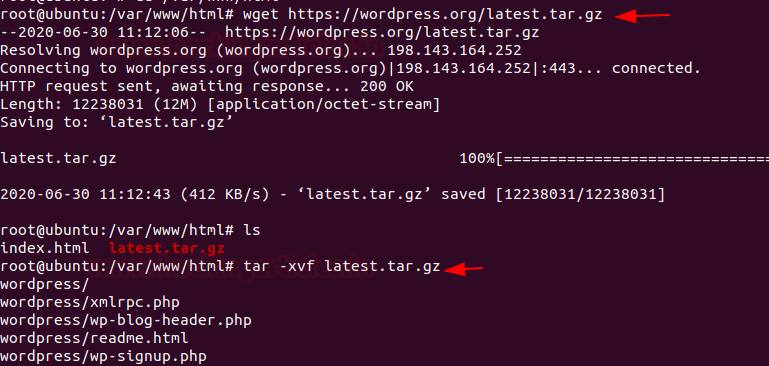
Now, it’s time to download and install WordPress on our localhost. With the help of the wget command, we have fetched the compressed file of WordPress setup and extracted the folder inside the /var/www/html directory.
cd /var/www/html
wget http://www.wordpress.org/latest.tar.gz
tar –xvf latest.tar.gz
Then run the given command to change ownership of the ‘wordpress’ directory as well permission for the upload directory.
chown -R www-data:www-data wordpress/
chmod -R 755  wordpress/
mkdir wordpress/wp-content/uploads
chown -R  www-data:www-data wordpress/wp-content/uploads

Now, we have completed the installation up to this point; to create a WordPress website, we need to access the application over the web browser on localhost by executing the following steps, and then complete the remaining installation process.
http://localhost/wordpress/
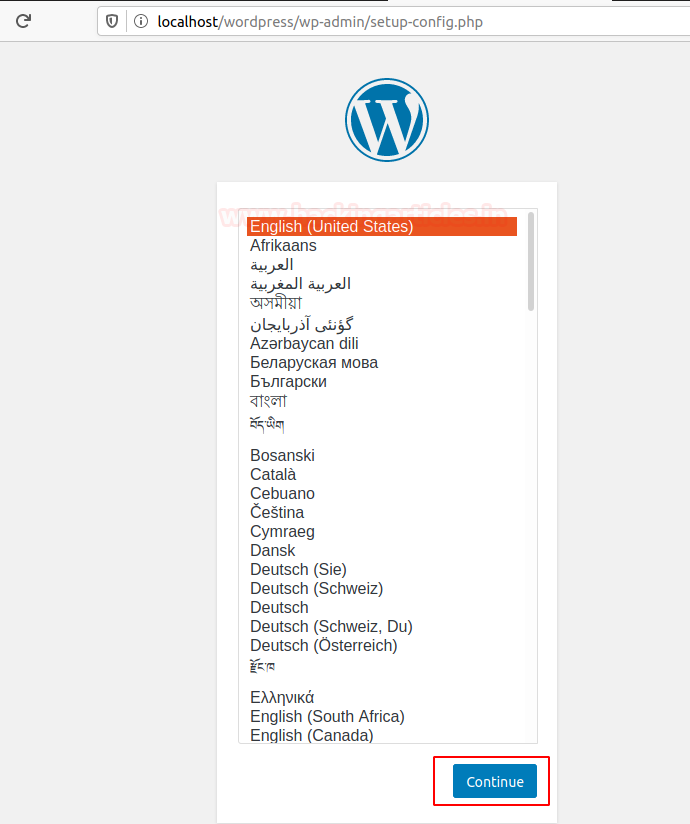
This will open the setup file and ask you to choose your preferred language. I select English and then press the continue button.
Read the given content and press Let’s go to continue the activity.

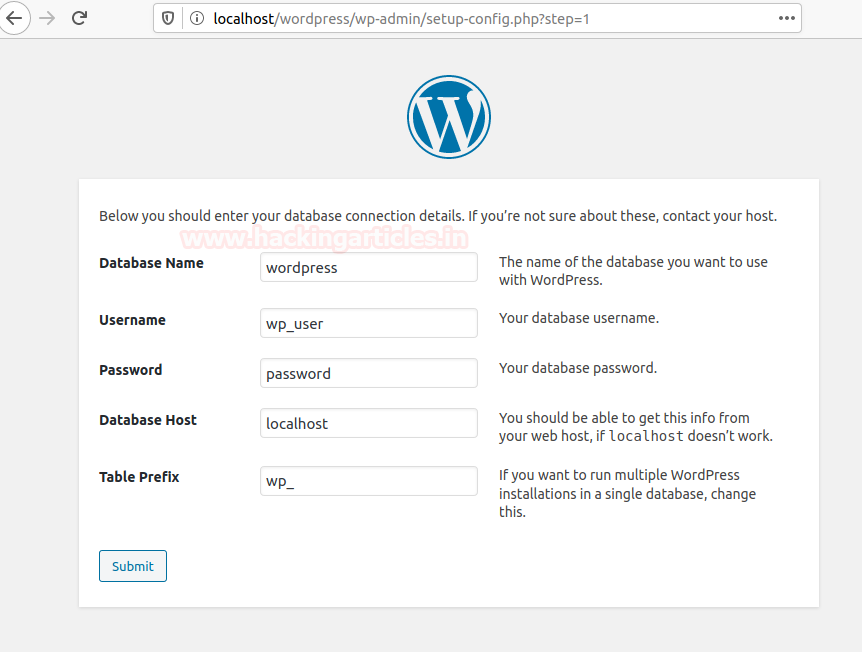
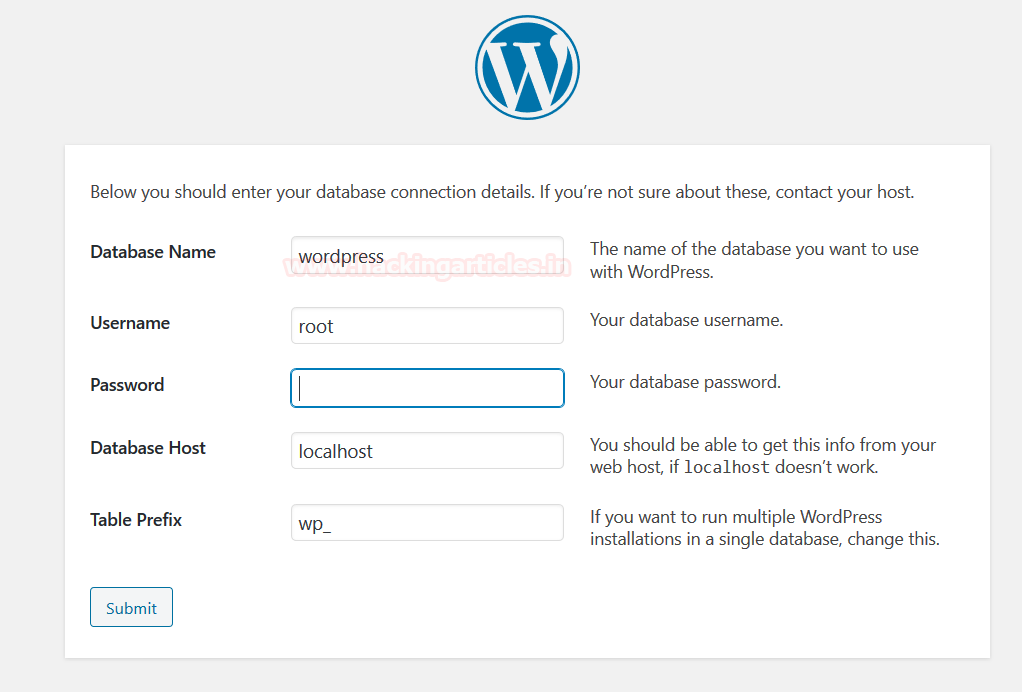
To continue the activity, we need to enter the required details that will help the application to connect with the database, thus it should be the same information that we have entered above at the time of database we have created for WordPress.
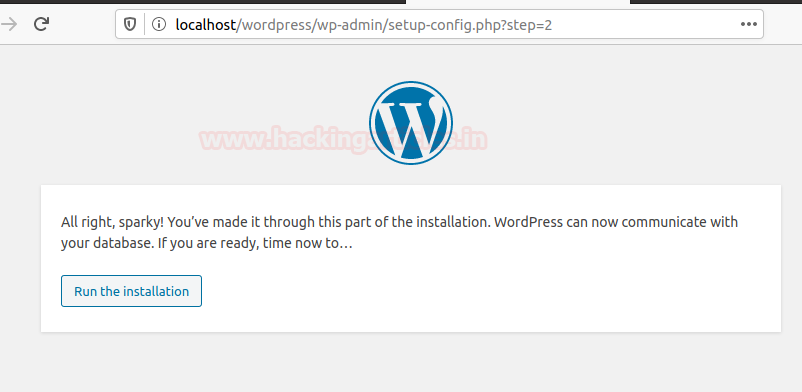
And if your above-given detail is correct, you will get the Installation page as we have here.
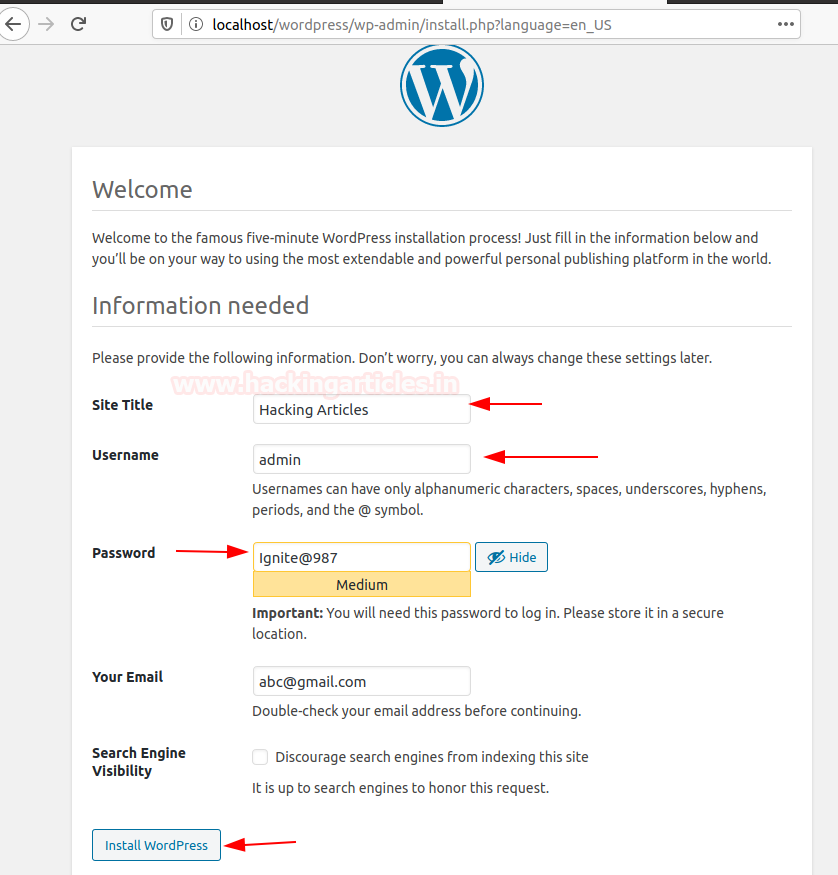
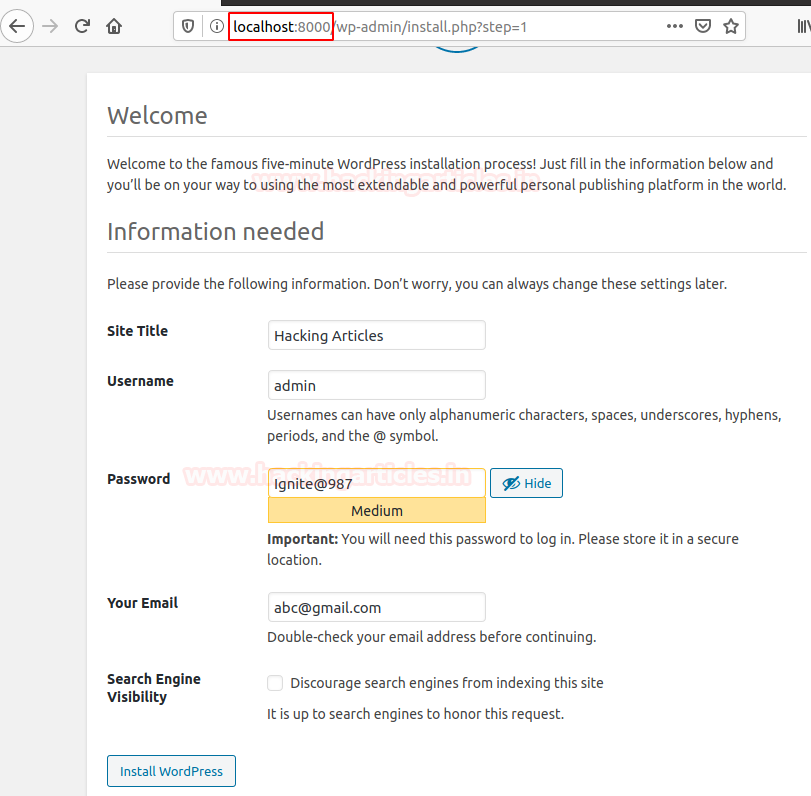
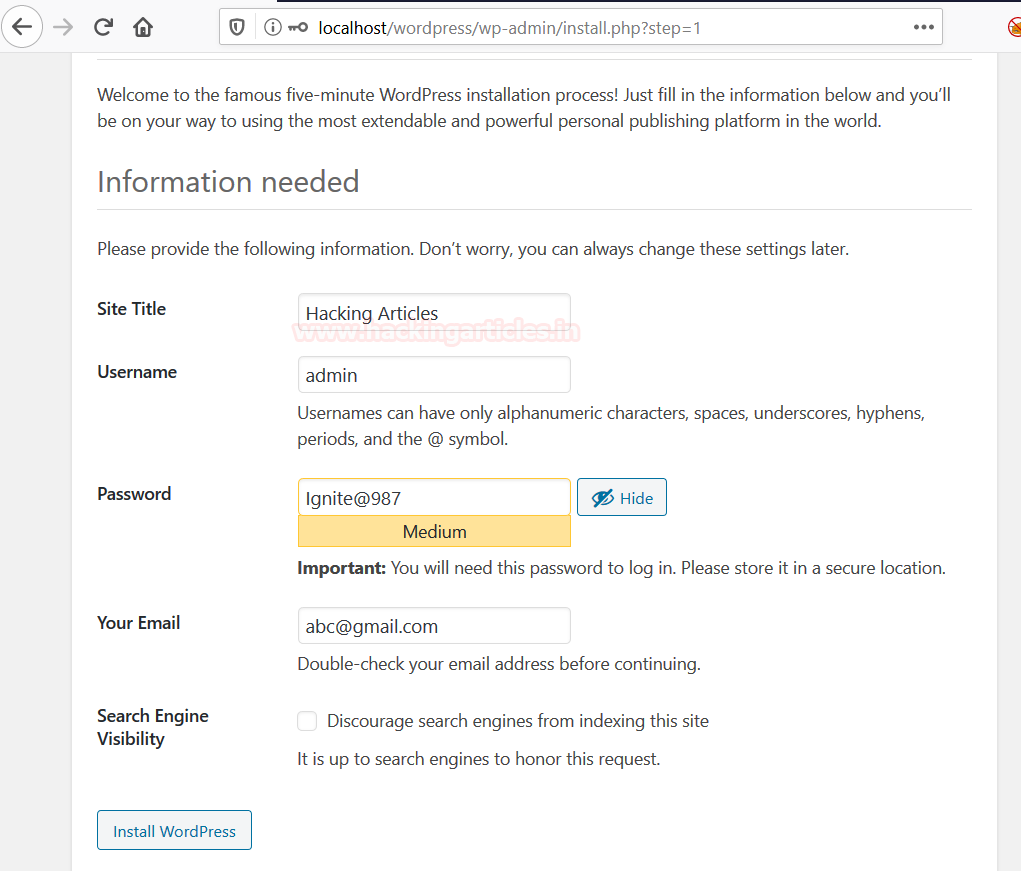
Now, after that, it will ask you to enter details for your Website which you want to host using WordPress CMS as shown in the image below, and then finally click on the install Tab.
Note:
The User and Password asked before the installation is referred to your Database information, and the username and password asked after installed are referred to your application (CMS).
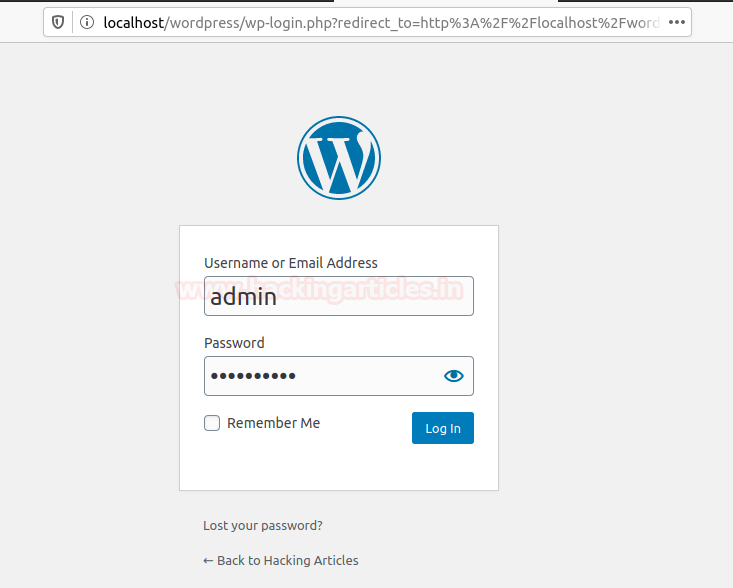
And once it is done, you will get the application login page where you have to enter credentials to access the dashboard of your CMS.
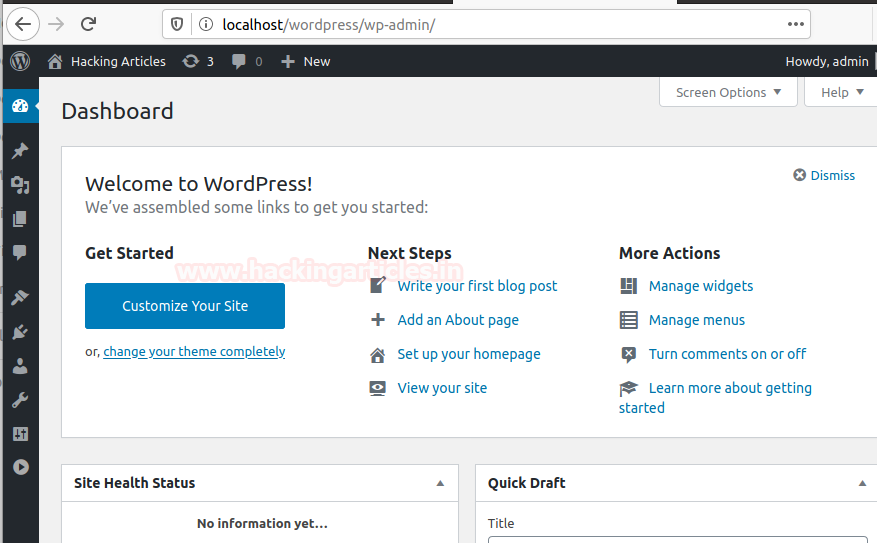
You will get the dashboard where you can write your content to be posted on the website.
Open the wp-config.php file in WordPress directory and paste the following lines in it to access the website page.
define( 'WP_SITEURL', 'http://' .$_SERVER['HTTP_HOST'].'/wordpress');
define( 'WP_HOME', 'http://' .$_SERVER['HTTP_HOST'].'/wordpress');

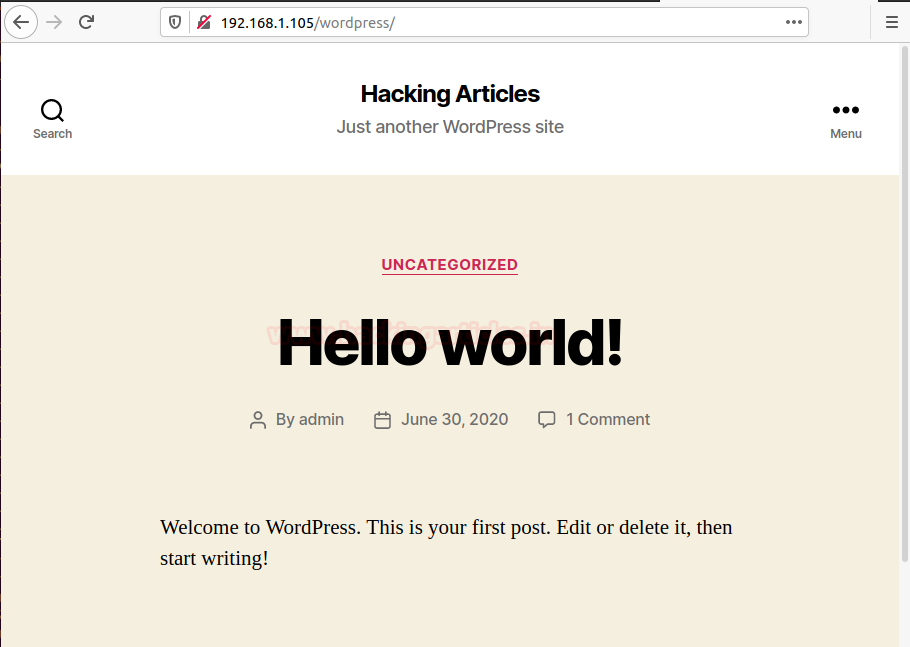
And finally, it is over here, and your WordPress is completely ready to go😊.
Install WordPress using Docker
Installing WordPress through Docker will release your effort of installing prerequisites for WordPress setup. It is a very easy and quick technique to configured WordPress. All you need to have some basic knowledge of Docker and its functionalities.
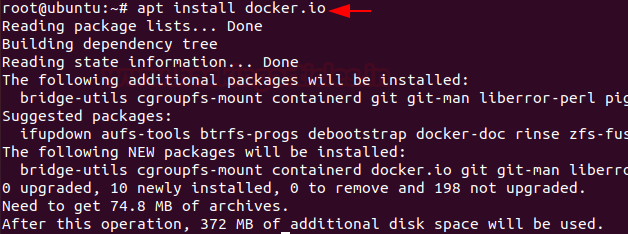
To install wordpress using docker, first, we will update the Ubuntu repository and then install the latest version of docker.io. Let’s start the installation of docker packages with the apt command as below:
apt install docker.io
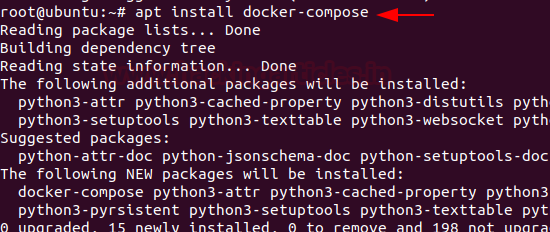
Docker Compose is used to run multiple containers as a single service. Let’s begin the installation of docker-compose with the help of apt by entering the following command.
apt install docker-compose
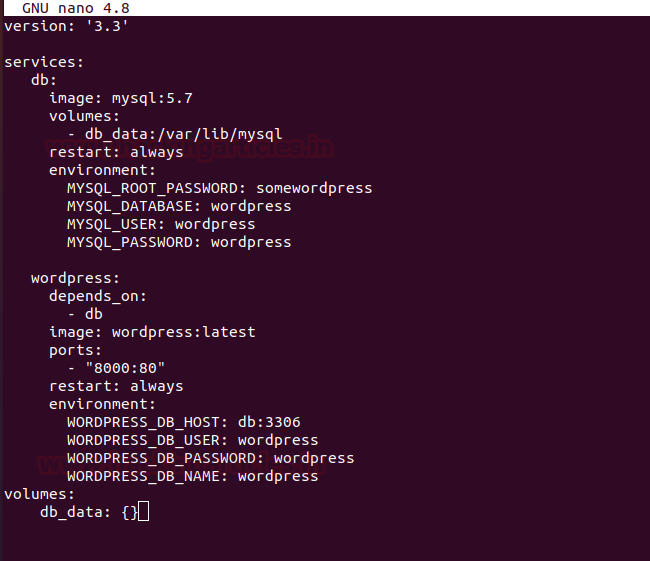
After installing the composer for the Docker, we must create a directory by the name of WordPress. After creating the directory, we will create a .yml file that will contain the service definitions for your setup.
mkdir wordpress
cd wordpress/
nano docker-compose.yml

Now, paste the following text in the .yml and save the configuration. Source Code From here
version: '3.3' services:
db:
image: mysql:5.7
volumes:
- db_data:/var/lib/mysql
restart: always
environment:
MYSQL_ROOT_PASSWORD: somewordpress
MYSQL_DATABASE: wordpress
MYSQL_USER: wordpress
MYSQL_PASSWORD: wordpress

wordpress:
depends_on:
- db
image: wordpress:latest
ports:
- "8000:80"
restart: always
environment:
WORDPRESS_DB_HOST: db:3306
WORDPRESS_DB_USER: wordpress
WORDPRESS_DB_PASSWORD: wordpress
WORDPRESS_DB_NAME: wordpress
volumes:
db_data: {}
Now run the Docker image in detached mode using the following command
docker–compose up -d
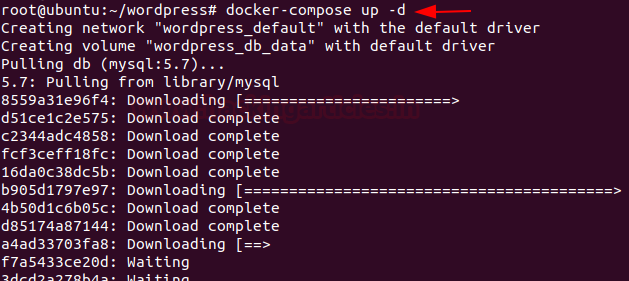
After doing all the configuration step-by-step, now access the localhost on port 8000 that will be hosting your WordPress Docker image and configure your WordPress site as done in the previous section.
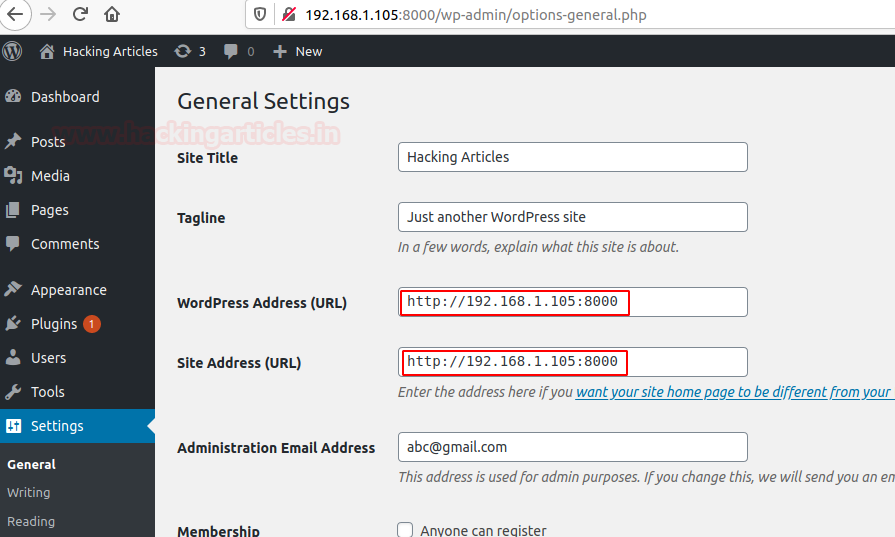
You will get the dashboard where you can write your content that to be posted on the website. But here we need to make some changes inside the setting so that the wordpress after installation it will work properly. Thus, enter your localhost IP address with a port number on which your docker image is running.
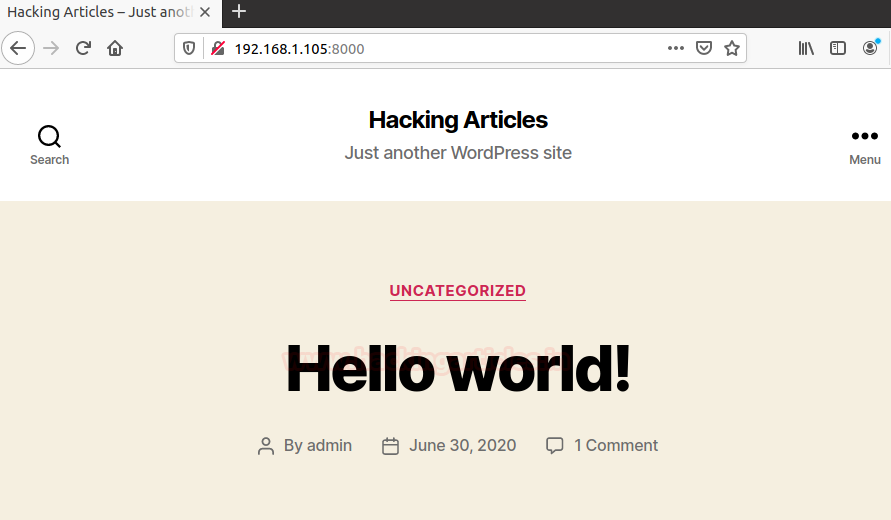
And finally, it is over here, and your WordPress is completely ready to go but over port 8000 as shown here 😊.
Install WordPress on Windows Platform
Installation of WordPress is also very easy as compared to ubuntu because to fulfil the prerequisites of LAMP Server we can use XAMPP that will complete the all required dependency like apache and MySQL for WordPress.

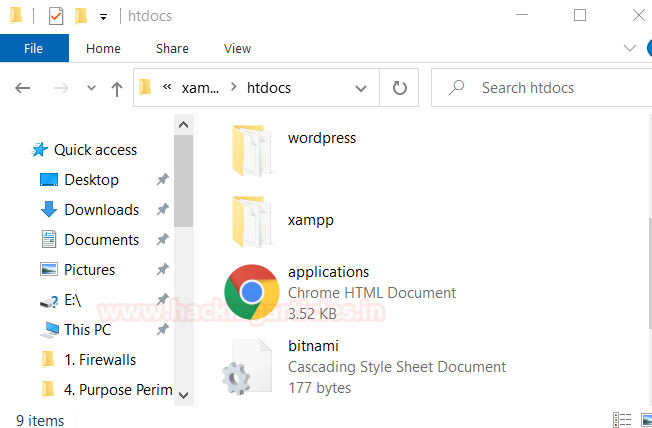
Now download the extracted zip file of WordPress inside the /htdocs folder in /xampp folder in C-Drive.
Then, open the PHPMYADMIN in a web browser by accessing /localhost/phpMyAdmin and create the database for WordPress to store its data.

Now in order to configure wordpress, explore the /localhost/wordpress/ and then enter the detail for the database.
Note: By Default, XAMPP DB_User is root and DB_Pass is empty <blank>
So as per XMAPP database configuration, we entered the following details in the given record.
Now again repeat the same step as done in the above section.
You will get the dashboard where you can write your content that to be posted on the website.

To make it vulnerable WordPress platform in order to perform penetration testing I have installed some vulnerable plugin as highlighted in the image.
To know how we can go do WordPress Penetration testing read this article.
WordPress Vulnerable Plugin
https://www.exploit-db.com/exploits/40290
https://www.exploit-db.com/exploits/36374
https://www.exploit-db.com/exploits/44883

Author – Paras khorwal is a Certified Ethical Hacker, Technical writer and Penetration Tester at Hacking Articles. Technology and Gadget freak. Contact Here