Forensic Investigation: Autopsy Forensic Browser in Linux
Autopsy® is a digital forensics platform and graphical interface to The Sleuth Kit® and other digital forensics tools. It is an open-source tool for digital forensics which was developed by Basis Technology. Autopsy Forensic Browser is a built-in application in Kali Linux operating system, so let’s power on the Kali in a Virtual Machine. This tool is free to use and is very efficient in nature investigation of hard drives. It also consists of features like multi-user cases, timeline analysis, keyword search, email analysis, registry analysis, EXIF analysis, detection of malicious files, etc
- Investigator can analyse Windows and UNIX storage disks and file systems like NTFS, FAT, UFS1/2, Ext2/3 using Autopsy.
- Law enforcement, military, and corporate examiners use Autopsy to conduct investigations on a victim’s or a criminal’s PC.
- One can also use it to recover photos from one’s camera’s memory card.
Table of Contents
- Introduction
- Creating a New Case
- Adding Image File
- File Analysis- File Browser mode and Metadata Analysis
- File Type
- Image Details
- Keyword Search
- Conclusion
Creating A New Case
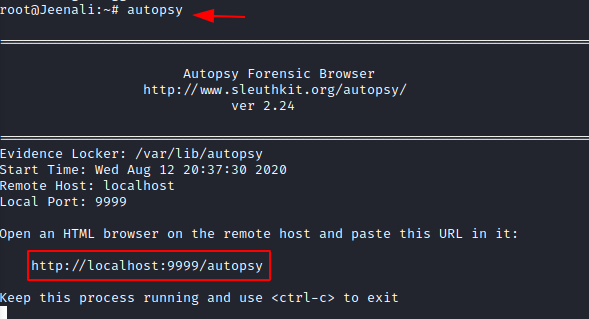
Open a new terminal and type ‘Autopsy’ and open http://localhost:9999/autopsy in your browser where you will be redirected to the home page of Autopsy Forensic Browser. It will run on our local web server using the port 9999.
Now you will see three options on the home page.
- Open Case
- New Case
- Help
For the investigation, you need to create a new case and click on ‘New case’. In doing this it will add a new case folder to the system and allow you to begin adding evidence to the case.

Now you will be directed to a new page, where it will require case details. You can Name the case and mention the description. You can also mention the names of multiple investigators working the case. After filling in these details, now you can select ‘New case’

The new case will be stored in i.e. /var/lib/autopsy/case1/, and the configuration file will be stored in/var/lib/autopsy/case01/case.aut. Now , create the host for investigation and click on ‘Add Host’.

Once you add host, put the name of the computer you are investigating and describe the investigation. You can also mention the time zone or you can also leave it blank which will select the default setting, time skew adjustments may be set if there is a difference in time and you can add the new host. Click on ‘Add Host’.

The path to the evidence directory will be displayed and now you can proceed to add an image for investigation.

Adding Image File
Digital forensics has a golden rule: never work on the original evidence, so create an image of the original evidence. You can create an image using various methods, tools, and formats.
Once you acquire the image, you can use the ‘Add Image File’ option to import the image file in order to analyse.

Mention the path to the image file and select the file type. Also, choose the import method of your choice and click on ‘Next’.

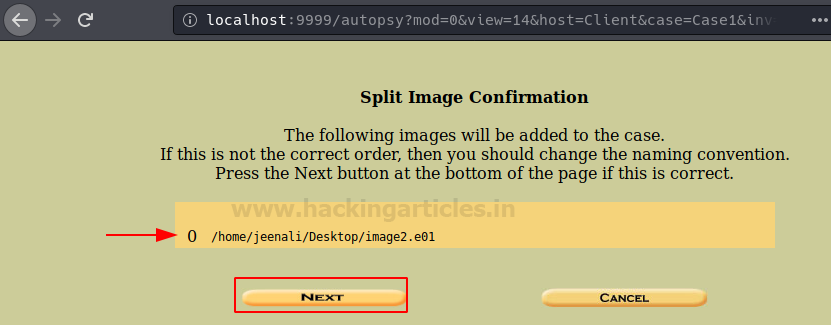
You can now confirm that the system has added the Image file to the evidence locker and click on ‘Next’.
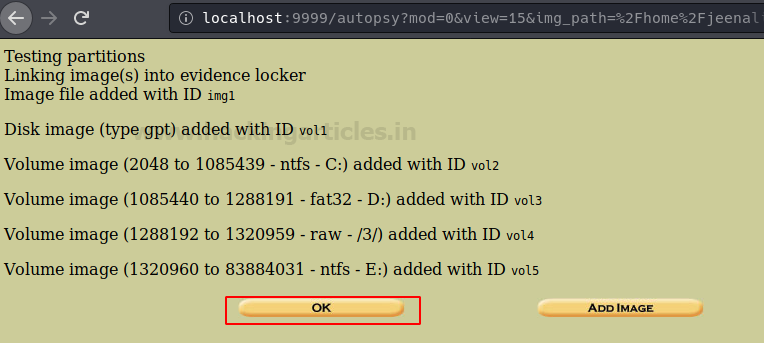
The system will display the image file details, the file systems’ details, the number of partitions, and the mount points, and then you can click on ‘Add’ to proceed.

Now the Autopsy will test the partitions and links them to the evidence locker, then click on ‘Ok’ to proceed.
Now select the volume to be analyzed and click on ‘Analyze’.

File Analysis-File Browser Mode and Metadata Analysis
Now, it will ask you to choose the mode of analysis that you want to conduct and here we are conducting an analysis of the file, therefore click on ‘File Analysis’.

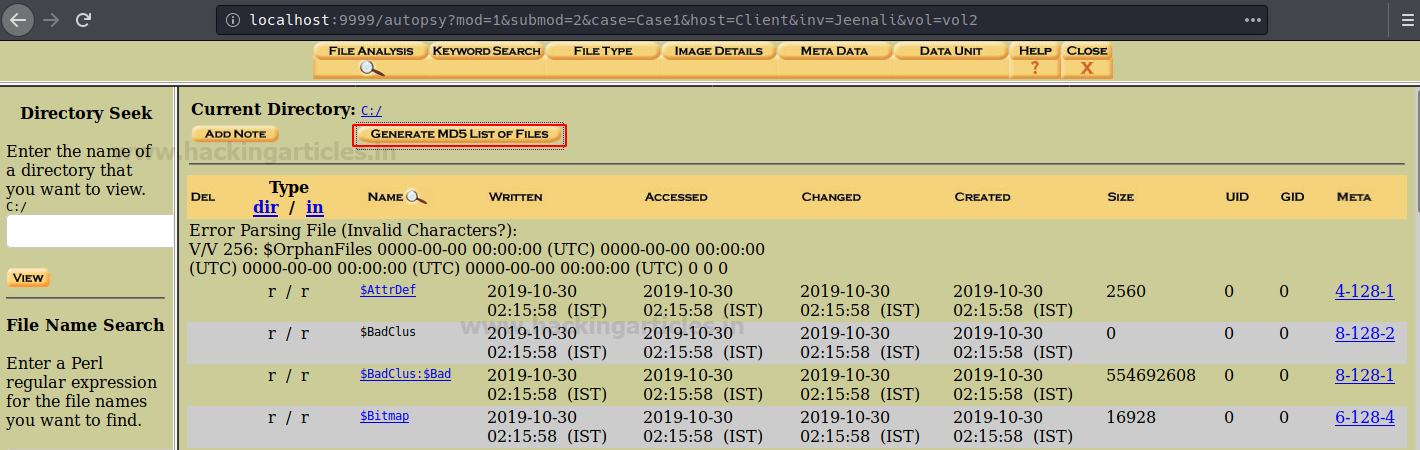
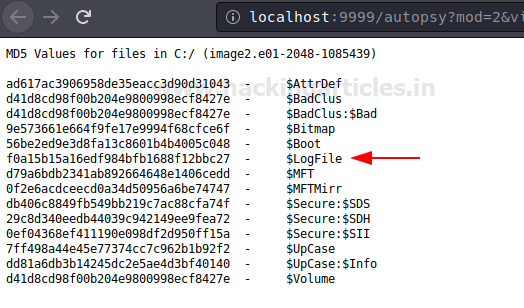
Now files will appear, which will give you the list of files and directories that are inside in this volume. From here you can analyze the content of the required image file and conduct the type of investigation you prefer. You can first generate an MD5 hash list of all the files present in this volume to maintain the integrity of the files, hence click on ‘Generate MD5 List of Files’.
Now you can see the MD5 values of the files in volume C of the image file.
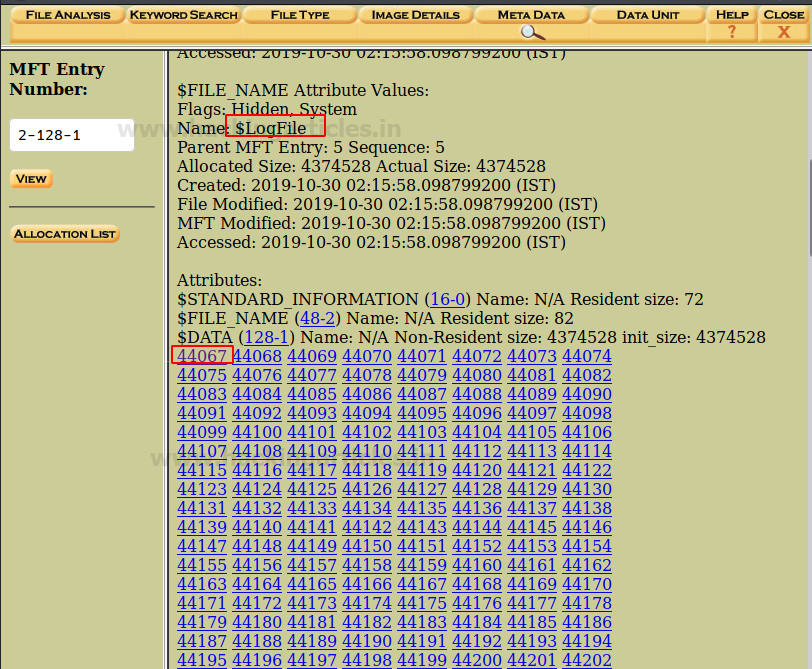
The file browsing mode provides details of the directories that are shown below. The details include the time and date when someone last wrote, accessed, and changed the directories, as well as the time of creation, size, and metadata. This displays all the details, so to view the metadata, click on the ‘Meta’ option of the Log file that you want to view.

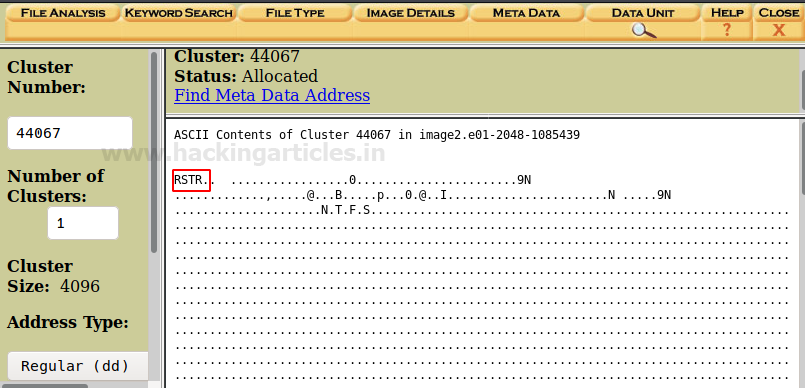
Here you can see the metadata information about the directory. In order to see more details, click on the first cluster ‘44067’ in order to view its header information to find any relevant information to the case.
Here you can see the information about the header of the cluster.
Then in order to view the file types of the directories, then click on ‘File Type’

File Type
Here you will be able to sort the files based on the different types of files in the volume. By using this feature, you can examine allocated, unallocated as well as hidden files. To sort the file, click on ‘Sort Files by Type’.
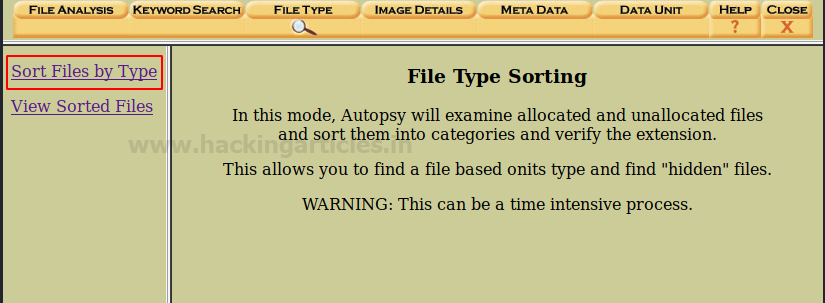
Click on ‘Sort files into categories by type,’ which you select by default, and then click ‘OK’ to start sorting the files.

The system will display the categories of the file types. Now to view the sorted files, click on ‘View sorted files,’ and the list of sorted files will appear.

The user will specify the information when first creating the case, which will cause the output folder locations to vary, but you can usually find them at /var/lib/autopsy/Case1/Client/output/sorter-vol2/index.html. Once you open the index.html file, click on the images to view their contents.

Now you can see Images categories and further investigate the files depending on the case requirement.

Image Details
Now click on the Image details options to view the important details about this image file

Here in this option of file analysis, you can see file system information, the first cluster of MFT, cluster size etc.

Keyword Search
To ease the search of a file or document you can make use of the keyword search option to make your investigation time-efficient. Click on ‘Keyword Search ‘to proceed.

You can input the keyword or any relevant string to proceed with the investigation and click on search.

Conclusion
Hence, you as a Digital Forensics Investigator can make use of these different options of tools in the Autopsy Forensic Browser in Kali Linux. This collection of tools creates quite a powerful forensic analysis platform.
To learn more about Cyber Forensics. Follow this Link
Author: Jeenali Kothari is a Digital Forensics enthusiast and enjoys technical content writing. You can reach her on Here
Hello
Thanks for this interesting article.
Where can I download the disk image file to test?
Thanks for your help
Best regards, Marc
You can get the disk Image from here- https://www.hackingarticles.in/forensic-investigation-ghiro-for-image-analysis/