Comprehensive Guide on Autopsy Tool (Windows)
Autopsy is an open-source tool that performs forensic operations on the disk image of the evidence. Here, we display the forensic investigation that we conduct on the disk image. The results we obtain here help investigators locate relevant information. Law enforcement agencies and local police use this tool, and corporates can also use it to investigate evidence found in a computer crime. Additionally, users can utilize it to recover erased information.
Table of Contents
- Creating a New Case
- Data Sources
- Views
- File Type
- MIME-type
- Deleted Files
- MB File size
- Results
- Extracted Content
- Keyword Hits
- Timeline
- Discovery
- Images/Videos
- Add File Tags
- Generate Reports
So, let us get started! Download the Autopsy Tool from here.
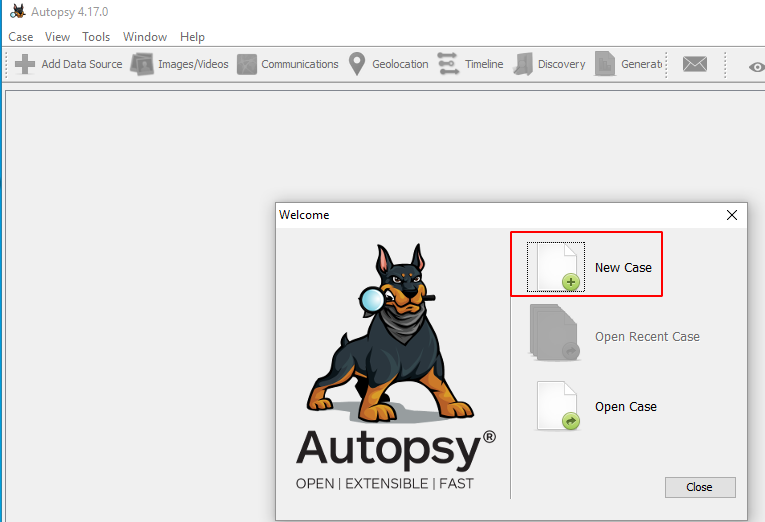
Creating a new Case
Run the Autopsy tool on your Windows Operating System and click on “New Case” to create a new case.
Then fill in all the necessary case information like the case name and choose a base directory to save all the case data in one place.
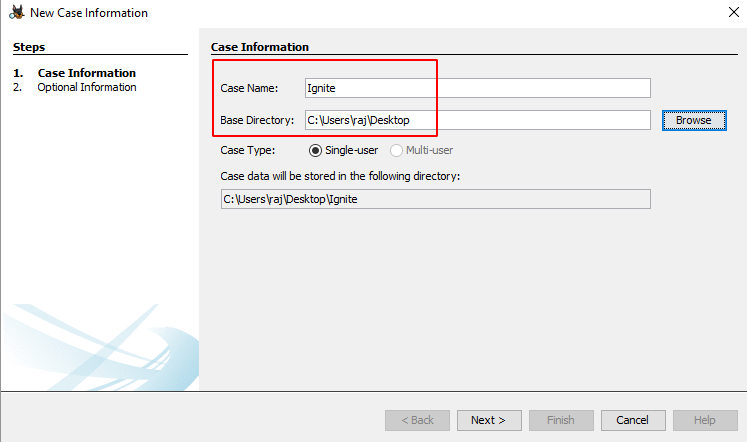
You can also add additional optional information about the case if required.

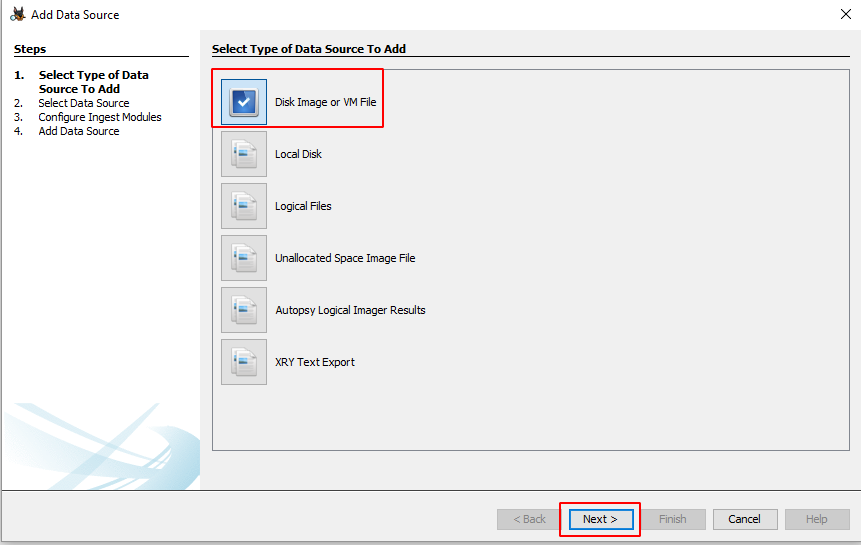
Now let us add the type of data source. There are various types to choose from.
Disk Image or VM file: This includes the image file which can be an exact copy of a hard drive, media card, or even a virtual machine.
Local Disk: This option includes devices like Hard disk, Pen drives, memory cards, etc.
Logical Files: It includes the image of any local folders or files.
Unallocated Space Image File: They include files that do not contain any file system and run with the help of the ingest module.
Autopsy Logical Imager Results: They include the data source from running the logical imager.
XRY Text Export: This includes the data source from exporting text files from XRY,
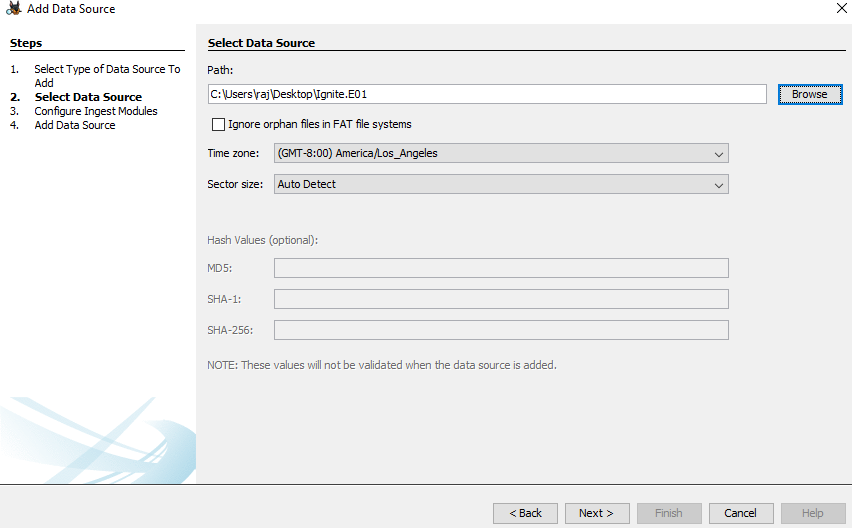
Now let us add the data source. Here we have a previously created image file, so we will add the location of that file.
Next, the system will prompt you to configure the Ingest Module.

Below, you will find the contents of the Ingest module:
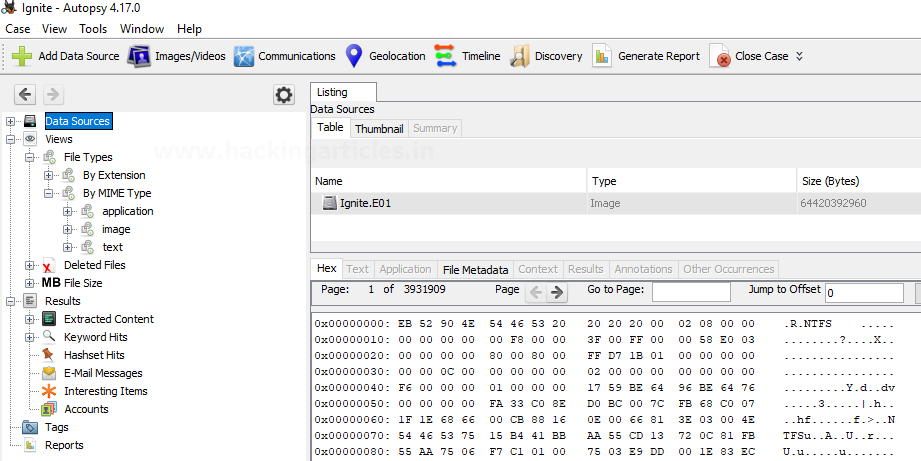
Data Source information displays basic metadata. At the bottom, we display its detailed analysis. You can extract it one after the other.
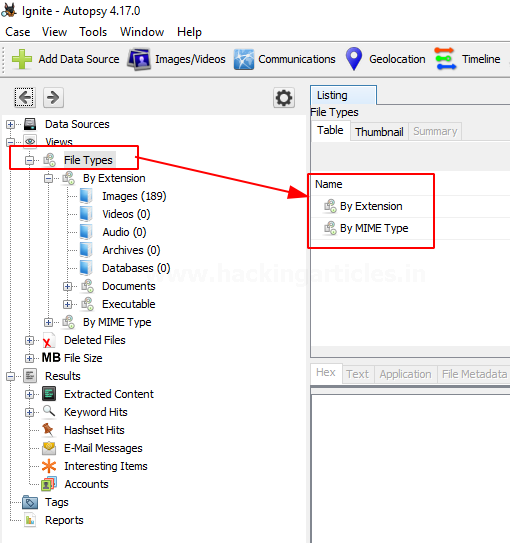
Views
File Type: It can be classified in the form of File extension or MIME type.
It provides information on commonly used file extensions by the OS, while the browser uses MIME types to decide what data to represent. It also displays deleted files.
Note: You can categorize these file types depending on Extension, Documents, Executables.
By Extension
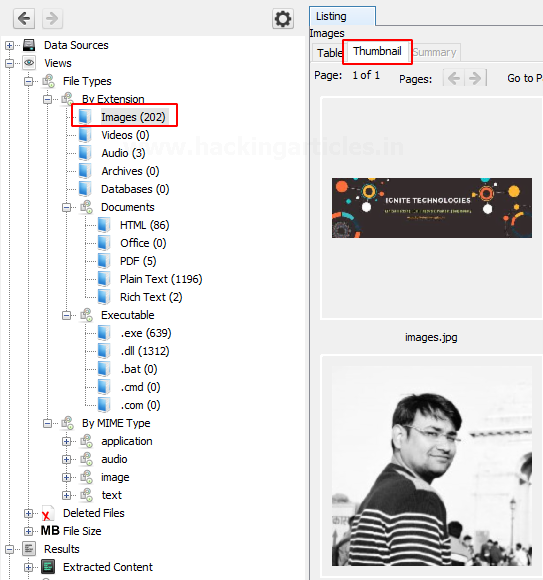
In the category Filetypes by extension, you can see that they sub-divided this into file types like images, video, audio, archives, databases, etc.
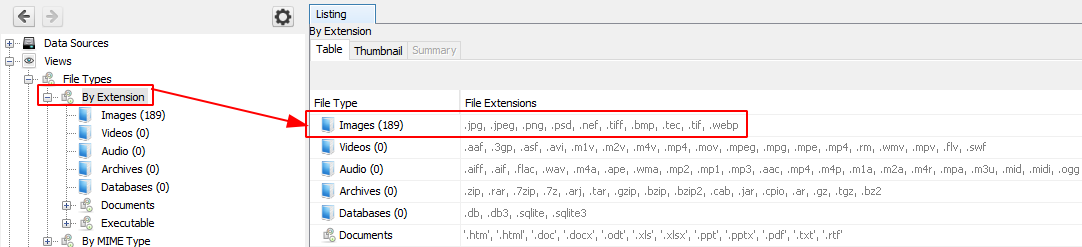
Let us click on images and explore the images that have been recovered.

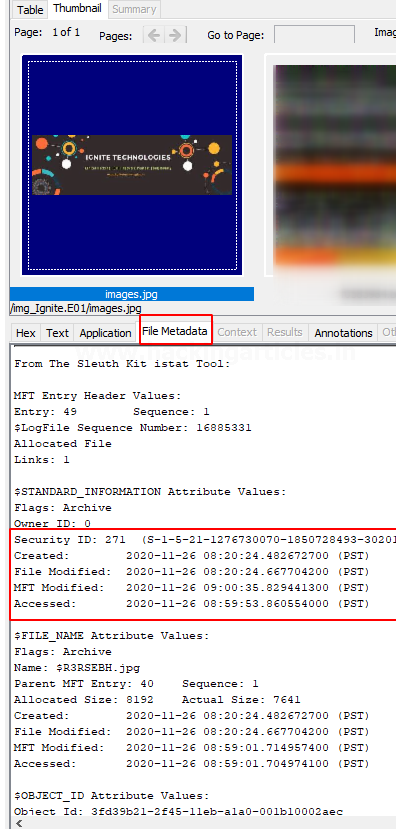
We can also view the thumbnail of the images.
On viewing the thumbnail, you can view the file metadata and details about the image.
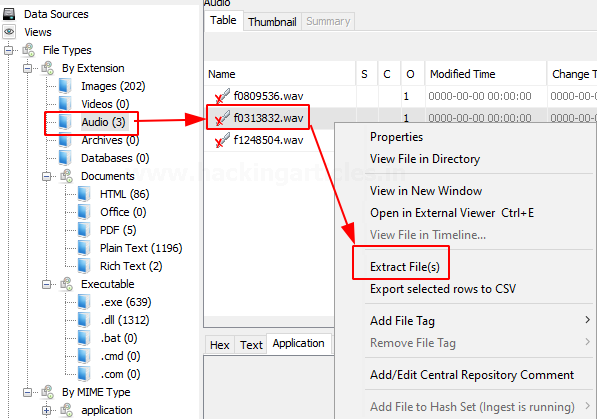
Here we can also view a few audio files that have been recovered. We can extract these files from the system and hear to them using various software.
Documents
The documents are categorized into 5 types: HTML, office, PDF, Plain Text, Rich Text.
On exploring the documents option, you can see all the HTML documents present, you can click on the important ones to view them.

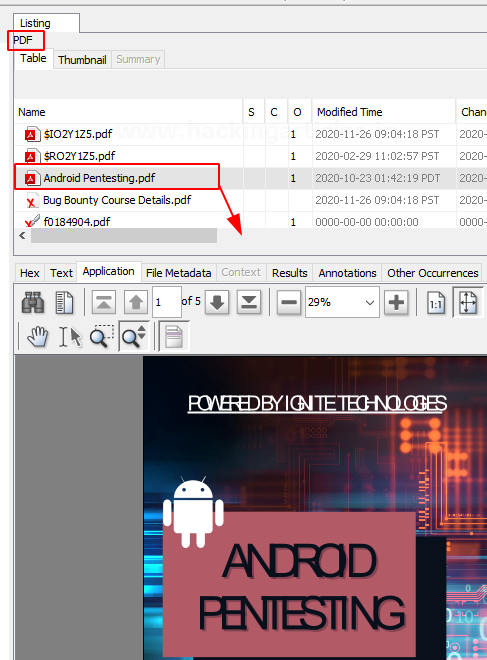
On exploring the PDF option, you can also find the important PDF in the disk image.
Similarly, the various Plain text files can also be viewed. You can also recover deleted plain text files.

Executables
These file types are then sub-divided into .exe, .dll, .bat, .cmd and .com.

By MIME Type
In this type of category, there are four sub-categories like application, audio, image, and text. They are divided further into more sections and file types.

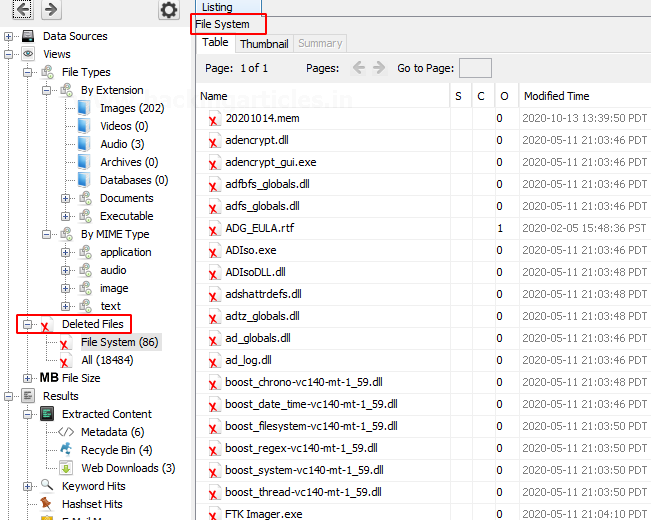
Deleted Files: It displays information about the deleted file which can be then recovered.
MB Size Files: In this, the files are categorized based on their size starting from 50MB. This allows the examiner to look for large files.

Results
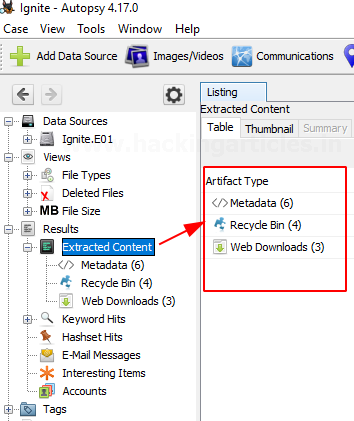
In this section, we get information about the content that was extracted.
Extracted Content: We segregate all the extracted content further in detail. Here we have found metadata, Recycle Bin, and web downloads. Let us further view each one of them.
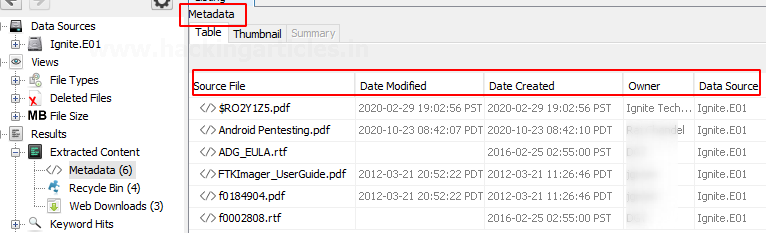
Metadata: Here we can view all the information about the files, including the date they created, when they modified them, the file’s owner, etc.
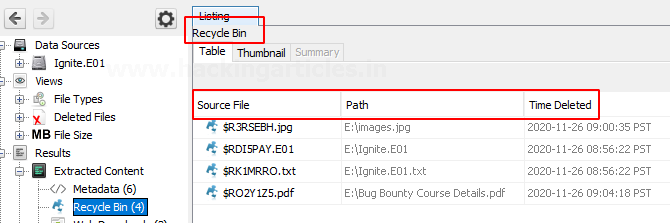
Recycle Bin: You can find the files that users put in the recycle bin in this category.
Web Downloads: Here you can see the files that users downloaded from the internet.

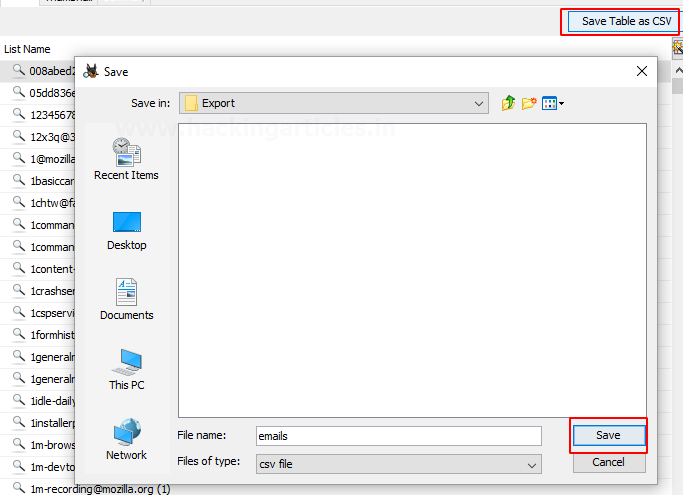
Keyword Hits: In this, users can look up any specific keywords in the disk image. You can conduct the search concerning the Exact match, Substring matches, Emails, Literal words, Regular expressions, etc.

Here, you can view the available email addresses.

You can choose to export into a CSV format.
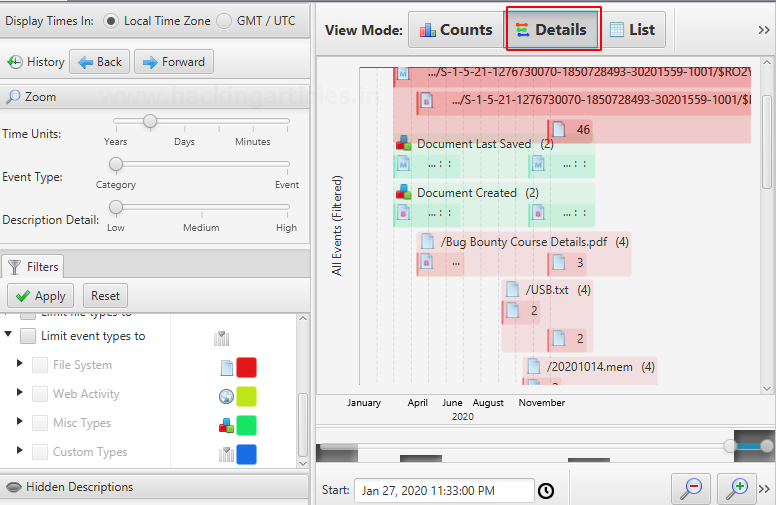
Timeline
By using this feature you can get information on the usage of the system in a statistical, detailed, or list form.


Discovery
This option allows finding media using different filters that are present on the disk image.

According to the selected options, you can get the desired results.

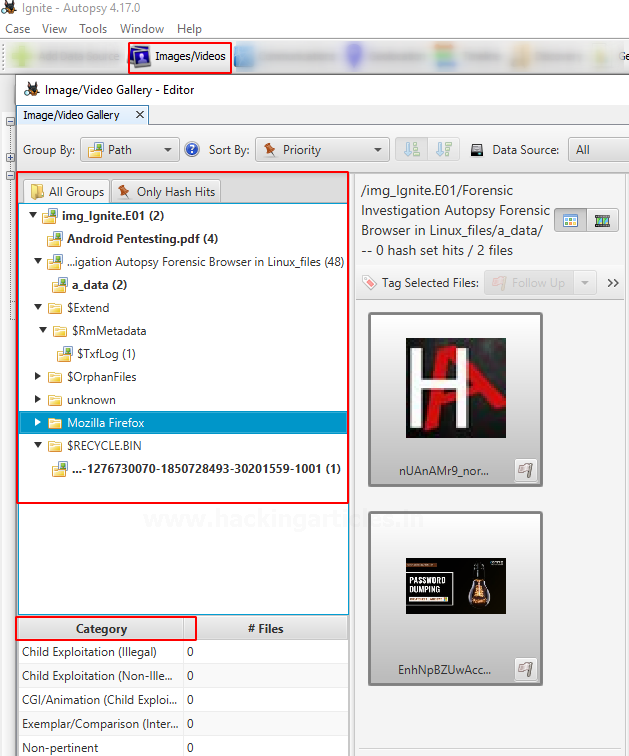
Images/Videos
This option is to find images and videos through various options and multiple categories
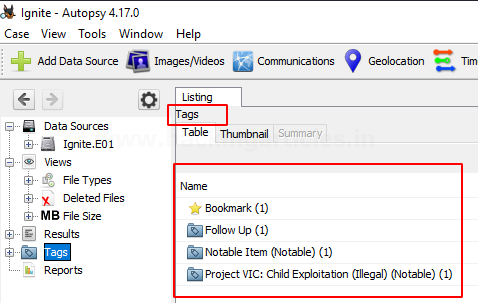
Add File Tag
Tagging allows users to create bookmarks, follow up, and mark any notable items, etc.

Now when you see the tags options, you will see that someone tagged the files according to various categories.
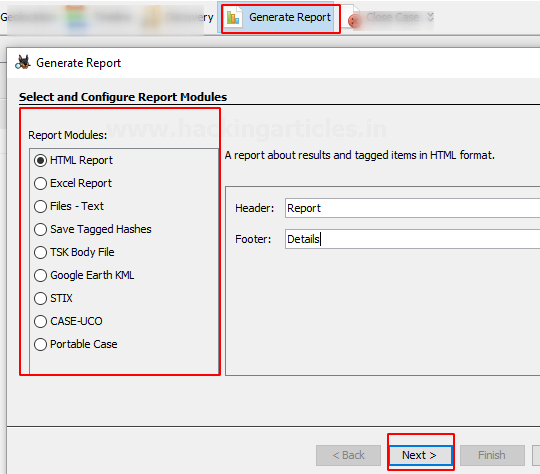
Generate Report
Once the examiner completes the investigation, he can generate the report in various formats according to his preference.
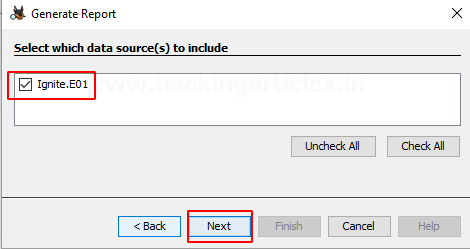
Check the data source that needs to have its report generated.
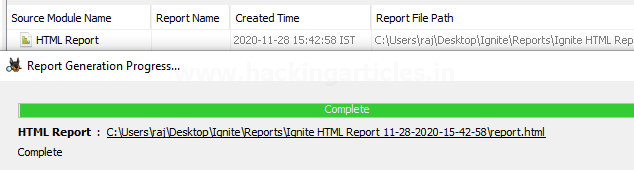
Here we chose to create the report in HTML format.
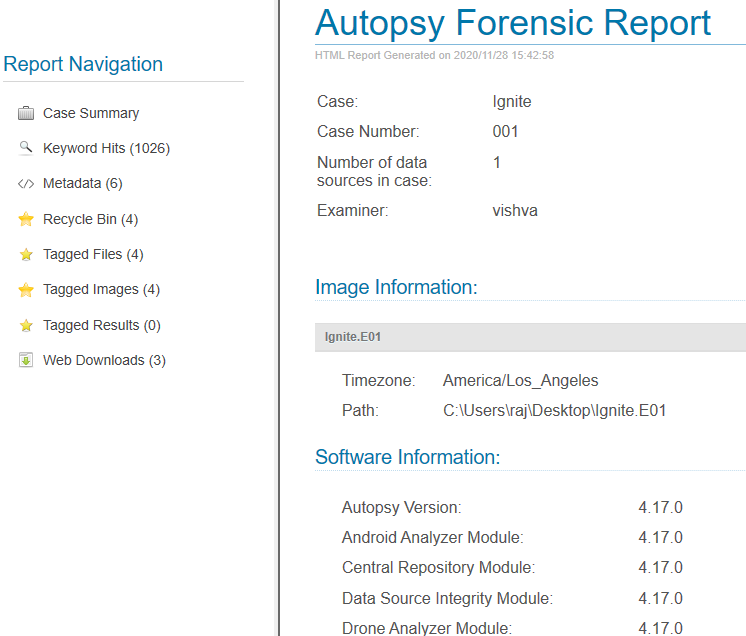
Kudos! Your Autopsy Forensic Report is ready!
To learn more about Cyber Forensics. Follow this Link.
Author: Vishva Vaghela is a Digital Forensics enthusiast and enjoys technical content writing. You can reach her on Here
Nice work