Android Pentest Lab Setup & ADB Command Cheatsheet
To learn Android pentest in a much handier way, we’ll be setting up an Android Pentest environment on our own system rather than conducting an experiment on a live device. We should note that you can conduct these practicals on a phone with the USB debugging option on as well, but we’ll be using an Android virtual machine, also known as the Android Emulator. Genymotion is an example of an Android emulator available for download in the market, which can be very helpful for Android penetration testing. It is a preferred choice while setting up a lab for Android pen testing because it is easy to setup, offers ADB support, and Google Apps support. We’ll be using Genymotion to demonstrate all of our examples in this series, but an individual can use any other emulator that provides basic functionality support, as Genymotion does. Let’s begin.
Table of Content
- Installation of Virtual Environment
- Getting Started with Debugging
- ADB Command Cheatsheet
Installation of Virtual Environment
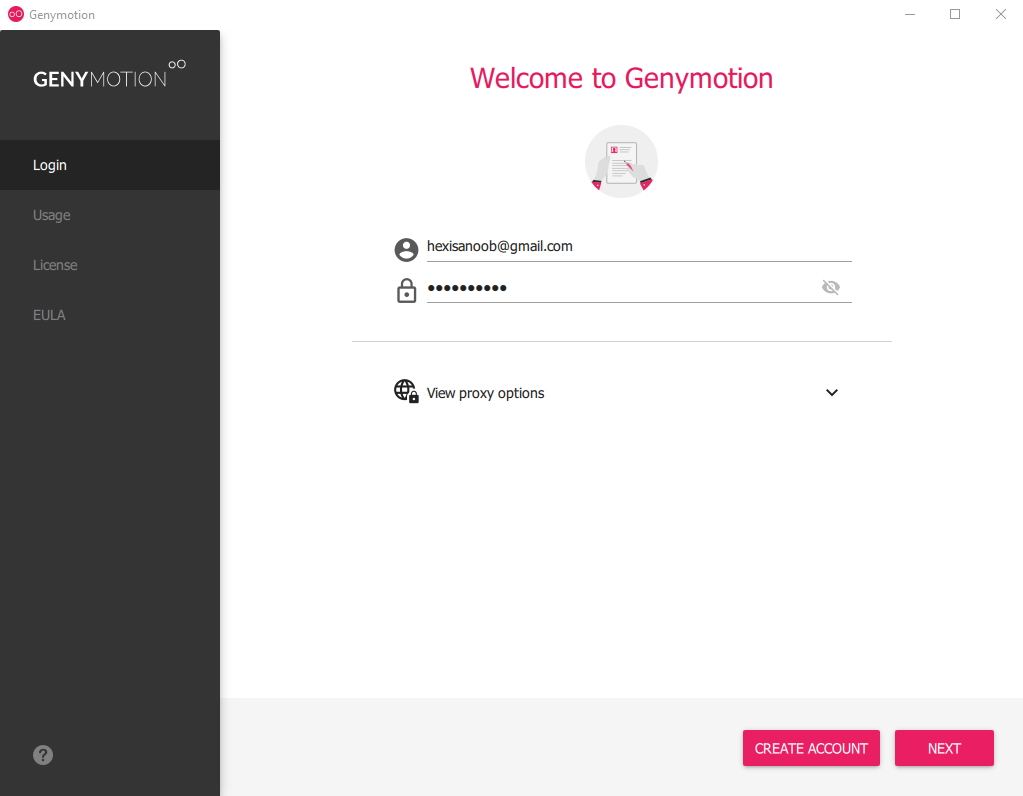
To download genymotion for free head over to this website and download genymotion. If you have VirtualBox installed you can choose without Virtualbox edition and otherwise with VirtualBox. Once you download, you can log in on the main screen and accept the license document to get started.
Creation of Android Virtual Machine (AVM)
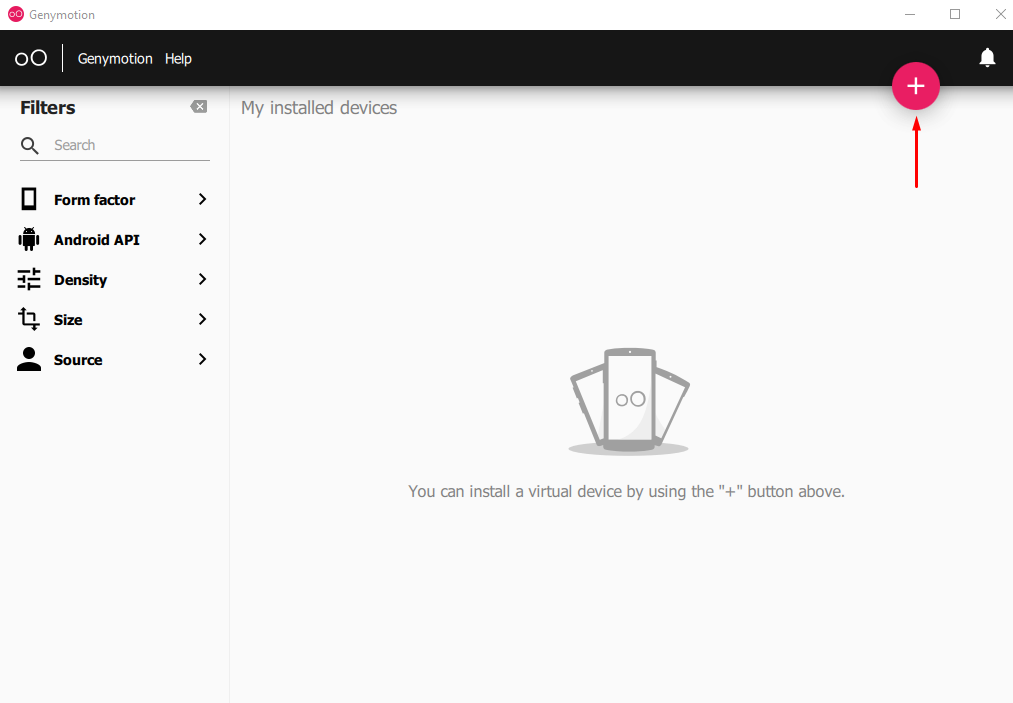
After you log in, you’ll see a blank screen with 5 different options on the sidebar and a big plus button (+) that you will use to create an Android virtual machine. Click on this plus sign.
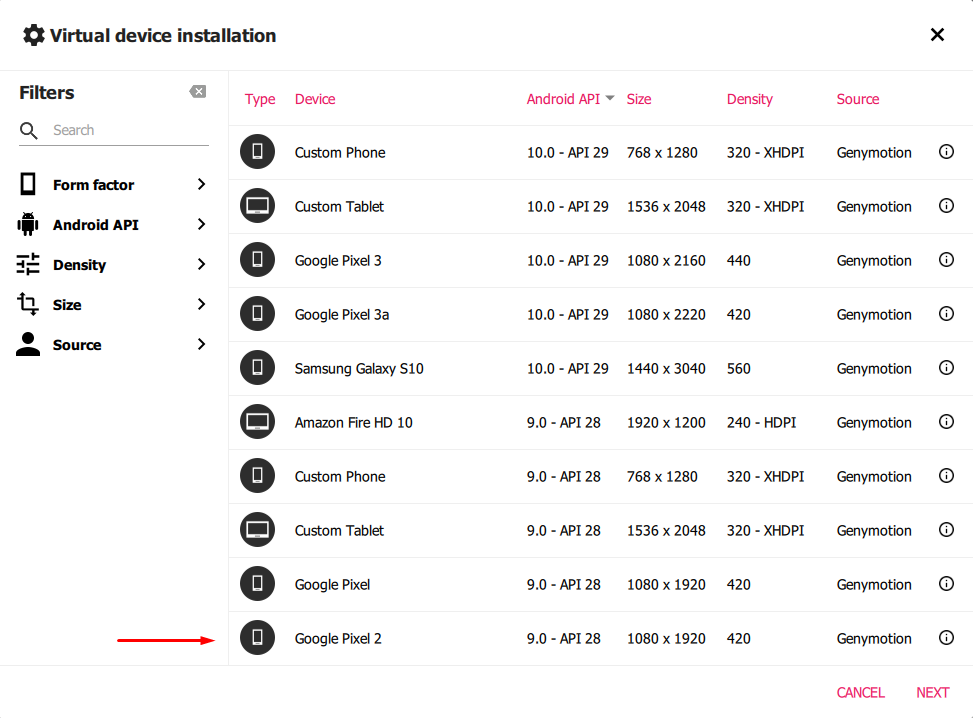
Upon clicking you’ll see a screen like following that’ll have various options available for different specifications of the virtual machine. You can choose your testing device and Android API you want to install. We’ll be using Google Pixel 2 with Android API 28.
What is Android APIs?
Android API refers to the collection of various software modules having different versions that make an Android SDK. In simpler words, A specific API version will correspond to a specific Android release as follows: –

We recommend performing testing only on newer APIs.
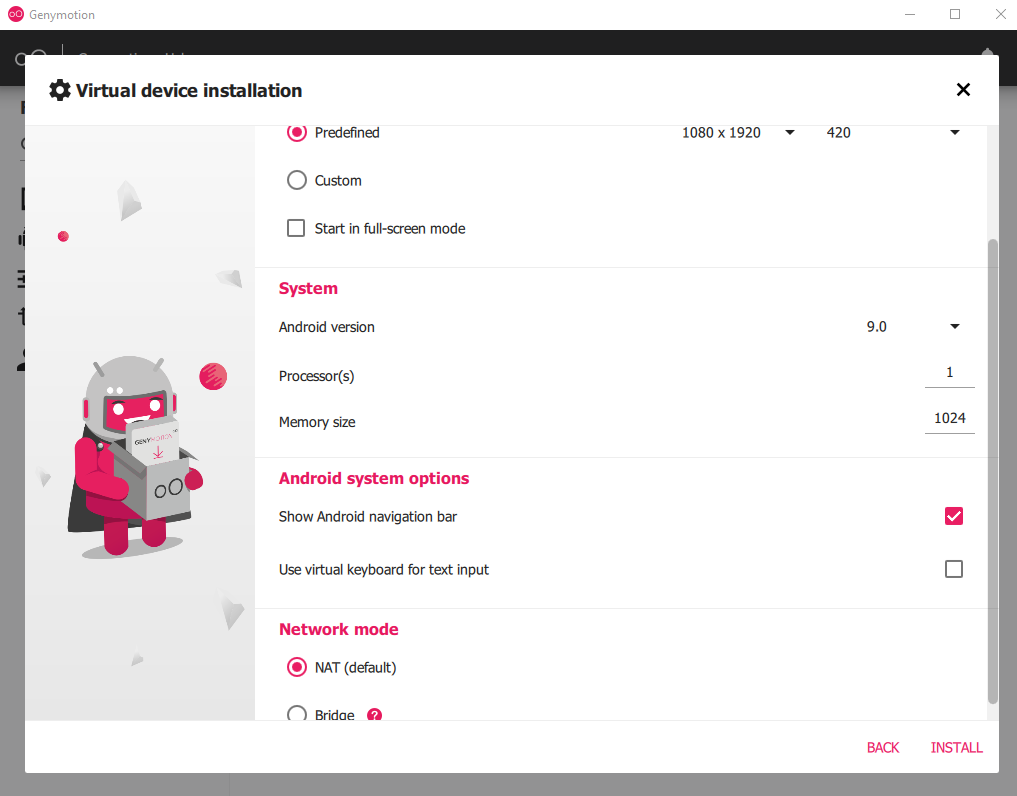
The next step is to configure cores, RAM, and networking mode. I’ll be setting up 1 core for processing, 1GB of RAM, and NAT mode as follows
Once you click the install button, the system will first download the respective API if it is not already available in the SDK, and then the machine will be ready to launch as follows. Right-click on it and press start.

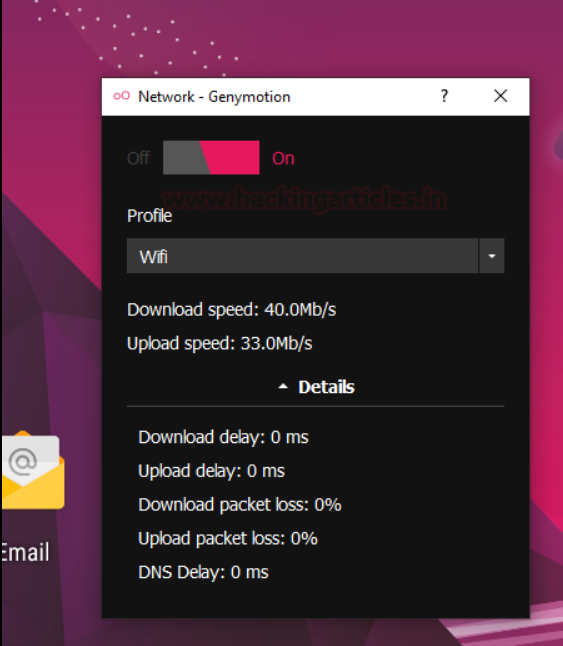
This will initiate a virtual box instance under genymotion’s window and the first thing that we’ll do is start networking on the virtual machine by clicking the signal icon.

next is to turn the switch to ON and choose the respective networking adapter you want to allocate. In my case a Wi-Fi connection is active so I’ll be allocating Wi-Fi to the machine.
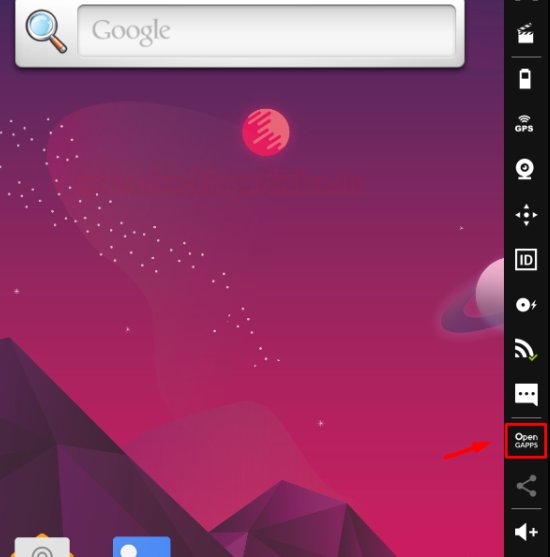
Next is to install Google apps in the virtual machine which won’t come preloaded in the API. You need this in situations where you have to download and test an app from the Play Store or use some other Google app within this virtual machine. We’ll do this by clicking the Open GAPPS button.
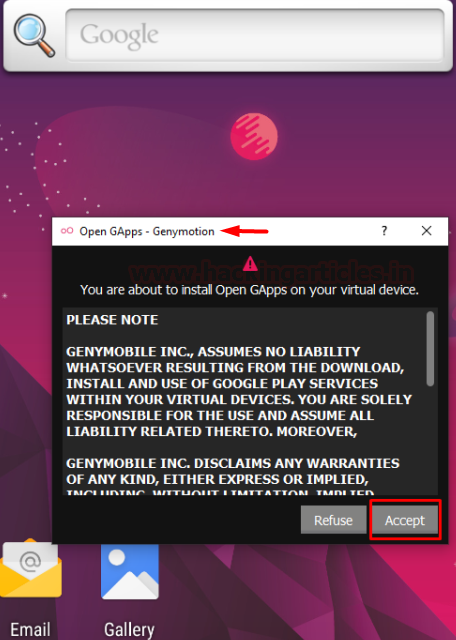
Simply accept the agreement and we’re good to go.
IMPORTANT:
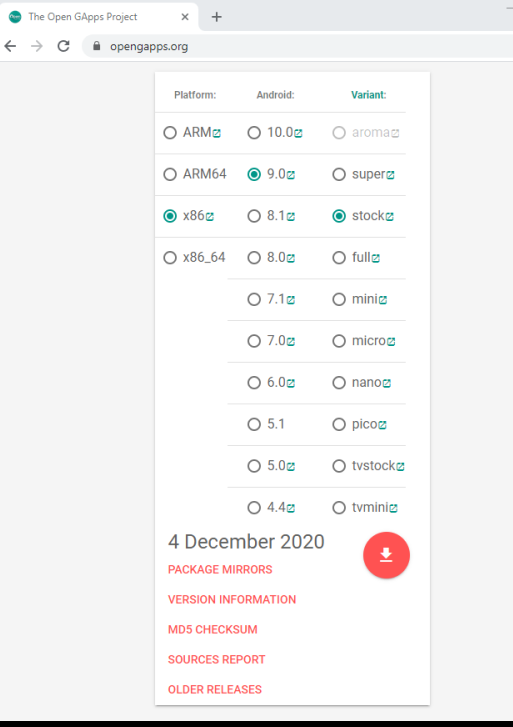
In many scenarios, this type of installation may fail giving an “archive error”. In such cases, it is recommended to download Open GApps archive from their website here.
I chose x86 architecture and android version 9.0 with stock variant
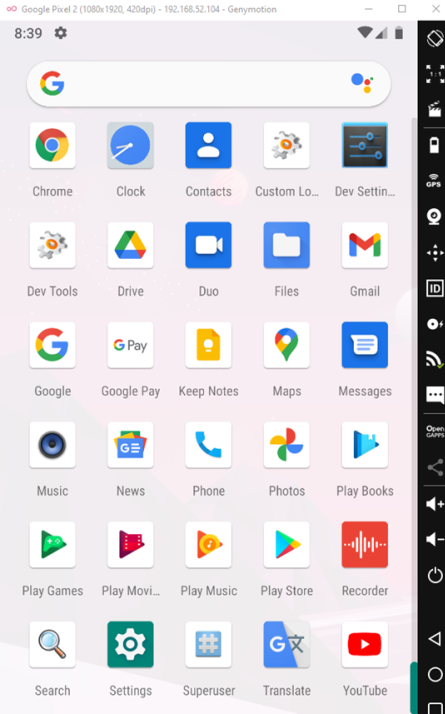
After download, simply drag and drop the archive in genymotion window to install the apps. After installation and reboot, you’ll see the Google Apps have been successfully installed.
Getting Started With Debugging
Now we are done with our environment setup. In previous screenshots, you must have noticed the IP address of the virtual machine on the title bar. In my case, it is 192.168.52.104. It is time to try and connect to this virtual machine using the Android Debug Bridge (adb tool).
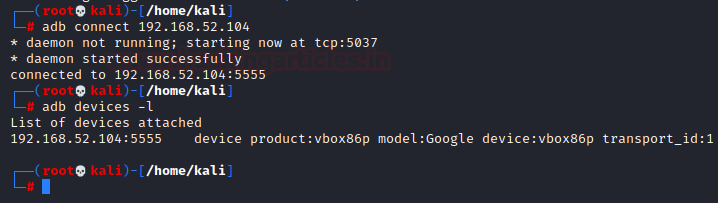
We head over to Kali and type the following command: –
apt install adb
adb connect 192.168.52.104
adb devices -l
What is USB debugging? Debugging is a way for an Android device to communicate with the Android SDK over a USB connection. It allows an Android device to receive commands, files etc from the PC, and allows the PC to pull crucial information like log files from the Android device.
What is ADB? Android Debug Bridge is a utility that provides debugging features for android devices. ADB can be used to conduct debugging over USB as well as over TCP. We’ll learn more about ADB in detail in the next section.
ADB Command Cheatsheet
Basics
Shell
As we are aware, Android has a Linux kernel. To spawn a shell in the connected device using ADB, we’ll use the command:
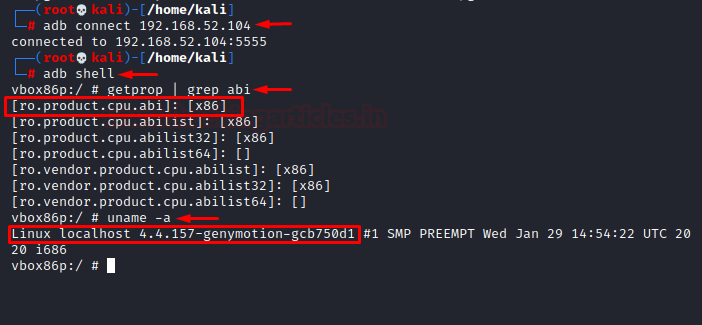
adb connect 192.168.52.104
adb shell
getprop | grep abi
The last command helps you view the architecture of the device you’re using.
Installation of APK in device
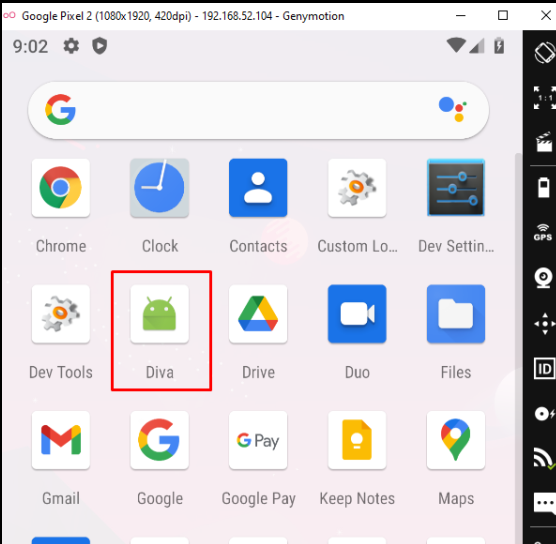
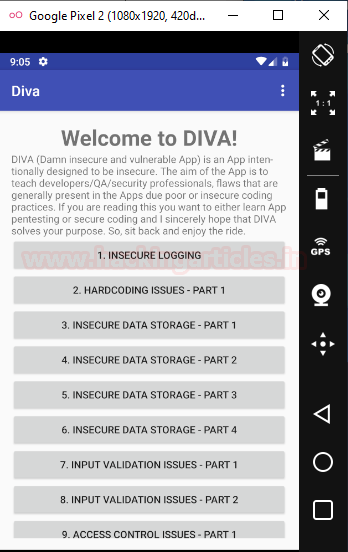
Let’s say we have an APK kept in the downloads folder of our system that we want to install in one of the devices. Here, I’ve downloaded DIVA from this link. We can do that in adb using the following command:
cd Downloads/
tar -xvf diva-beta.tar.gz
adb install diva-beta.apk

And sure enough, the application was found in the device.
Viewing Installed Applications
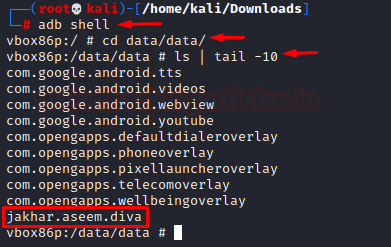
All the applications installed in the device is kept under /data/data folder. So, we’ll simply traverse to the folder and view the 10 recent installed applications.
adb shell
cd data/data/
ls | tail -10
Starting and Stopping adb service
This is simply done by the following two commands:
adb start-server
adb kill-server

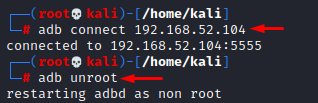
Please note that many of the commands in the upcoming demonstration would require you to run them as root on the android device and hence, we’ll run adb as root. To run it as root you need the following commands:
adb root
To revert back to unroot status:
adb unroot
Logs
- To monitor device logs we’ll use the logcat tool.
adb logcat
As you can see all types of logs are now visible. We input credit card number in one of the functions in DIVA and that’s also visible here demonstrating insecure logging vulnerability.

We can explore much other filters and options in logcat under the man page like prioritizing logs, writing logs to log files, dumping logs, rotating log files etc in the master page here.
Pulling and Pushing Files
To copy a file from system to android and android to the system, one can use the adb push and pull. Let’s consider copying file to the Android device using push.
echo "Say my name" > file.txt
adb push file.txt /sdcard/

To ensure that we transfer the file to the location /sdcard/, we first delete the original file and then pull that file and access it.
rm file.txt
adb pull /sdcard/file.txt /home/kali/Downloads/new_file.txt
cat new_file.txt

pm tool
Listing:
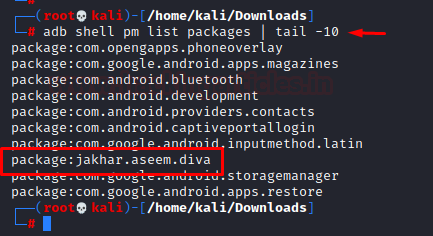
Package Management in Android refers to the management of all the installed packages/ applications in the android. ex: DIVA app’s package name is jakhar.aseem.diva as visible in the list packages command below:
adb shell pm list packages | tail -10
Listing system apps:
There are some filters you can apply to sort these packages, like to list all the system apps:
adb shell pm list packages -s

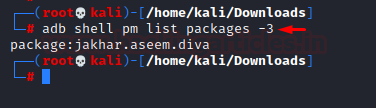
Listing third-party apps:
Similarly, to view all the third-party apps, we have the command:
adb shell pm list packages –3
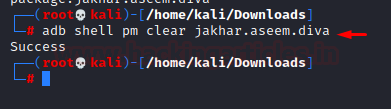
Clearing data of an application:
This process is the same as going to the settings and getting rid of its data. To do that we have the following command:
adb shell pm clear jakhar.aseem.diva
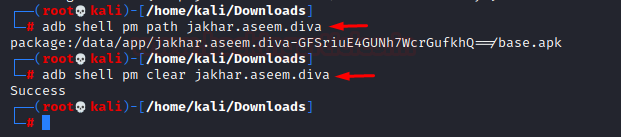
Display the installation path of a package:
Can be done using the pm tool like:
adb shell pm path jakhar.aseem.diva

dumpsys tool
View running services in a package:
You use the dumpsys command in the shell. Dumpsys is a tool that runs on Android devices and provides info about system services, which you can call from the command line using adb. To view running services in a package:
adb shell dumpsys activity services jakhar.aseem.diva
It is interesting to note that this displays services related to diva package. If we input this command without a package name, all the services will be output.
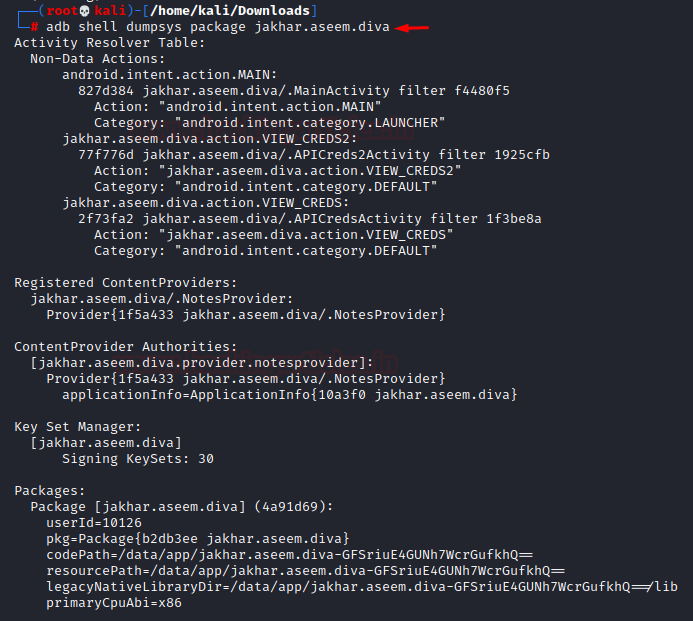
Extracting information about a package:
A package will have components like actions, activities, content providers etc as mentioned in the previous article and to view this information about a specific package we use the following command:
adb shell dumpsys package jakhar.aseem.diva
View foreground activity:
You can display the activity that is currently on the main screen with the following command:
adb shell dumpsys activity activities | grep mResumedActivity

Information about activities in a specific package:
To view the details of activities like current activity paused, history of all the activities opened etc, type in the following command:
adb shell dumpsys activity activities | grep jakhar.aseem.diva

Viewing running services of a package:
The package name is optional in this command as that will open the running services related to that package. It is as follows:
adb shell dumpsys activity services jakhar.aseem.diva

Viewing detailed information about a package:
A package has many details ike components, permissions info, version name and code etc. To view these details:
adb shell dumpsys package jakhar.aseem.diva

am tool
Developers code activities in Java to perform specific tasks. What’s interesting is that users can also play around with these activities using adb. Another tool called am, installed in Android, provides information about activities by performing many of these functions.
Starting Activity:
To start an activity, in this case, main activity using adb, we type in the following command:
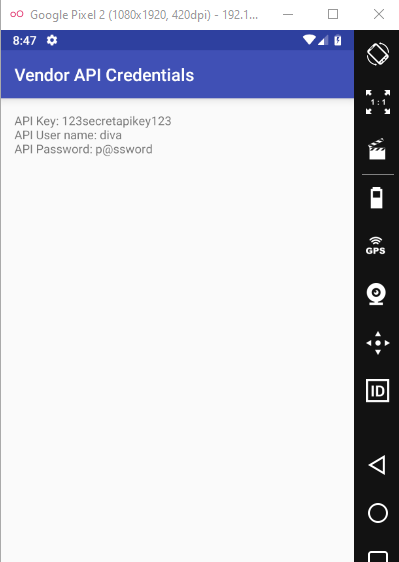
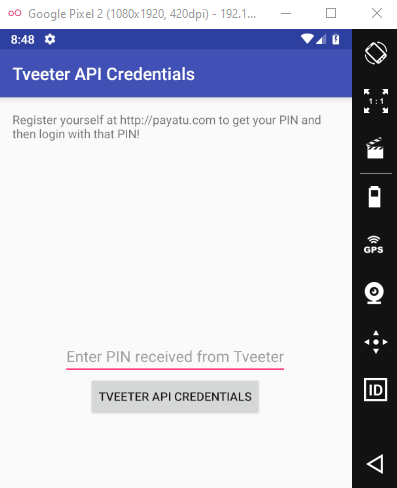
adb shell am start -n jakhar.aseem.diva/.APICredsActivity
adb shell am start -n jakhar.aseem.diva/.APICreds2Activity

This would open up APICredsActivity activity like this:
And the other activity too:
Start/Stop Service:
To stop a service we use the following command:
adb shell am stopservice -n com.android.systemui/.SystemUIService
This command will stop the System UI. There would be a blank screen until we start it again using this command:
adb shell am startservice -n com.android.systemui/.SystemUIService

Miscellaneous
Capturing a screenshot:
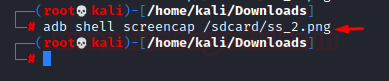
screencap is a handy tool installed in Android to take screenshots. This tool runs behind the screenshot feature and you can call it using ADB like:
adb shell screencap /sdcard/ss_2.png
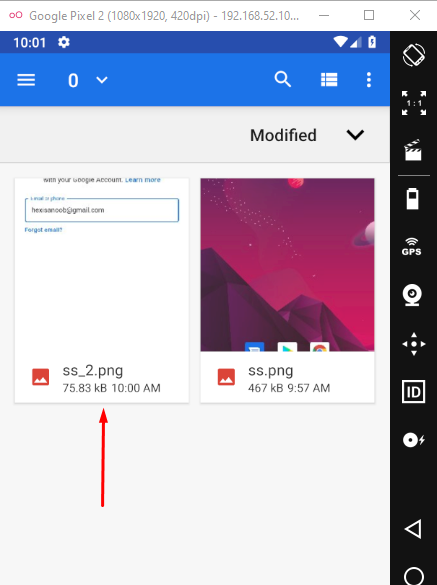
2nd argument is the local path where the screenshot will be stored, and we can customise it. In this case, I’ve put in sdcard/ as the path and we traverse to that folder to see ss_2.png there:
Recording the screen:
Just like you can take screenshots, you can also create a video recording of the screen using the screenrecord tool in Android with the following command:
adb shell screenrecord /sdcard/demo.mp4 --size 400x400 --bit-rate 200000 --time-limit 5 --rotate --verbose
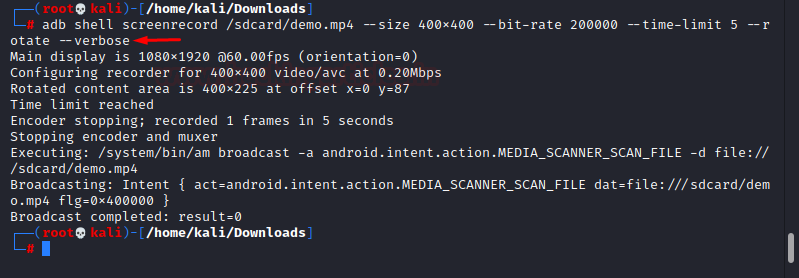
/sdcard/demo.mp4 – Path to store the recording
size – The size in pixelxpixel (heightxwidth) in which the video will be recorded
bit-rate – Corresponds to the quality of the video in short
time-limit – Max time for which screen will be recorded
rotate – Makes default portrait orientation upside down and vice versa in the recording. Can be customised for specific angles.
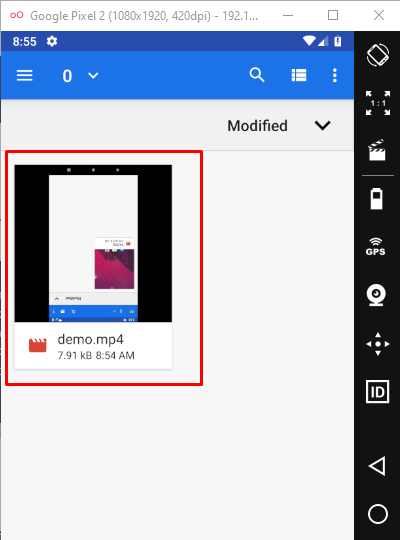
We’ll see output like the following:
Viewing the process ID of a package:
It is important from a pentester’s point of view to know the process ID of an application package. This can be done by:
adb shell pidof jakhar.aseem.diva
For example, I have to inspect the logs of this package, I can filter it out using grep and the PID like:
adb logcat | grep 7399

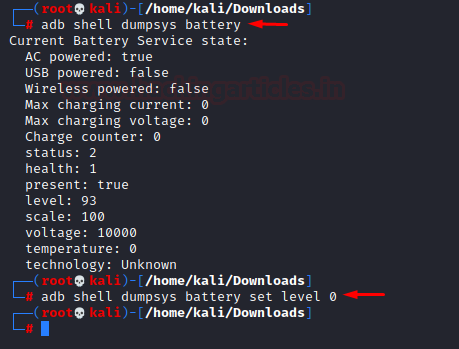
Viewing Battery Status:
You can dump all the information, from voltage to level, using the dumpsys battery command:
adb shell dumpsys battery
We can play around with the battery level by the following command:
adb shell dumpsys battery set level 0
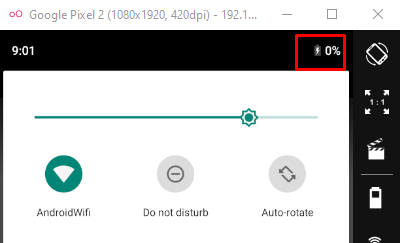
Sure enough, let’s see how the battery now looks like:
Key events in Android:
A sequence of key events describes each key in Android. You can describe these as follows:
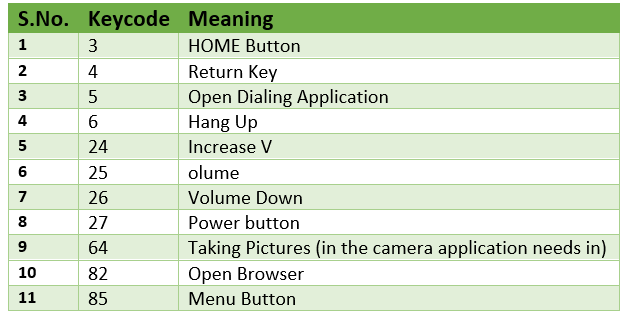
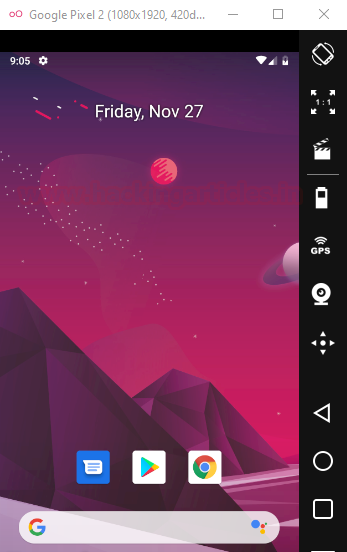
Let’s try out keyevent 3. Here is a page with a random activity opened up:
Now, the command to send key event 3 is:
adb shell input keyevent 3

After the command, the user presses the home button and the screen looks like:
Viewing kernel logs:
To view kernel logs for testing purposes we can type in the following command:
adb shell dmesg
The list would be too long so I’ll just view first 20 logs:
adb shell dmesg | head -20

Enumerating device:
Use the getprop tool in Android to find the model of the phone you’re connected to:
adb shell getprop ro.product.model
- wm tool– wm tool in Android relates and gives information about windows. To find out the window resolution, we use the following command:
adb shell wm size
To find information about display screen like DPI, Display ID number etc we type in the following command:
adb shell dumpsys window displays

We can modify the screen resolution as well with wm tool using the following command:
adb shell wm size 480x1024
adb reboot
where the size is in pixels.

Finally, after reboot, the window will look something like this:

- Secure Android ID and IMEI number: The system generates a 64-bit Secure Android ID on the first boot. Users can also find this ID in the settings. It remains constant. On the other hand, the device has a unique telephony IMEI number. Users can view them with the following commands:
adb shell settings get secure android_id
adb shell dumpsys iphonesubinfo

Conclusion
In this article, we have looked how to set up a testing environment in our PC using Genymotion Android Emulator and performing various functions on it using ADB tool that we installed in Kali. In upcoming articles we’ll have a look at various other tools, OWASP methodology for testing, understanding what are android vulnerabilities and of course, automated tool for android security testing. Thanks for reading.
To learn more about Android Penetration Testing. Follow this Link.
Author: Harshit Rajpal is an InfoSec researcher and a left and right brain thinker. Contact here
Thank you for your time bro.
Keep posting related to android penetration testing because nowadays everybody have mobiles and most of them in the world is android so to better secure them we need to dive deeper into this and protect it.
Thank you for this awesome Lab Setup
if you face an issue in kali like : ‘sudo: adb: command not found’
then do the following:
1-Make sure you installed $ sudo apt-get install android-tools-adb Now check sudo adb It will show the help of adb
2-Now please kill/start adb use following commands –
3-$ sudo adb kill-server
4-$ sudo adb start-server
5-Lastly, $ sudo adb devices
Hopefully this will work !!!
thats great stuff. I am trying this. I hope you will share another topic on adb used in reverse engineering.