Beginner’s Guide to Nexpose
In this article, we’ll learn about Nexpose, which is used to scan a vulnerability network. There are various vulnerability scanners but the part that keeps it special is its smooth user interface and robust reporting options it offers, from the most common to the advance.
Table of Content
- Introduction to Nexpose
- Nexpose Virtual Appliance Installation
- Running Vulnerability Scans
- Generating Reports
Introduction to Nexpose
Nexpose is one of the leading vulnerability assessment tools. It operates across physical, virtual, cloud and mobile environments to discover the active services, open ports, and running applications on each machine, and it tries to identify vulnerabilities that may exist based on the attributes of the known services and applications. Though Nexpose discloses the results into scan reports, which helps to prioritize the vulnerabilities based on the risk factor and determine the most effective solution to be implemented.
Some Important Nexpose terminologies
- Assets – A host on a network.
- Site – A logical group of assets that has a dedicated scan engine.
- Scan Template – A template that defines the audit level that Nexpose uses to perform a vulnerability scan.
- Local Scan Engine – Scan Engines are responsible for performing scan jobs on your assets.
Nexpose Virtual Appliance Installation
Let’s start the Nexpose installation over our Virtual Machine. From here we’ve downloaded the Nexpose VM. Firstly, we’ll add Nexpose in our VMware Workstation and power it ON.
As soon as it boots up, we’ll see our default login credentials – Username ( nexpose) and Password (nexpose). Furthermore, we have to set a new password according to the requirements (i.e it should be at least 14 characters long, at least one uppercase and a lowercase letter, a numeric number, and a special character.)

Afterwards, use the ifconfig command in your Nexpose to check our machine’s IP address so that we can log into the Nexpose’s web interface.

Now armed with the IP we need to set the HTTPS (i.e Hypertext Transfer Protocol over Secure Socket Layer) and the port 3780 is the Nexpose’s default port.
URL : https://<Nexpose_IP>:3780
Though we’ll be greeted with a warning about a Security Certificate, therefore, to use Nexpose, we’ll have to get through this warning. Click on Advanced, followed by Accept the Risk and Continue.
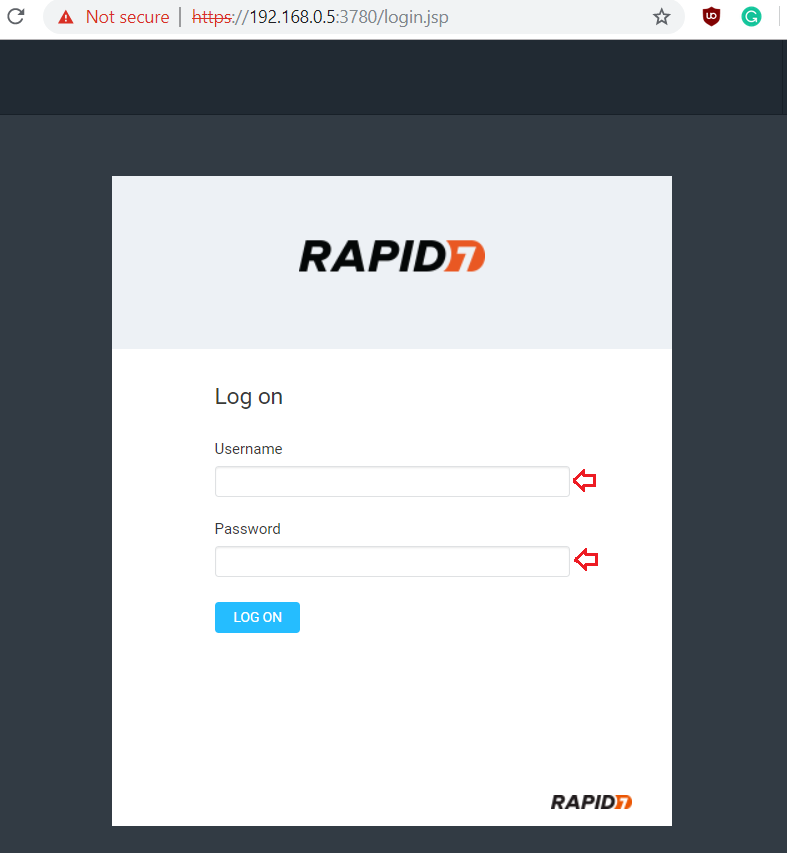
You will then be redirected to a login page, given the default username (nxadmin) and password (nxpassword), as shown in the image below.
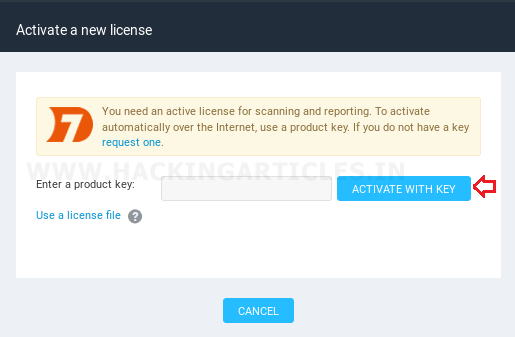
Further, you’ll be asked for an activation Key, as shown in the image, provide the license key that you’ve received at your email address.
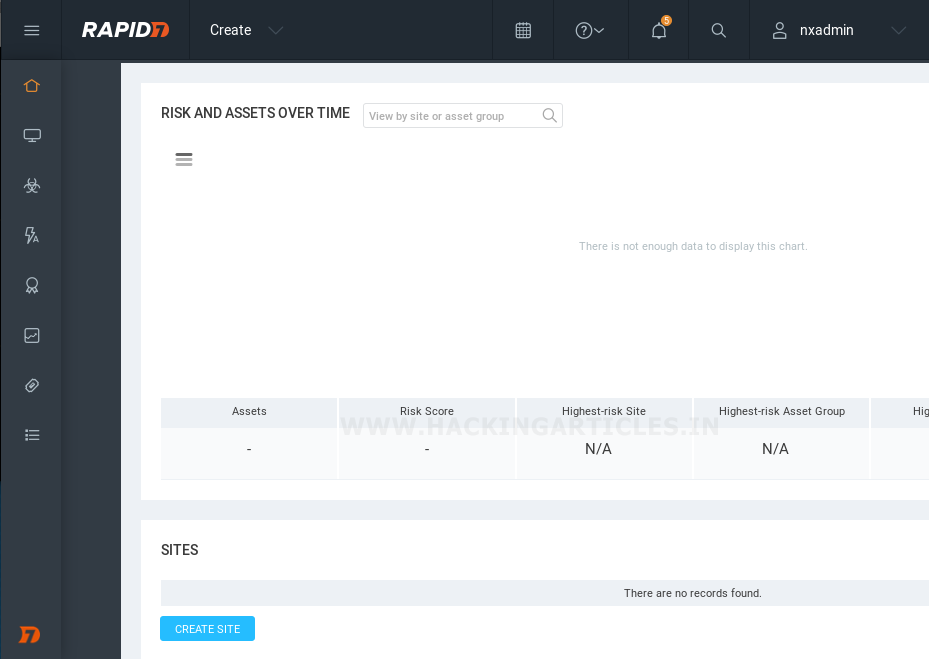
As soon as you’ve logged in and completed all the essential activations, the Nexpose Security Web Console page will activate and we’ll be able to perform any scan which we desire for, as shown:
Running Vulnerability Scans
In order to start with a new scan, go to the home page, click the Create dropdown and select Site. The Security Console will display the “Site Configuration” screen.
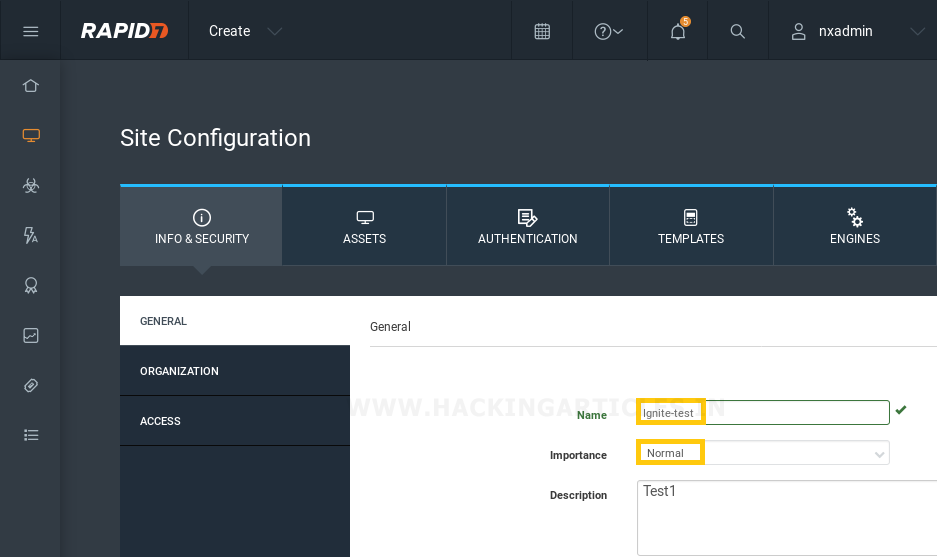
On the General tab, we have to give the name and describe our site, as in the above image. We can even set its importance from Very Low to Very High.
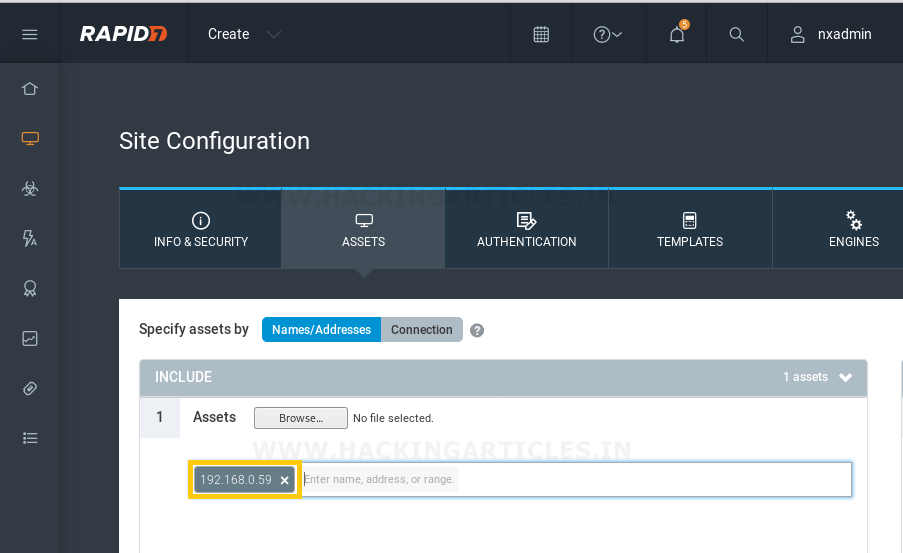
The Assets configuration page comprises of two sections: Include and Exclude.
In the Include section, we’ve provided our target IP address (i.e. 192.168.0.59) or if we want to scan the entire network, then we will have to provide the complete IP range (i.e. 192.168.0.1-254).
The section Exclude is used to exclude the IP from scanning. If we’re scanning the entire IP range and want to exclude some of the IPs from the scan, we just need to put them in the exclude assets section.
Now in the Authentication section, if we need to put any credentials, we can do that here. Basically, we conduct a credential-based scan by providing the system with a username and a password.
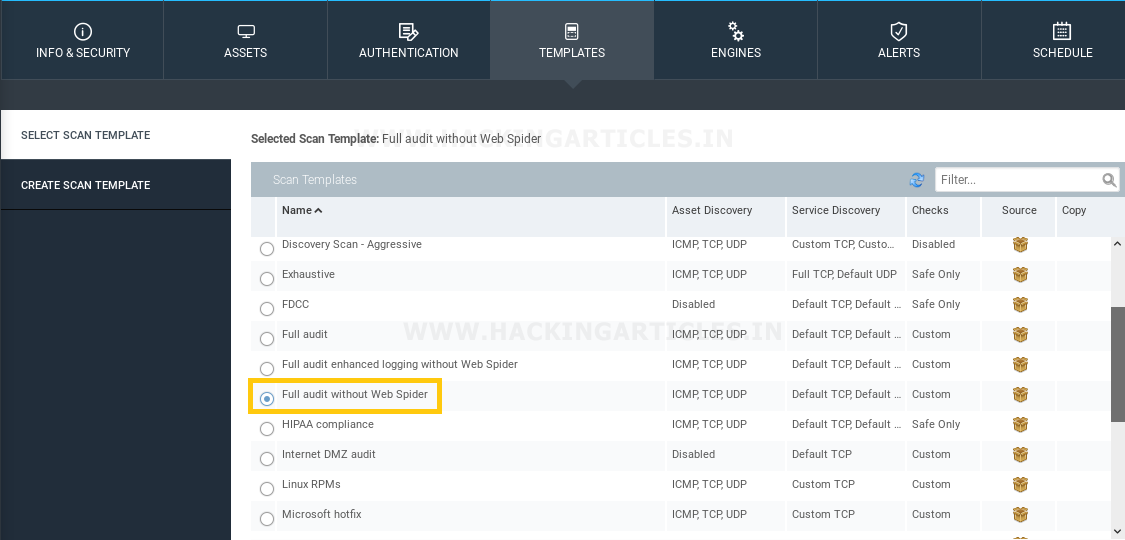
Afterwards, setup a particular Scan Template, as shown above, we’ve used the default Scan Template i.e. full Audit without Web Spider.
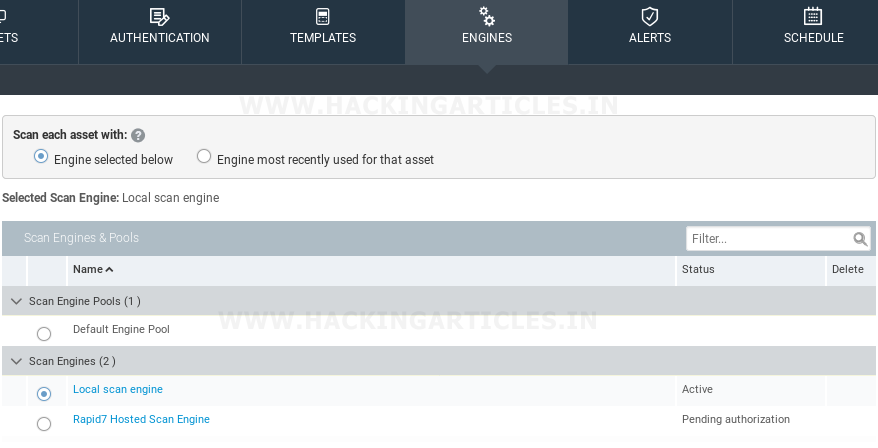
So now we have to select an engine for our scan, although we’re selecting the Local Scan Engine, as shown in the picture above.
Now since we’ve completed all the required information to setup our site for a scan. To begin scanning, Click the Save and Scan button at the upper right corner of our Nexpose console panel.

Once the scan is completed, the result clearly indicates the number of possessed vulnerabilities, the risk score, and the duration of the scan.

Now we can see all the vulnerabilities mentioned along with their Common Vulnerability Scoring System (CVSS) score from the highest to the lowest over the Vulnerabilities tab. The exciting part is that one or more of these exploits have been published throughout the Exploit database and are vulnerable to many Metasploit.
When we click on a particular vulnerability, for an instance here we’ve clicked on MySQL default account which is a critical threat, it will give us the information about the vulnerability such as its severity, whether it is password protected or not, its version, etc. as shown in the image below.

Generating Reports
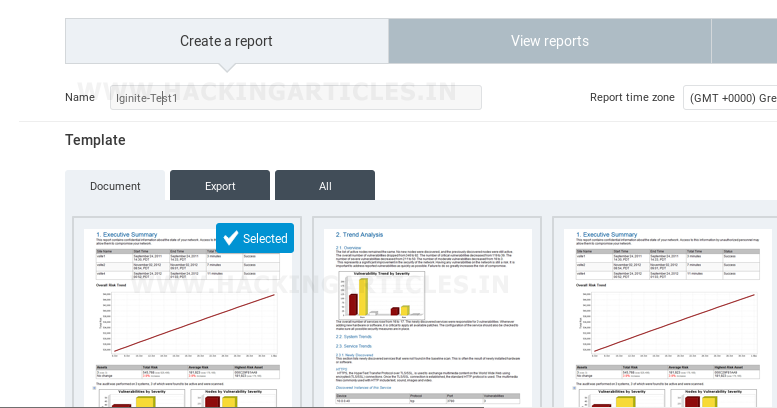
Now we can generate the new records in the Reports tab by simply giving it a title, selecting the scan along with the template and the format in which we want our reports to be in.
Conclusion
This was the comprehensive guide of the usability of Nexpose a vulnerability scanner. Due to its GUI, it is user-friendly and convenient. Therefore, it has become one of the best tools as it makes its place in the corporate world with Nessus and retina.
Author: Chiragh Arora is a Researcher and Technical Writer at Hacking Articles an Information Security Consultant. Contact here