Hack the SpyderSec VM (CTF Challenge)
In this article, we are going to solve another CTF challenge “SpyderSec” presented by vulnhub.com to practice OSCP lab challenges.
Challenge: You are looking for two flags. Using discovered pointers in various elements of the running web application you can deduce the first flag (a downloadable file) which is required to find the second flag (a text file). Look, read and maybe even listen. You will need to use basic web application recon skills as well as some forensics to find both flags.
You can download it from here: https://www.vulnhub.com/entry/spydersec-challenge,128/
Level: Intermediate
Penetrating Methodologies:
- Network Scanning (Netdiscover, Nmap)
- Extracting Metadata (ExifTool)
- Decoding Hex to Ascii
- Exploit eval function using javascript unpackage.
- Capture HTTP request (Burpsuit)
- Decode the URI to get them under.fbi file
- Unlock the hidden drive (veracrypt)
- Capture the Flag.
Walkthrough
Let’s start off with scanning the network to find our target.
netdiscover
Our target is 192.168.1.101. Scan the target with nmap.
nmap -A 192.168.1.101
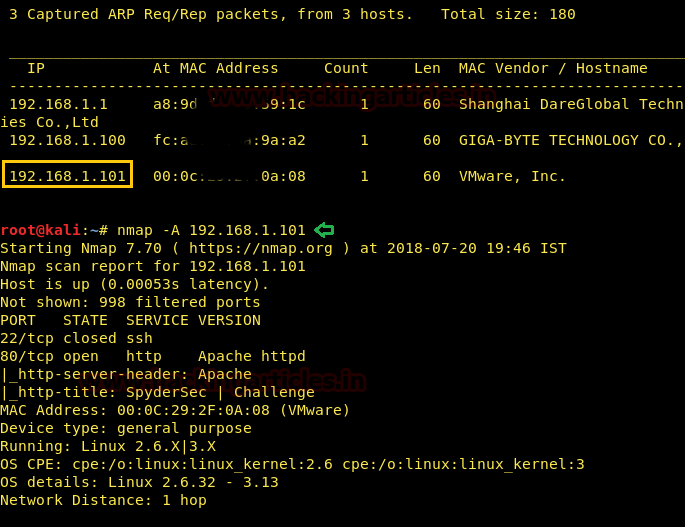
There are only two ports open i.e. 22 and 80 for SSH and HTTPS respectively. Next, I opened this page in the browser.
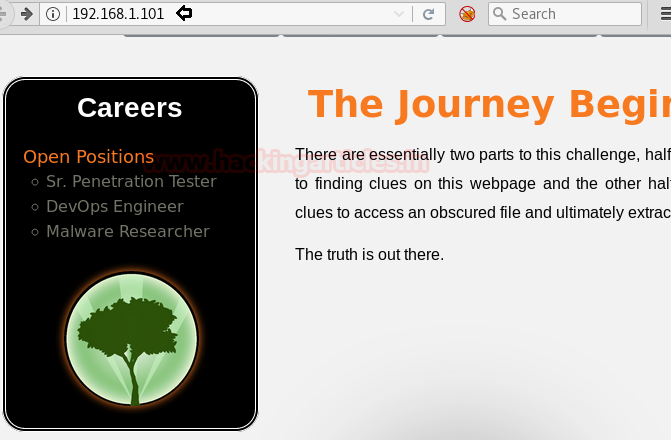
There was nothing major on the page except for two images. There is a possibility about metadata behind these images. Therefore, I read these images with the exif tool. One of the images which were saved by the name of “challenge” had a comment behind it. To read it type:
exiftool Challenge.png
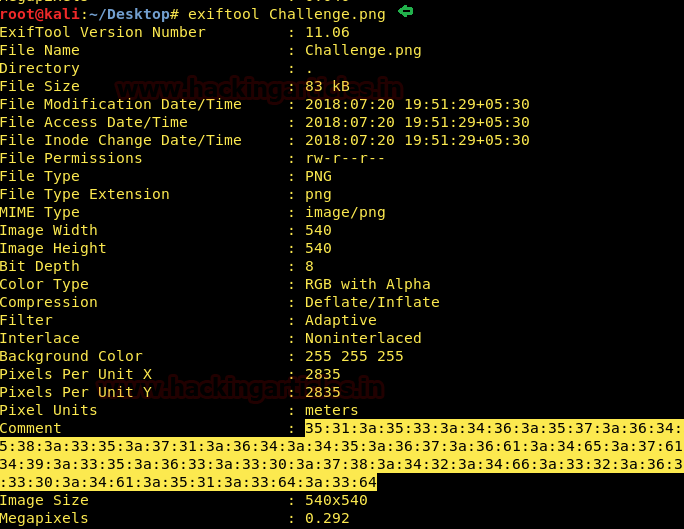
If you observe closely the comment is in hexadecimal form. We need to convert it into a readable form. No third party tool is required just go online to hex to Ascii converter copy the string and paste it in the text box and then click the convert button.
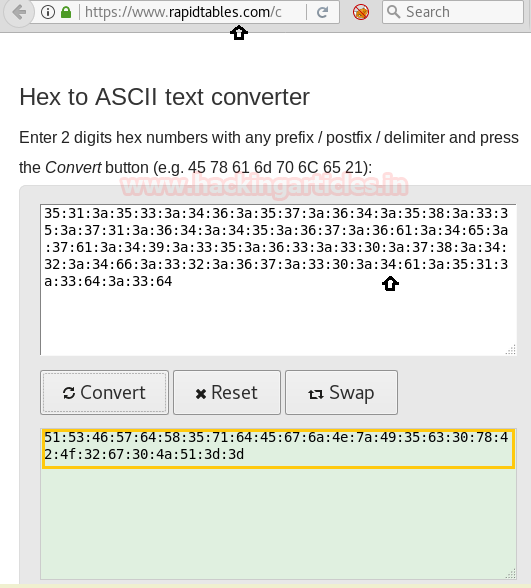
After converting we again have the hexadecimal string. No problem. Let’s convert it again as we did earlier.
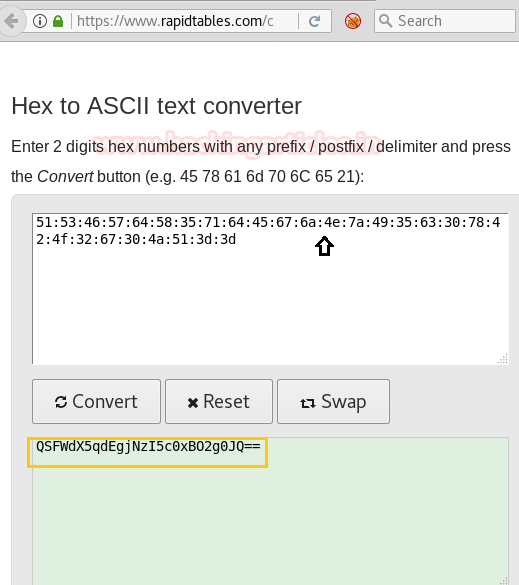
This time we got base 64 encode and to decode it we use the following command.
echo 'bas64 text' |base64 -d
Now finally we have a readable string. This can be a password or a directory. Note it down for future use.

Moving on if you go through the source code of the home web page you will find that evil function is quite unusual.
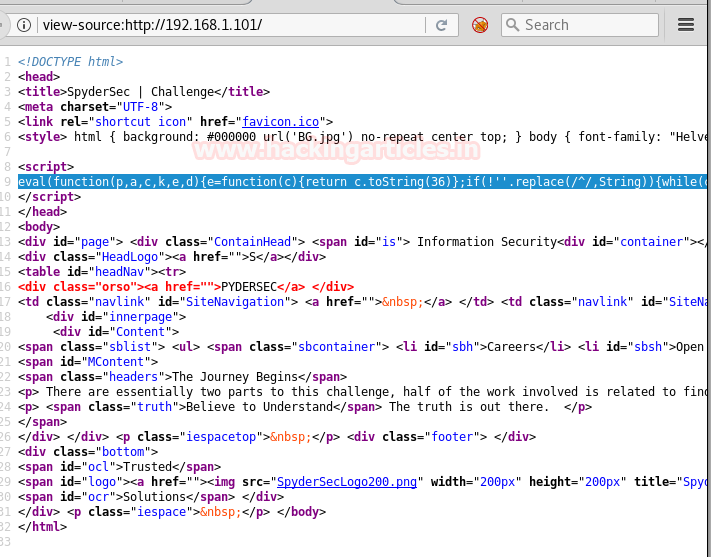
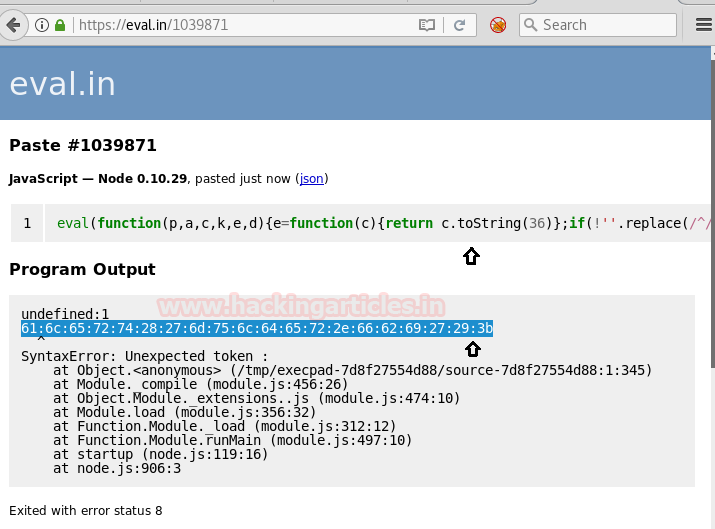
I searched about eval function on google and found that it is a javascript. There can be code hidden behind it. So let’s unpack it with the javascript unpacker.
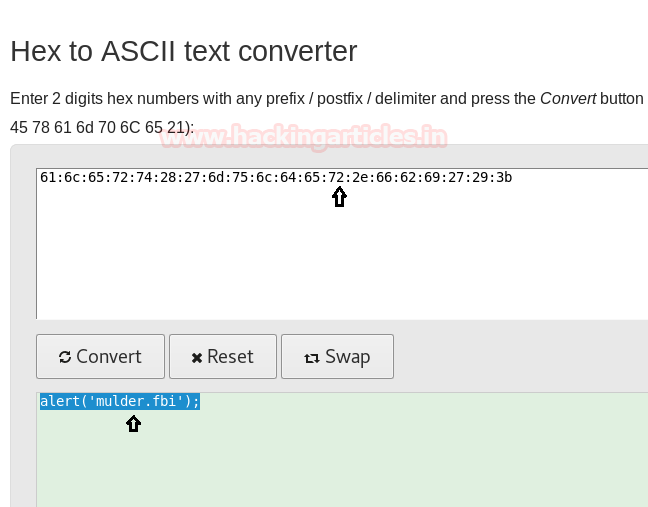
After unpacking you will again come face to face with a hexadecimal string. Convert this string just like before.
After conversion, the string became “alert(‘mulder.fbi);”.
I explored a lot and search a lot but found nothing about it so decided to capture its cookies through BurpSuite.
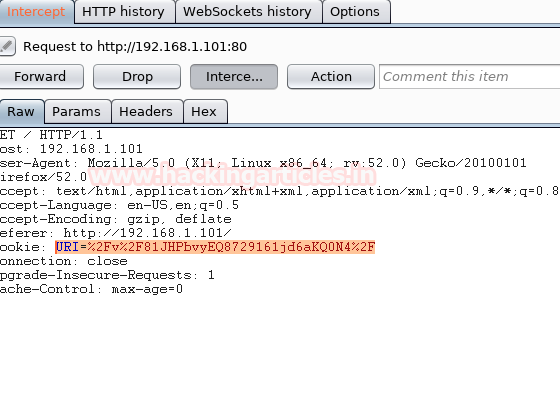
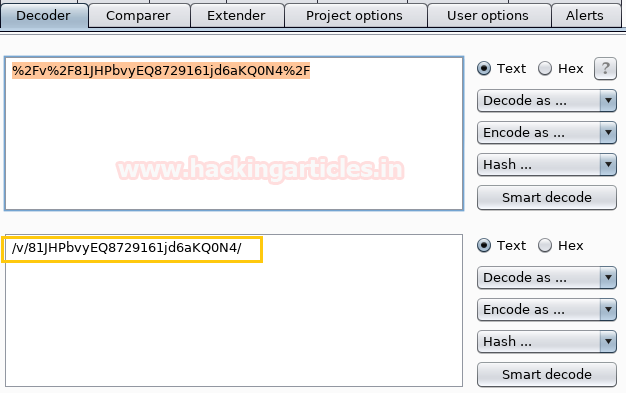
In cookies, I found an encoded URI that means it’s a part of a link. From here copy the link and open it in the browser.
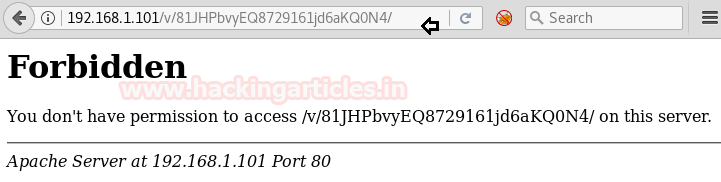
Now when I opened it there was an error. Then I explored a d bit and remembered that there was a mulder.fbi so I added that to the link.
After adding mulder.fbi to the link it asked me to download a file. Save it.
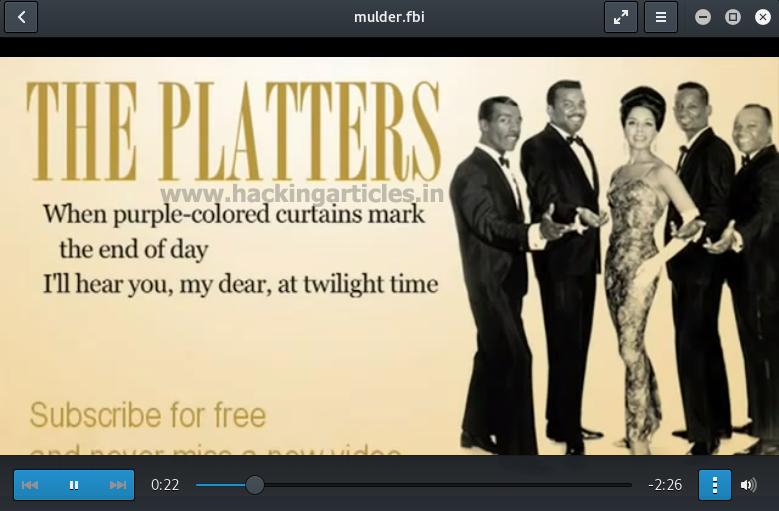
When you open the file that you just saved then it will play a video with different quotes. Now I was clueless about this so I started searching about it on Google. And I found out that it was a TrueCrypt file. So to see what is hidden type:
python tcsteg.py mulder.fbi
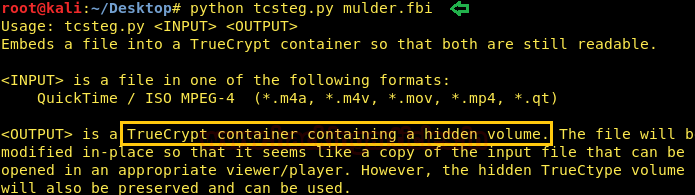
There was a whole drive hidden behind it. And using veracrypt you can see and open the drive.
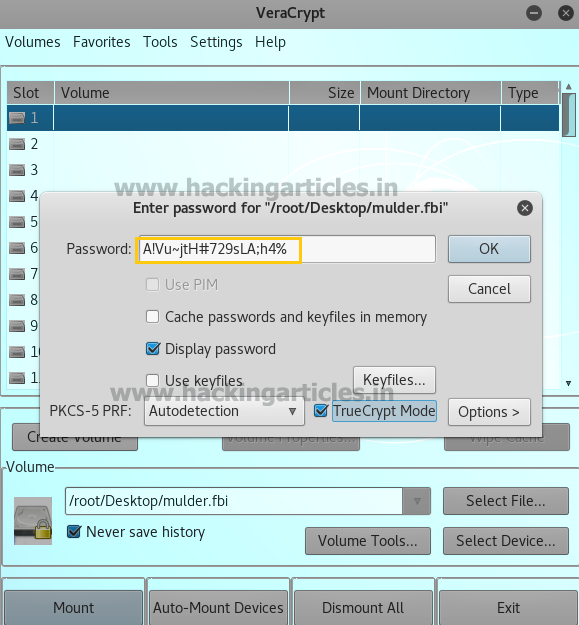
When you open it will ask for a password and we have found the password beforehand. So give the password there.
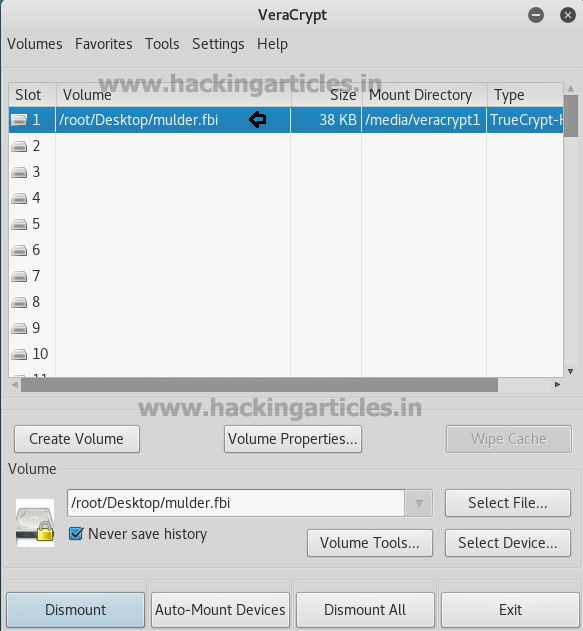
Hence the drive will be unlocked. Now open the drive. And you will find a flag there.

Author: Yashika Dhir is a passionate Researcher and Technical Writer at Hacking Articles. She is a hacking enthusiast. contact here